Share:

Loading...

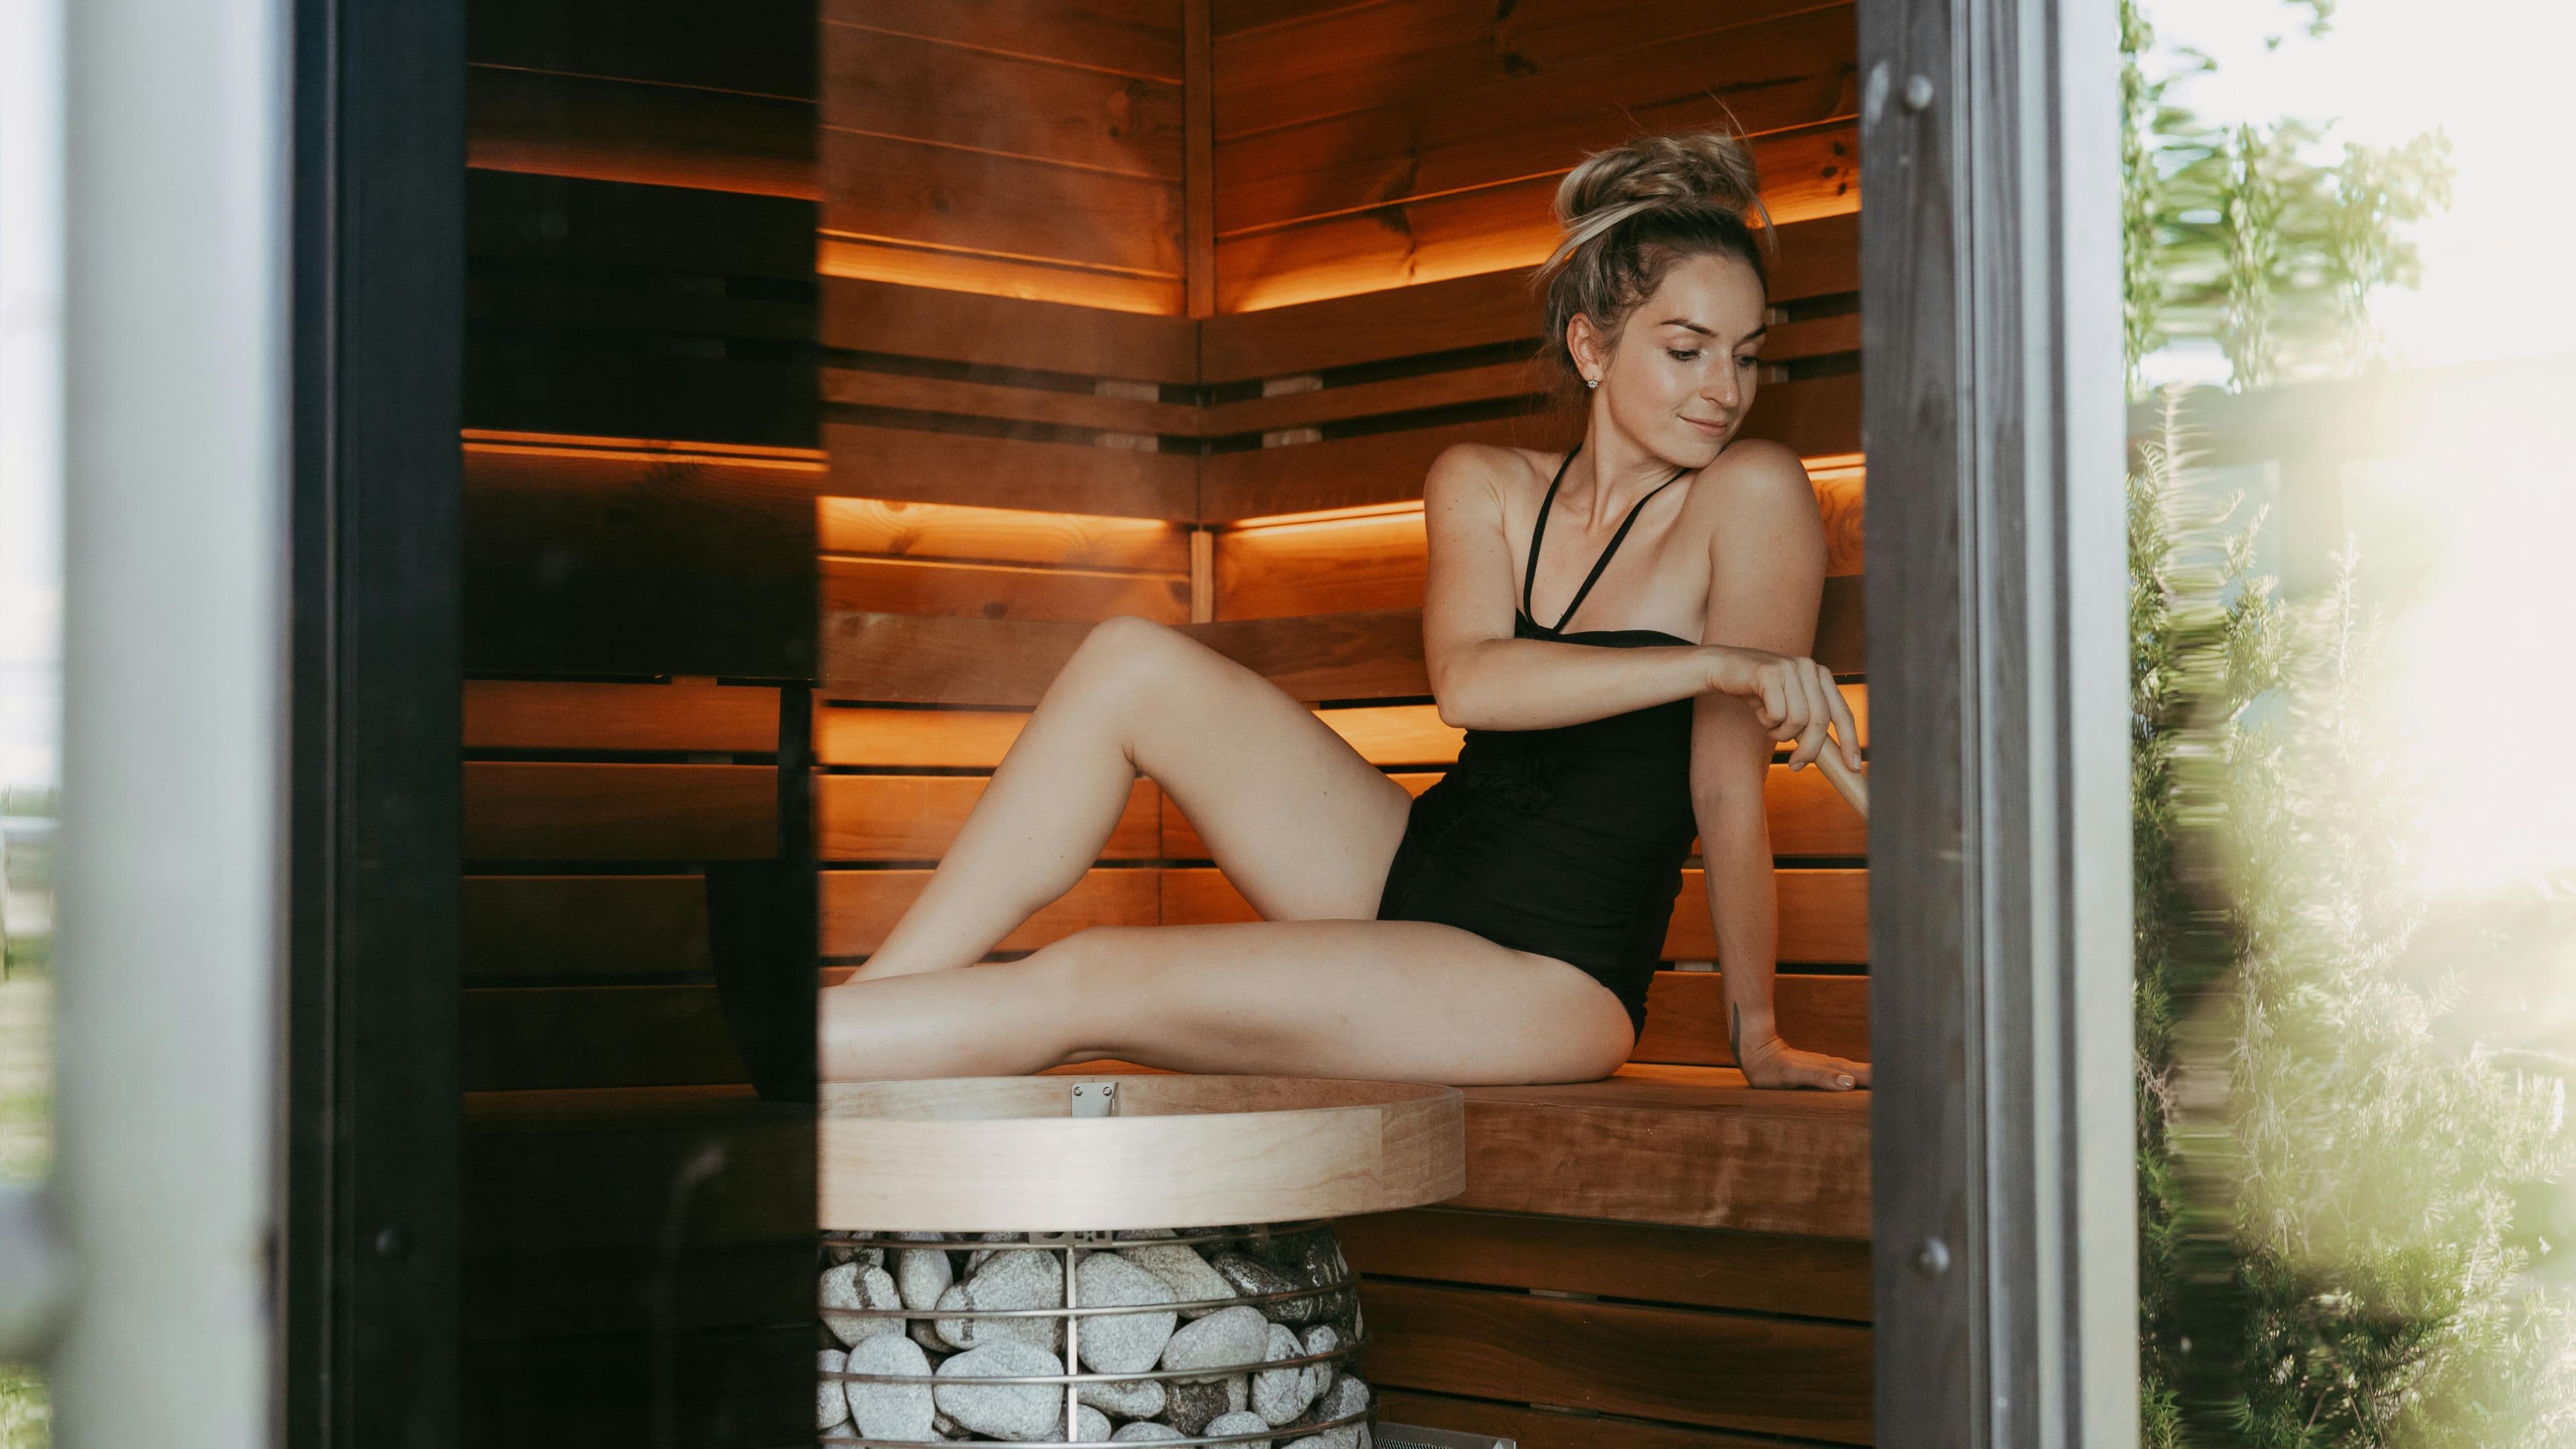
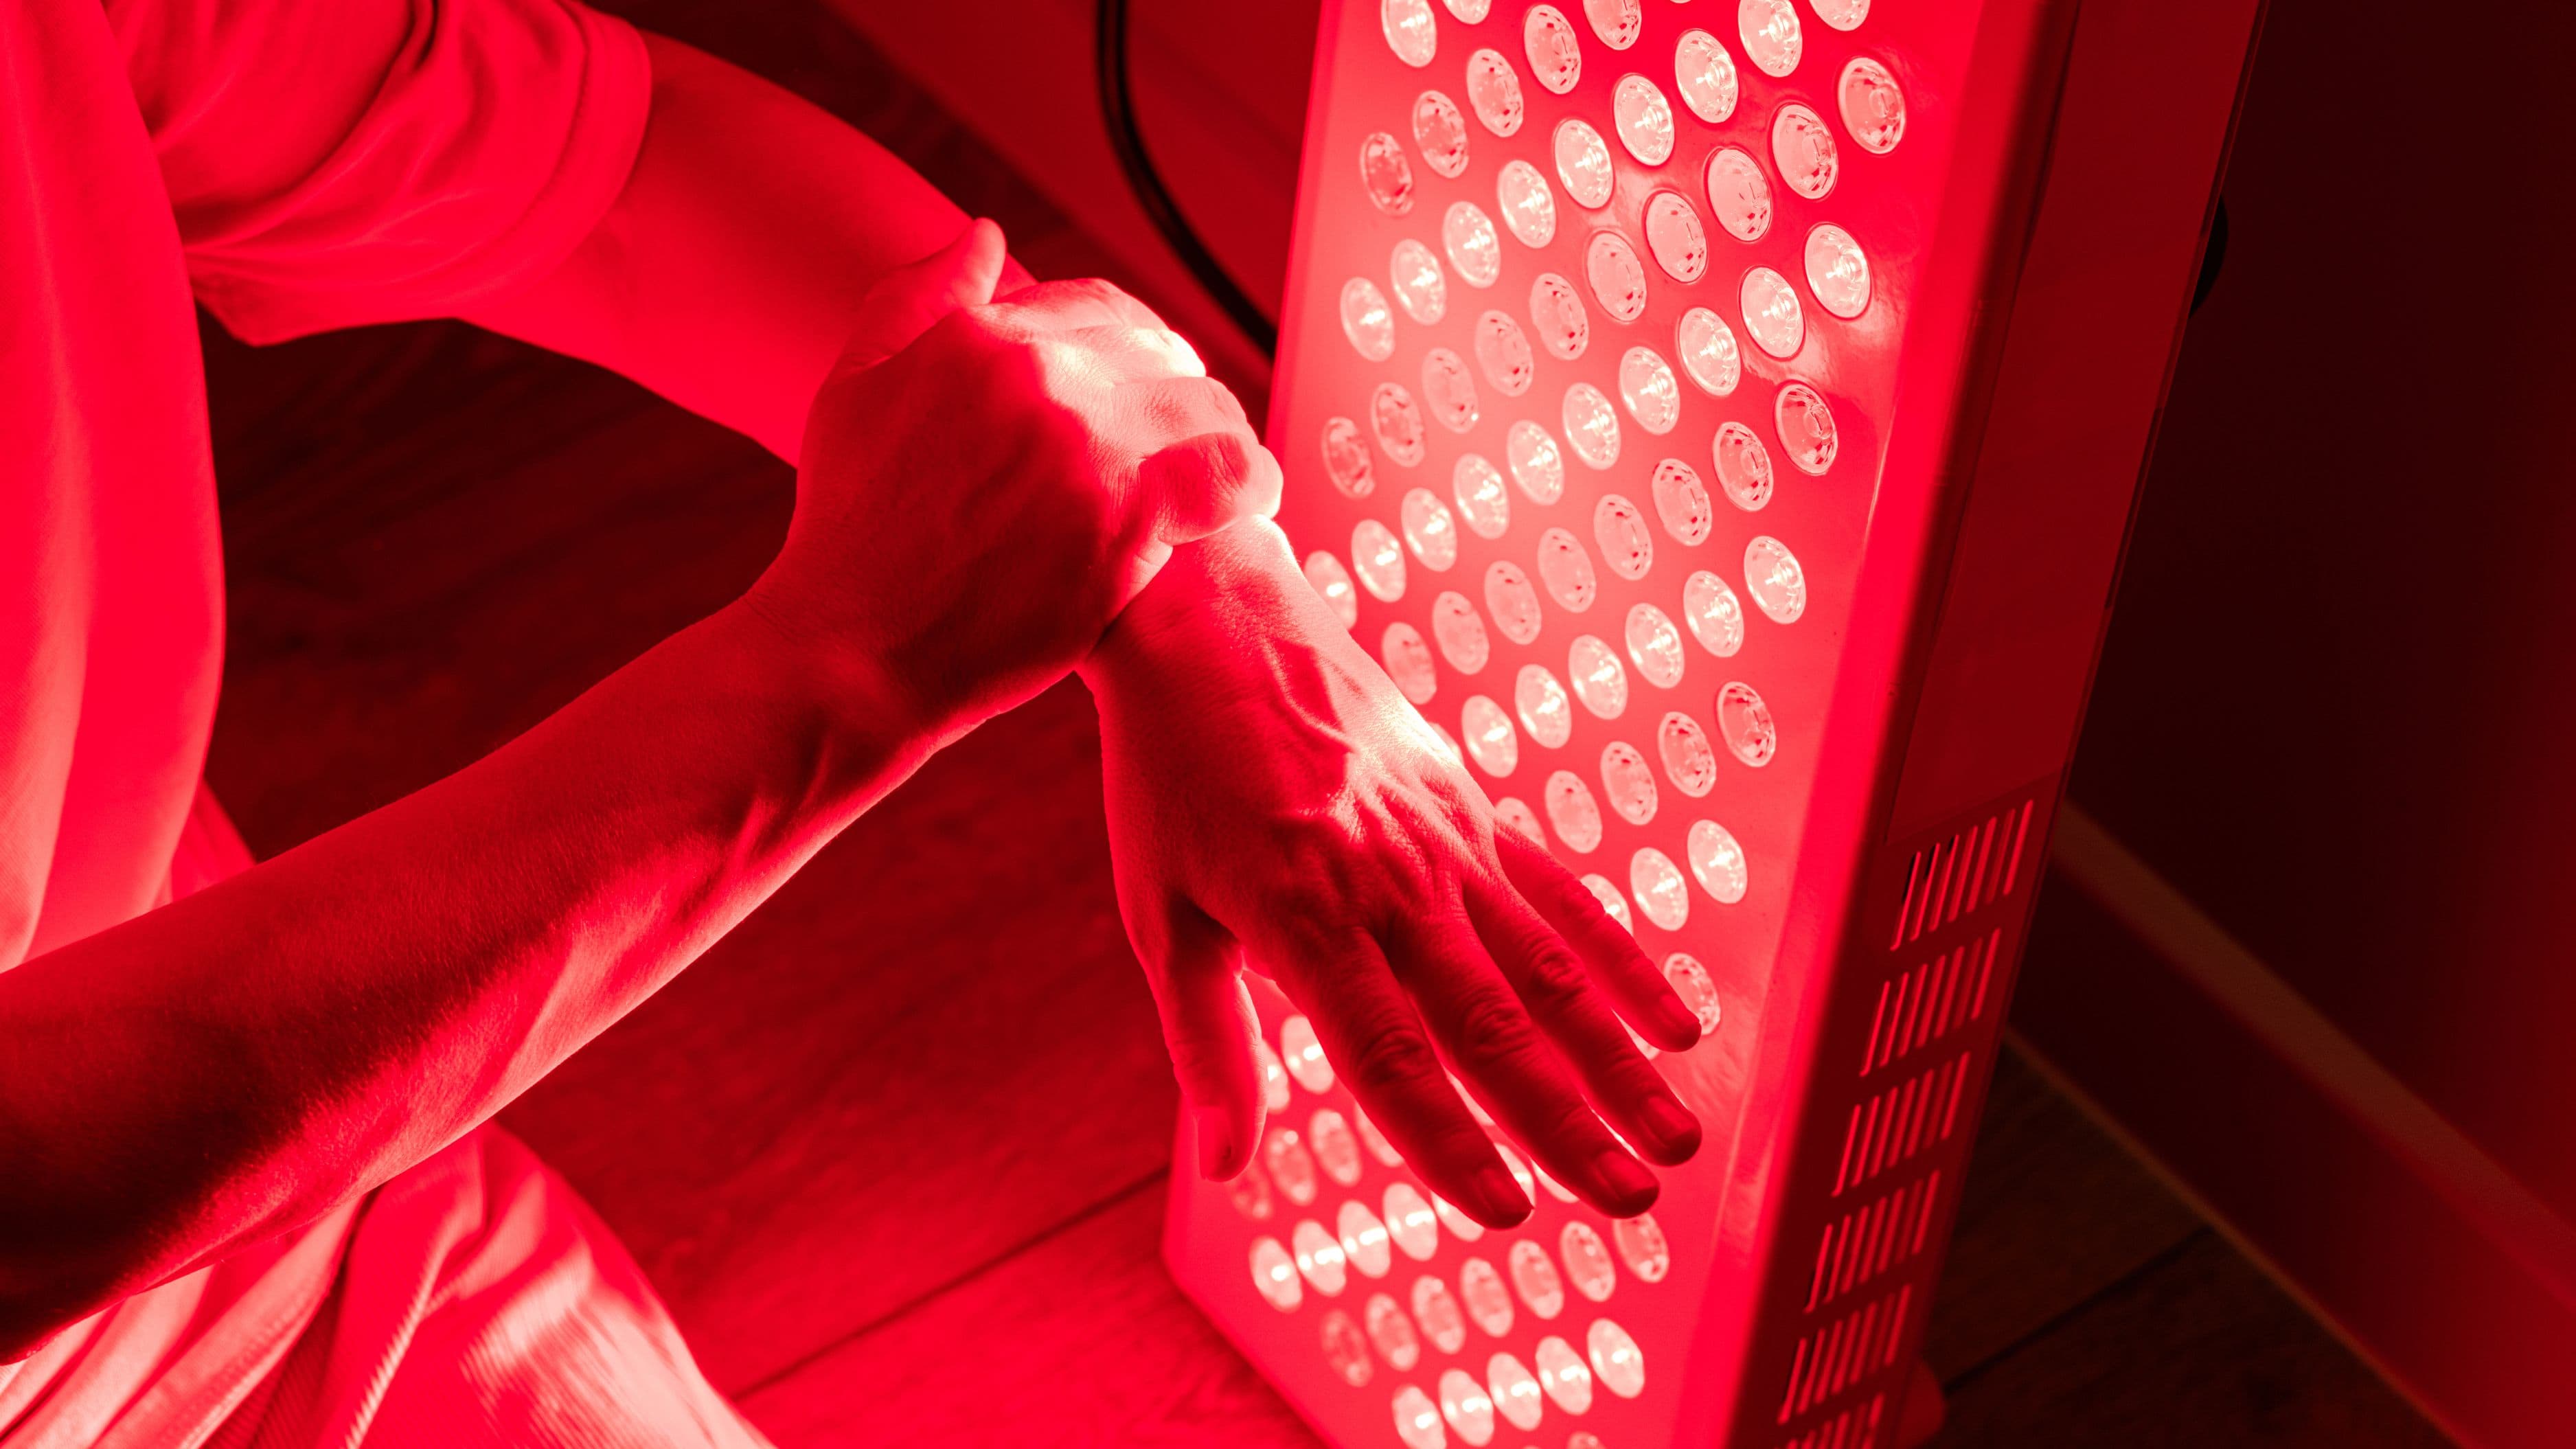
Near-infrared sauna therapy sits in a different category from the far-infrared saunas marketed to the wellness mainstream. Far-infrared panels heat the air around you. Near-infrared (NIR) panels emit radiant energy at wavelengths between 700 and 1400 nanometers that penetrate several millimeters into tissue, driving photobiomodulation pathways rather than just thermal response. The biological mechanisms – mitochondrial activation via cytochrome c oxidase, nitric oxide release, increased ATP production, and modulation of reactive oxygen species – are substantively different from what a passive heat session produces, and the research base, while still developing, is meaningfully more specific than what typically underlies far-IR marketing.
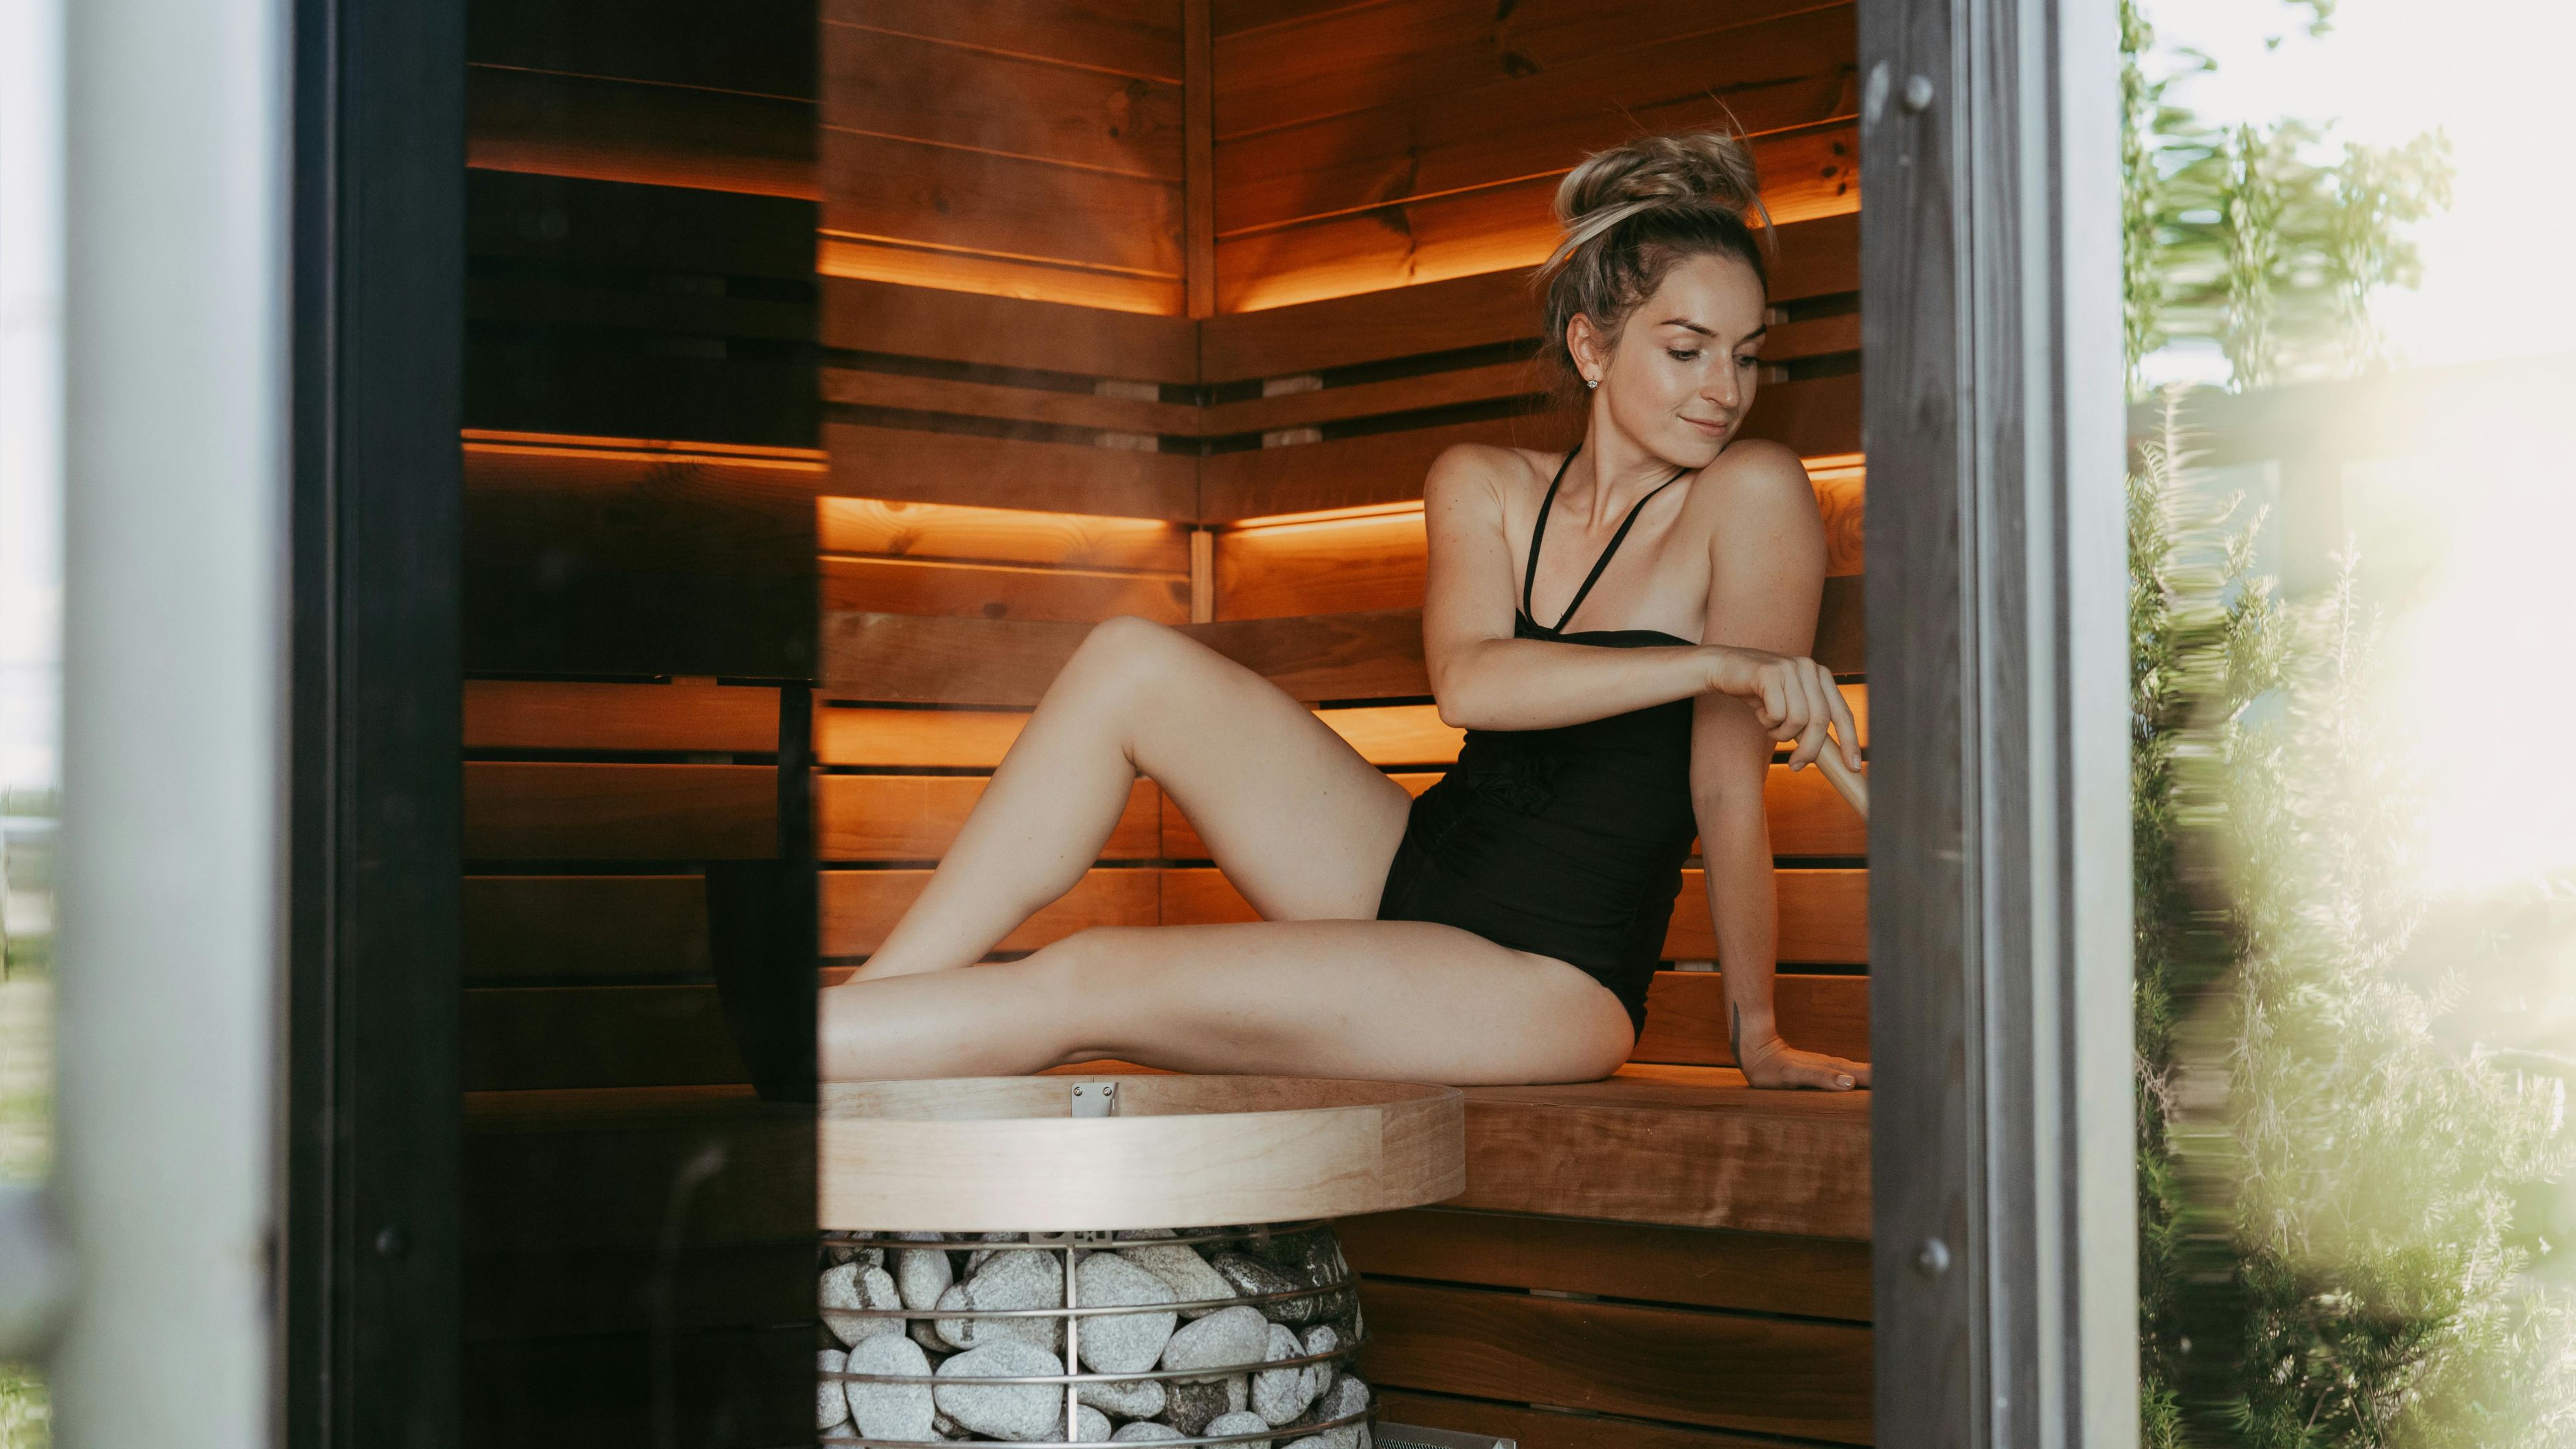
Building a dedicated NIR panel array in a spare room is one of the more efficient home biohacking investments available at the moderate budget range. Done properly, you get a controlled, durable light therapy environment that outperforms commercial red/NIR devices in total power output and panel coverage area. Done carelessly, you get a fire hazard, an EMF exposure problem, or a thermal environment that's uncomfortable rather than therapeutic. This guide covers the build correctly.
Before building anything, get clear on what you're building for. The photobiomodulation literature covers wavelengths from roughly 600 nm (red light) through 1400 nm (near-infrared). Most commercial "red light therapy" devices target 630–680 nm (visible red) and 800–850 nm (NIR), which are the wavelengths with the strongest cytochrome c oxidase activation evidence. True near-infrared sauna panels typically use heat lamp-style incandescent emitters in the 850–950 nm range, some of which also produce significant visible red output and near-UV at shorter wavelengths.
The distinction from far-infrared matters for your build because the heating mechanisms and power requirements are different. Far-IR saunas require enclosures that trap heat, insulated walls, and significant ventilation management. An NIR panel array can be used in an open room because the therapeutic mechanism is direct photonic absorption rather than ambient heat – though NIR panels do produce substantial radiant heat at therapeutic distances, and the room will warm significantly during sessions. You're building for targeted radiant exposure, not sauna-box temperatures, which simplifies the construction considerably.
Before acquiring panels, assess your electrical situation. A serious NIR panel array draws significant power, and most spare bedrooms aren't wired for the load you're about to put on them.
A single 250-watt NIR heat lamp draws roughly 2 amps on a 120V circuit. Six panels draw 12 amps. Nine panels draw 18 amps – which approaches or exceeds the capacity of a standard 15-amp bedroom circuit and is over 80 percent of a 20-amp circuit's continuous load rating. The NEC (National Electrical Code) recommends not exceeding 80 percent of a circuit's rated capacity for continuous loads, which means a nine-panel array at full draw requires a dedicated 20-amp circuit at minimum, and a twelve-panel or larger array should be on a dedicated 30-amp circuit.
If you're not certain which circuit feeds your spare room, which breaker it's on, and what other loads share that circuit, hire an electrician for a two-hour assessment before buying a single panel. Running an undersized circuit continuously at or above rated capacity degrades wiring insulation over time and creates a fire risk. This is not optional due diligence.
For a DIY-competent homeowner, running a dedicated 20-amp or 30-amp circuit from the panel to the spare room is a manageable project if you have electrical experience. For everyone else, a licensed electrician should handle the circuit work. Budget $200 to $500 for a dedicated circuit run depending on the distance from your panel and local labor rates.
The most commonly used NIR panels for home sauna arrays are standard incandescent heat lamp bulbs in 250-watt or 375-watt configurations, mounted in industrial porcelain lamp holders rated for the wattage. The porcelain fixtures are mandatory – plastic lamp holders are not rated for continuous incandescent heat loads and will fail.
250W R40 or BR40 infrared heat lamp bulbs from established manufacturers (Philips, GE, Sylvania) are the standard. They produce a peak emission around 900–1000 nm with secondary output across the visible red spectrum. Cost: $8–$15 per bulb. These are the most widely used and the most replaceable.
375W ruby-glass NIR lamps produce a higher power output with visible red filtered out by the glass coating, giving predominantly NIR output. They run hotter and require robust fixture mounting but produce more concentrated photon flux. These are used in builds prioritizing NIR output over visible red. Cost: $20–$35 per bulb.
Commercial NIR panel units from companies like SaunaSpace, Joovv, and BlockBlueLight offer purpose-built panels with higher-quality lamp housings, integrated wiring, and safety features. They cost significantly more per watt than DIY builds but reduce assembly complexity and come with technical support. For a full room array, a DIY build with quality components is substantially more cost-effective at equivalent power output.
For a spare room array, a starting configuration of six to nine 250W bulbs at a target distance of 18–24 inches from the exposure surface is a practical baseline. Twelve panels are appropriate for full-body coverage at closer distances or higher-power sessions.
Flooring protection is a practical first step. NIR panels produce radiant heat, and sitting or standing directly below a panel array during sessions will warm the floor surface. A rubber anti-fatigue mat or a wooden platform (cedar or basswood are traditional sauna materials and handle heat well) under your position during sessions protects flooring and improves comfort.
Reflective surfaces increase the effective power density of your array by redirecting NIR light that would otherwise be absorbed by walls and ceiling back toward you. Foil-faced insulation board (Reflectix or similar, available at hardware stores for $30–50 per roll) mounted on the walls surrounding the array area increases power delivery without adding panels. Cedar tongue-and-groove paneling is the traditional option for dedicated builds and handles heat well, though it's a more significant investment.
Ventilation is important even though you're not building a sealed enclosure. NIR panels run hot, and a spare room with the door closed during a 30–45 minute session will accumulate significant heat. A box fan positioned to exhaust air from the room, or leaving the door cracked during sessions, prevents uncomfortable heat buildup and reduces the thermal load on the panels themselves.
EMF mitigation is a consideration if you're working with incandescent heat lamp panels. Standard 60Hz incandescent bulbs produce negligible RF EMF but do produce measurable AC magnetic fields at close range due to the heating element. At typical therapeutic distances of 18–24 inches, the exposure is well below ICNIRP guidelines. If you're EMF-sensitive or want to minimize exposure, a simple EMF meter (the TriField TF2 at around $160 is the standard consumer reference tool) used to spot-check your session position gives you actual numbers rather than guesswork.
The mounting structure needs to safely support the weight of multiple fixtures at a fixed distance from your exposure position while allowing some angle adjustment. A few approaches work well depending on your build budget and permanence preference.
Adjustable grow light racking (the kind used for indoor horticulture, available from multiple suppliers for $80–200 depending on size) is an excellent mounting solution. These systems are rated for heavy loads, are fully height-adjustable, and allow you to mount lamp fixtures in custom configurations without permanently modifying the room. This is the recommended approach for renters or anyone who may want to reconfigure the space.
Wall-mounted conduit and fixture brackets provide a more permanent and cleaner installation. Galvanized metal conduit run horizontally at ceiling height, with porcelain fixture holders mounted at calculated spacing, gives you a durable, professional-looking result. This requires some basic metalwork skill and wall anchoring, but produces the most robust installation.
For a basic six-panel array, mount three fixtures per row in two horizontal rows, spaced 12 inches apart within rows, with rows separated by 18 inches vertically. This produces a roughly 36-inch wide by 36-inch tall exposure surface at a target position 18–24 inches in front of the array.
Wiring the fixtures: use 14-gauge wire for circuits up to 15 amps, 12-gauge for 20-amp circuits. Porcelain fixtures have terminal screws for direct wire connection. Wiring multiple fixtures in parallel (rather than series) ensures each bulb receives full voltage. A surface-mounted metal junction box and quality wire connectors should be used at every splice. Ground all metal fixture bodies. If this level of electrical work is outside your comfort zone, have an electrician wire the fixture array after you've positioned and mounted the housings.
Route all wiring to a single switched outlet on your dedicated circuit. An in-line timer switch (with a mechanical rather than digital timer, to minimize EMF from switching electronics) allows session duration control without remaining in the room to monitor time.
The research on photobiomodulation dosing points toward irradiance (power density at the skin surface, measured in mW/cm²) and exposure duration as the key variables, with a biphasic dose-response curve – more is not always better, and very high doses can inhibit the same pathways that moderate doses stimulate.
At 18 inches from a standard 250W NIR lamp, irradiance is approximately 40–60 mW/cm². Targeting a total dose of 3–6 J/cm² per session per body region is a commonly referenced range in the PBM literature for musculoskeletal and systemic effects. At 50 mW/cm², reaching 3 J/cm² takes 60 seconds; reaching 6 J/cm² takes 120 seconds. A 20–30 minute whole-body session produces considerably higher total energy delivery, which is why near-infrared sauna use is treated as a different protocol from precise PBM spot treatment – you're delivering systemic rather than targeted exposure.
Start with sessions of 10 to 15 minutes at 18–24 inches and gauge your response. Skin warmth and mild sweating are expected. Sunburn-like response (redness that persists more than 30 minutes post-session) indicates excessive dose at that distance or duration. Adjust distance and duration based on your individual response before committing to daily long sessions.
Eye protection is mandatory. NIR radiation at therapeutic intensities is hazardous to the eyes even though it's invisible and produces no pain signal. IR-protective glasses (wrap-around glasses rated for near-infrared wavelengths) should be worn during every session. Standard sunglasses do not provide adequate NIR protection.
Run a dedicated circuit sized for your actual load with appropriate breaker protection. Use porcelain fixtures rated for your bulb wattage – not plastic. Ground all metal components. Ensure adequate ventilation during sessions. Wear IR-protective eyewear without exception. Keep flammable materials at least two feet from active panels. Install a heat-rated smoke detector in the room if one isn't already present. Never leave the array running unattended for extended periods.
What's the total cost of a DIY six-panel NIR array?
A basic six-panel 250W build using an adjustable rack, porcelain fixtures, quality wiring components, and a dedicated circuit runs approximately $300 to $600 for materials plus $200 to $400 for an electrician if you're not doing the circuit work yourself. A twelve-panel build at the same specification runs $500 to $900 in materials. Commercial equivalent systems (SaunaSpace, Joovv) with comparable output run $2,000 to $4,000, making the DIY route substantially more cost-effective for someone comfortable with the build process.
How does this compare to commercial red/NIR therapy panels from companies like Joovv or PlatinumLED?
Commercial LED-based red/NIR panels use high-power LEDs at specific targeted wavelengths (typically 630, 660, 810, 830, 850 nm) rather than broadband incandescent emission. They produce less heat per watt of NIR output, have more precise wavelength targeting, and run cooler overall. For specific PBM wavelength protocols, a quality LED panel is more precise. For full-body heat-plus-NIR sauna-style sessions, broadband NIR heat lamps produce higher total radiant heat output that most users prefer for the sauna experience. They serve overlapping but distinguishable use cases.
Can I use this setup daily?
Daily use is supported by the current literature for most healthy adults at moderate doses. Starting with three to four sessions per week and assessing response over the first month before moving to daily use is the more conservative and generally recommended approach. If you're on photosensitizing medications (certain antibiotics, NSAIDs, some antidepressants) or have conditions that affect skin photosensitivity, consult with your physician before beginning.
What's the difference between this and a traditional Finnish sauna?
A traditional Finnish sauna heats via convective hot air (typically 80–100°C) and steam, producing a primarily thermal effect on the cardiovascular system, skin circulation, and thermoregulatory pathways. An NIR panel array produces thermal effects alongside direct photobiomodulation via radiant NIR absorption in tissue. The protocols, temperatures, and physiological mechanisms overlap in some areas and differ significantly in others. Both have research support; they're not interchangeable therapeutic tools.
A properly built NIR panel array is a durable, high-value installation that costs a fraction of commercial equivalents and delivers equal or superior performance. The electrical groundwork and safety practices are the non-negotiable elements of the build. Everything else is configuration and protocol optimization.
Hamblin MR – Mechanisms and mitochondrial redox signaling in photobiomodulation – Photochemistry and Photobiology, 2018 – https://www.ncbi.nlm.nih.gov/pmc/articles/PMC6089267/
Chung H et al. – The nuts and bolts of low-level laser therapy – Annals of Biomedical Engineering, 2012 – https://www.ncbi.nlm.nih.gov/pmc/articles/PMC3288797/
ICNIRP – Guidelines on limits of exposure to incoherent visible and infrared radiation – https://www.icnirp.org/cms/upload/publications/ICNIRPVisible_Infrared2013.pdf
National Electrical Code (NFPA 70) – Article 210 continuous load requirements – https://www.nfpa.org/codes-and-standards/all-codes-and-standards/list-of-codes-and-standards/detail?code=70
Ley A et al. – Near-infrared photobiomodulation in sports medicine – Lasers in Medical Science, 2019 – https://pubmed.ncbi.nlm.nih.gov/30443748/