A home gym that actually covers every performance need isn't built around a shopping list. It's built around a framework – strength, conditioning, mobility, and recovery – and equipped with the minimum effective tools in each category. What follows is that build, priced realistically, sequenced intelligently, and oriented toward the serious recreational athlete or performance-focused individual who wants to stop making excuses about training access.
The Framework Before the Equipment
Before any purchase, establish what "covering every performance need" actually means for a human who trains for health, body composition, strength, and longevity. Four categories cover the full spectrum:
Strength and Power – Progressive overload through compound movement patterns. The irreplaceable foundation. Nothing else substitutes for it.
Conditioning and Cardiovascular Capacity – Aerobic base, lactate threshold work, and high-intensity intervals. Frequently neglected in home gym builds because cardio equipment is expensive and space-hungry. There are smarter solutions.
Mobility and Movement Quality – Active range of motion, tissue quality, and joint health. Often treated as optional. It isn't, particularly past 30.
Recovery – Sleep quality aside, the physical recovery modalities that accelerate adaptation and reduce injury risk. Cold exposure, heat, compression, soft tissue work.
Build with all four in mind. Prioritize in the order listed – strength infrastructure is the foundation everything else sits on. Add conditioning, mobility, and recovery tools in subsequent phases without exceeding your space or budget constraints.
Phase 1 – Strength Infrastructure
This is the non-negotiable core. Everything else in a performance-focused home gym is built around it.
Power Rack
A quality power rack is the single most important purchase in any serious home gym. It determines what you can safely train alone, what loading ceiling you can reach, and how much your gym can grow with you. The benchmark for a home gym rack is a unit that handles 1,000+ lb rated capacity, includes adjustable j-hooks and safety bars, has a pull-up bar integrated into the uprights, and accepts standard attachments (lat pulldown, cable, dip bar) without requiring a second piece of equipment.
Rogue's R-3 or R-4 series represents the quality benchmark. REP Fitness's PR-4000 hits the same performance standard at a lower price point and has become one of the most respected value options in the space. Budget $500–$900 for a rack that will outlast every other piece of equipment you own. Avoid budget racks rated below 700 lbs – the uprights flex under heavy loading and the safeties can't be trusted.
Cost: $500–$900
Barbell
Not all barbells are equivalent, and the difference matters at submaximal loads you'll actually train with. A quality barbell needs adequate whip for Olympic lifting if that's in your protocol, sufficient tensile strength (180,000 PSI minimum) to handle maximal loading without permanent deformation, and reliable knurling that grips without shredding your hands over time.
The Rogue Ohio Bar remains the benchmark for a dual-purpose powerlifting and Olympic lifting barbell. At $300, it's not cheap – but it's a one-time purchase for something you'll use daily for a decade. REP Colorado Bar is a genuine alternative at $270. Texas Power Bar is the right choice if your training is strictly powerlifting and you want more aggressive knurling and less whip. Avoid anything under $200 unless buying secondhand from a known brand.
Cost: $270–$350
Weight Plates
Calibrated competition plates are overkill for a home gym. Bumper plates are worth consideration if your floor can't absorb drops – rubber deadlifts and Olympic lifting become viable options that would otherwise require expensive platform construction. For a purely strength-focused build without Olympic lifting, standard iron plates on a urethane bumper base set works well.
A practical starter set: 2x45 lb, 2x35 lb, 2x25 lb, 4x10 lb, 4x5 lb, 2x2.5 lb. That covers 45 lb to 365 lb loading range – sufficient for the vast majority of training cycles. Buy secondhand if possible; plates are plates, and secondhand iron in good condition from a gym closeout costs $0.50–$0.75/lb versus $1.50–$2.50/lb new.
Cost: $300–$600 (secondhand iron) to $600–$900 (new bumpers)
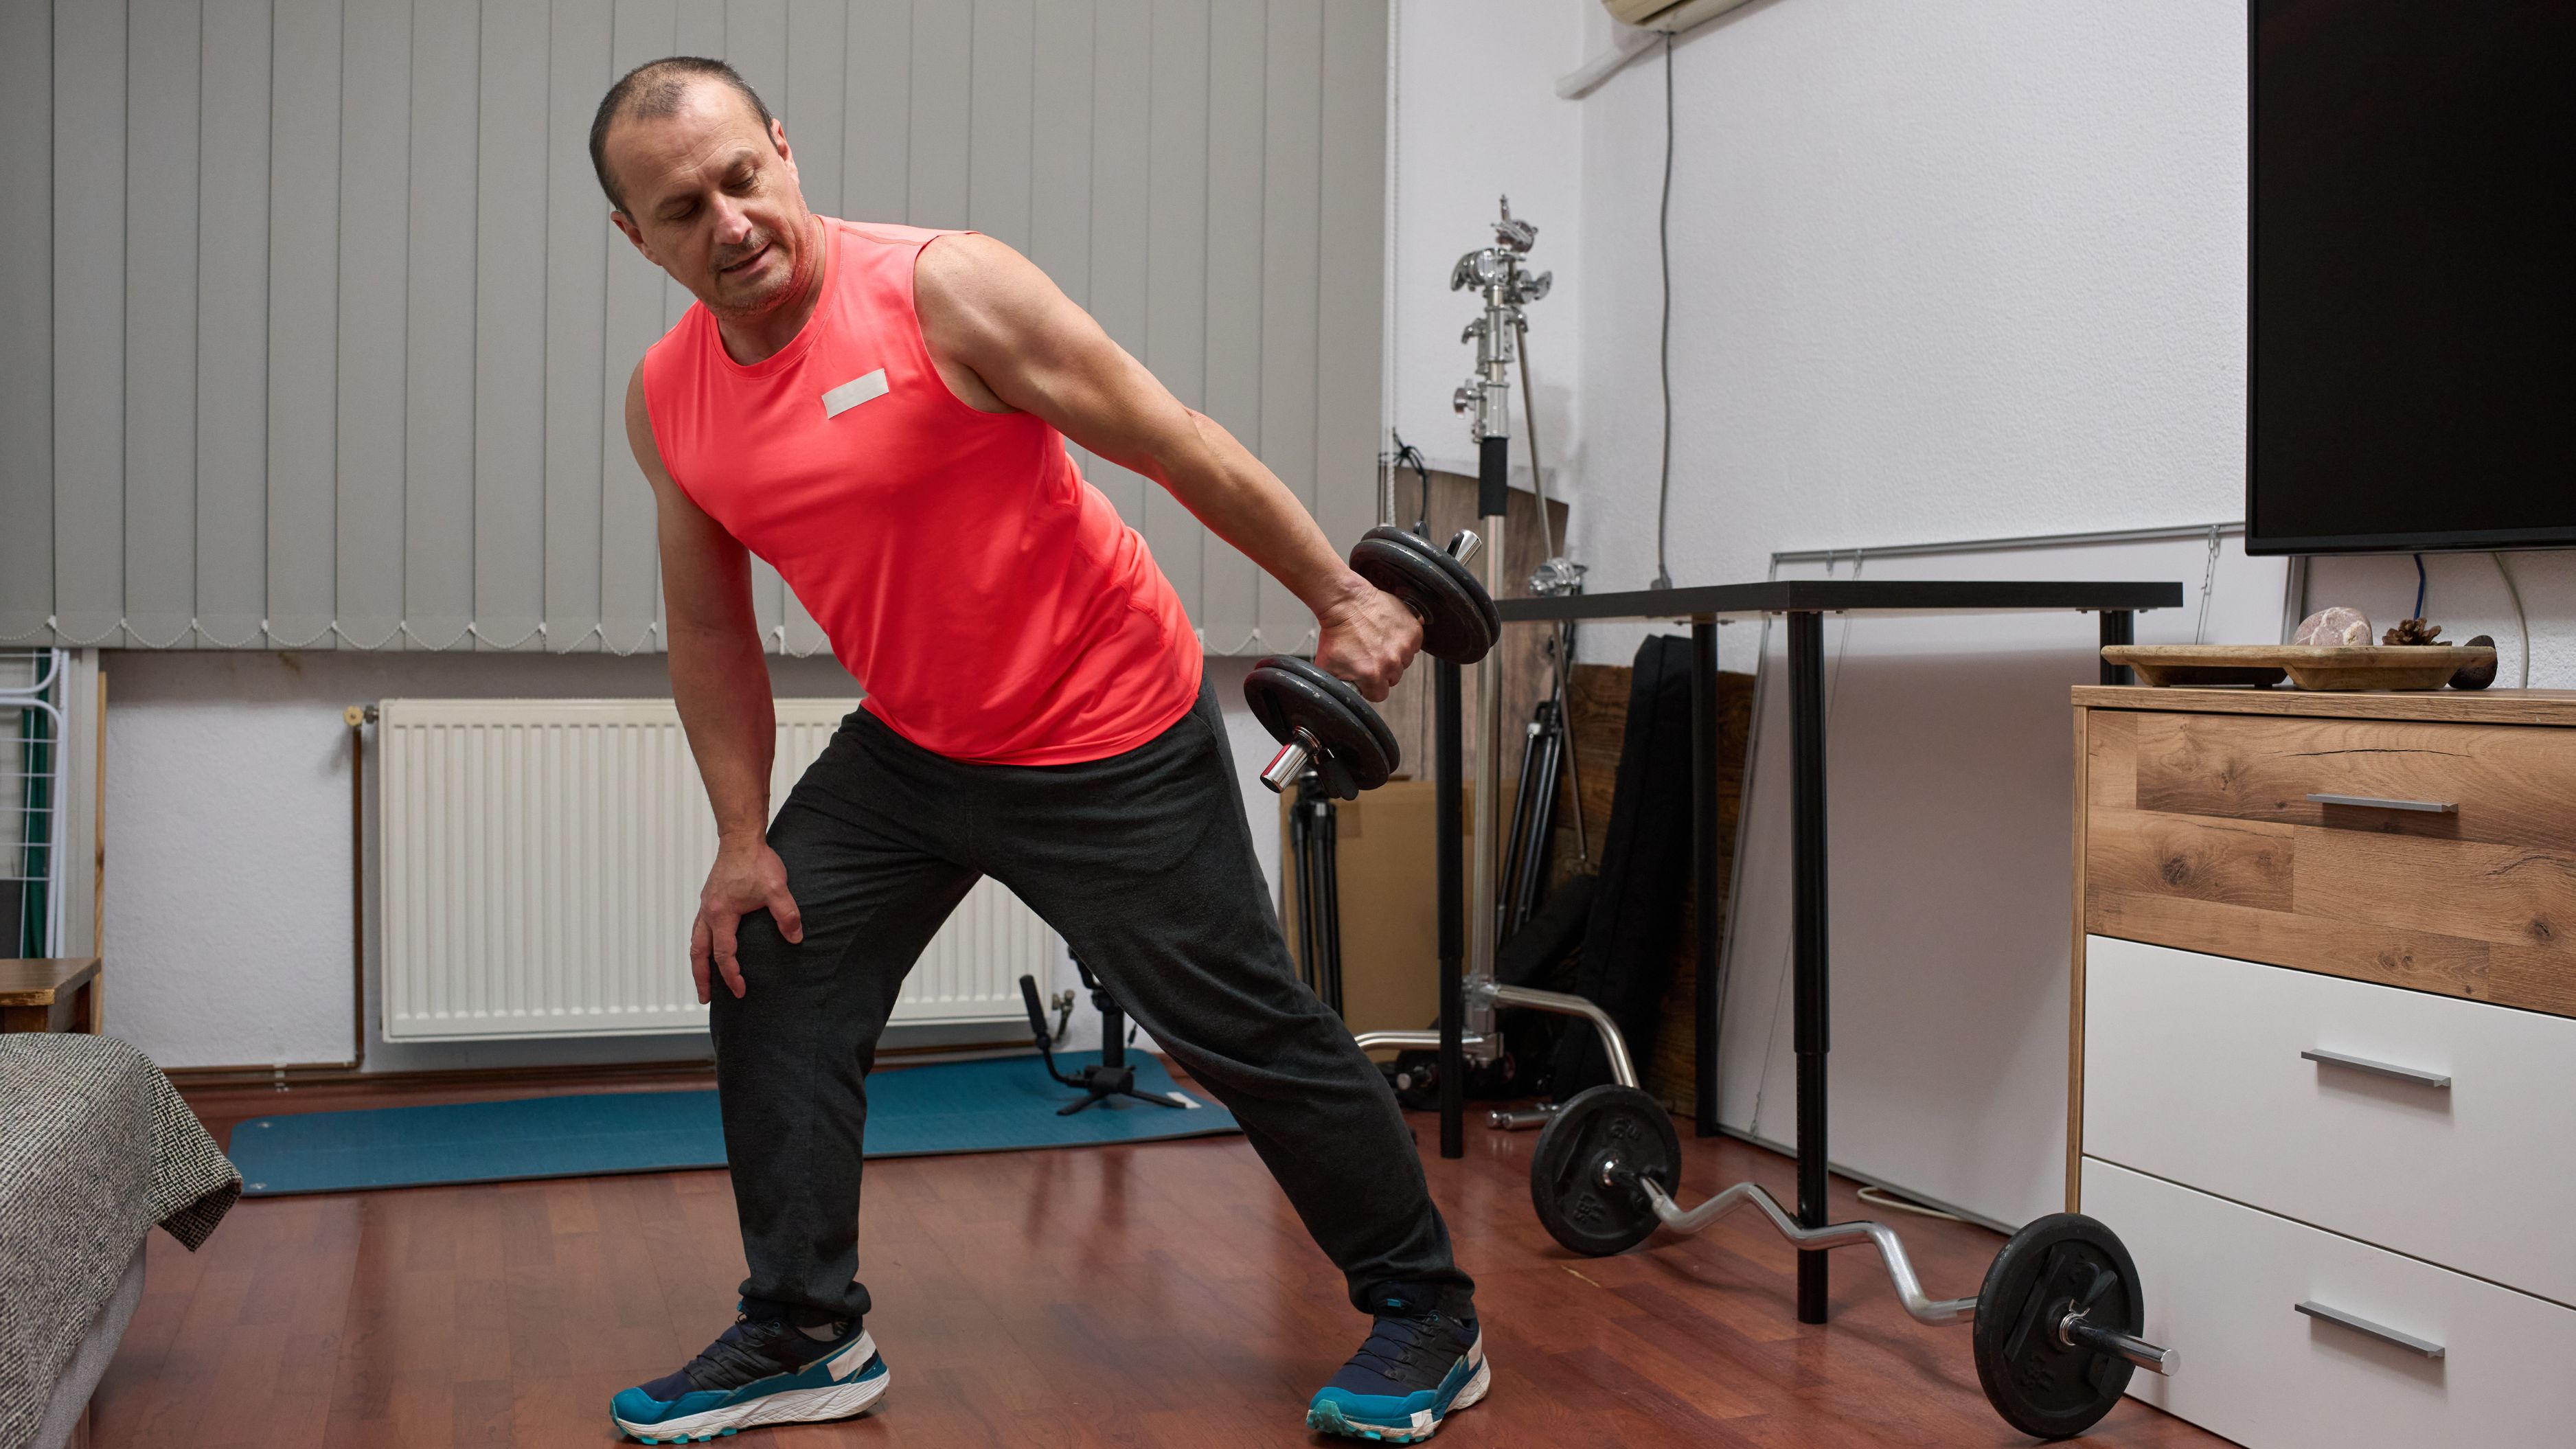
Adjustable Dumbbells
Fixed dumbbell sets up to 100 lbs per hand require enormous space and significant cost. Adjustable dumbbells eliminate both problems. The Bowflex SelectTech 1090s (10–90 lbs per handle) or the PowerBlock Elite series cover the loading range required for accessory work, unilateral training, and dumbbell-specific movements that don't translate to barbell work.
The criticism of adjustable dumbbells – that they're slower to adjust mid-set – is valid but operationally irrelevant for how most serious athletes actually train accessories. The space and cost savings more than compensate.
Cost: $300–$500 for a quality pair
Flat/Adjustable Bench
An adjustable bench that goes flat, incline, and decline covers every pressing variation. The REP AB-5200 and Rogue Adjustable Bench 2.0 are both well-built and stable under heavy loading. Avoid benches with excessive pad wobble or weak hinge mechanisms – instability under a loaded barbell is a safety issue, not just an annoyance. A quality adjustable bench runs $250–$400 and should feel like a fixed bench when locked into any position.
Cost: $250–$400
Phase 1 Total: $1,620–$3,150
This is the floor. A rack, barbell, plates, dumbbells, and bench cover squats, deadlifts, bench press, overhead press, rows, and every compound movement pattern that drives 80% of strength and hypertrophy adaptation. Everything from here is additive, not foundational.
Phase 2 – Conditioning
The most common gap in home gym builds. Conditioning is frequently deprioritized because effective cardio equipment is expensive and large – but there are tools that deliver serious metabolic stimulus in a fraction of the space.
Assault Bike (Fan Bike)
The Assault AirBike is the single most effective conditioning tool per square foot of floor space available. The dual-arm drive mechanism engages the upper body simultaneously with the lower body, making the output demand significantly higher than a standard bike at equivalent perceived effort. A 20-minute Zone 2 session builds genuine aerobic base. A 10-round Tabata protocol at max effort produces a metabolic stimulus comparable to much longer moderate-intensity work.
The Assault AirBike Classic runs $699. The Rogue Echo Bike at $795 is a meaningful upgrade in build quality and durability. Either is a legitimate tool. The Echo Bike's heavier flywheel produces a smoother resistance curve that most experienced athletes prefer. Budget $700–$800 and treat it as a permanent fixture.
Cost: $700–$800
Jump Rope (Speed and Double-Under Capable)
A quality speed rope is the most space-efficient conditioning tool in existence. Ten minutes of serious jump rope work – double-unders, alternating foot speed intervals – delivers legitimate cardiovascular stimulus that translates to coordination, foot speed, and lactate threshold development. RX Smart Gear and RPM Speed Ropes produce competition-grade ropes at $30–$60 that last for years. This is one of the highest return-on-investment purchases in any home gym.
Cost: $30–$60
Kettlebells (Conditioning Specific)
Kettlebells bridge the strength and conditioning categories in a way no other tool matches. Swings, cleans, snatches, and carries performed at moderate-to-high rep ranges produce a cardiovascular response that a barbell simply can't replicate. A 24 kg (53 lb) and 32 kg (70 lb) bell cover the majority of two-handed and one-handed work for most athletes. Cast iron bells from Rogue, REP, or Kettlebell Kings are the standard – avoid coated bells with seam lines that tear hands during high-rep work.
Cost: $150–$250 for two quality bells
Phase 2 Total: $880–$1,110
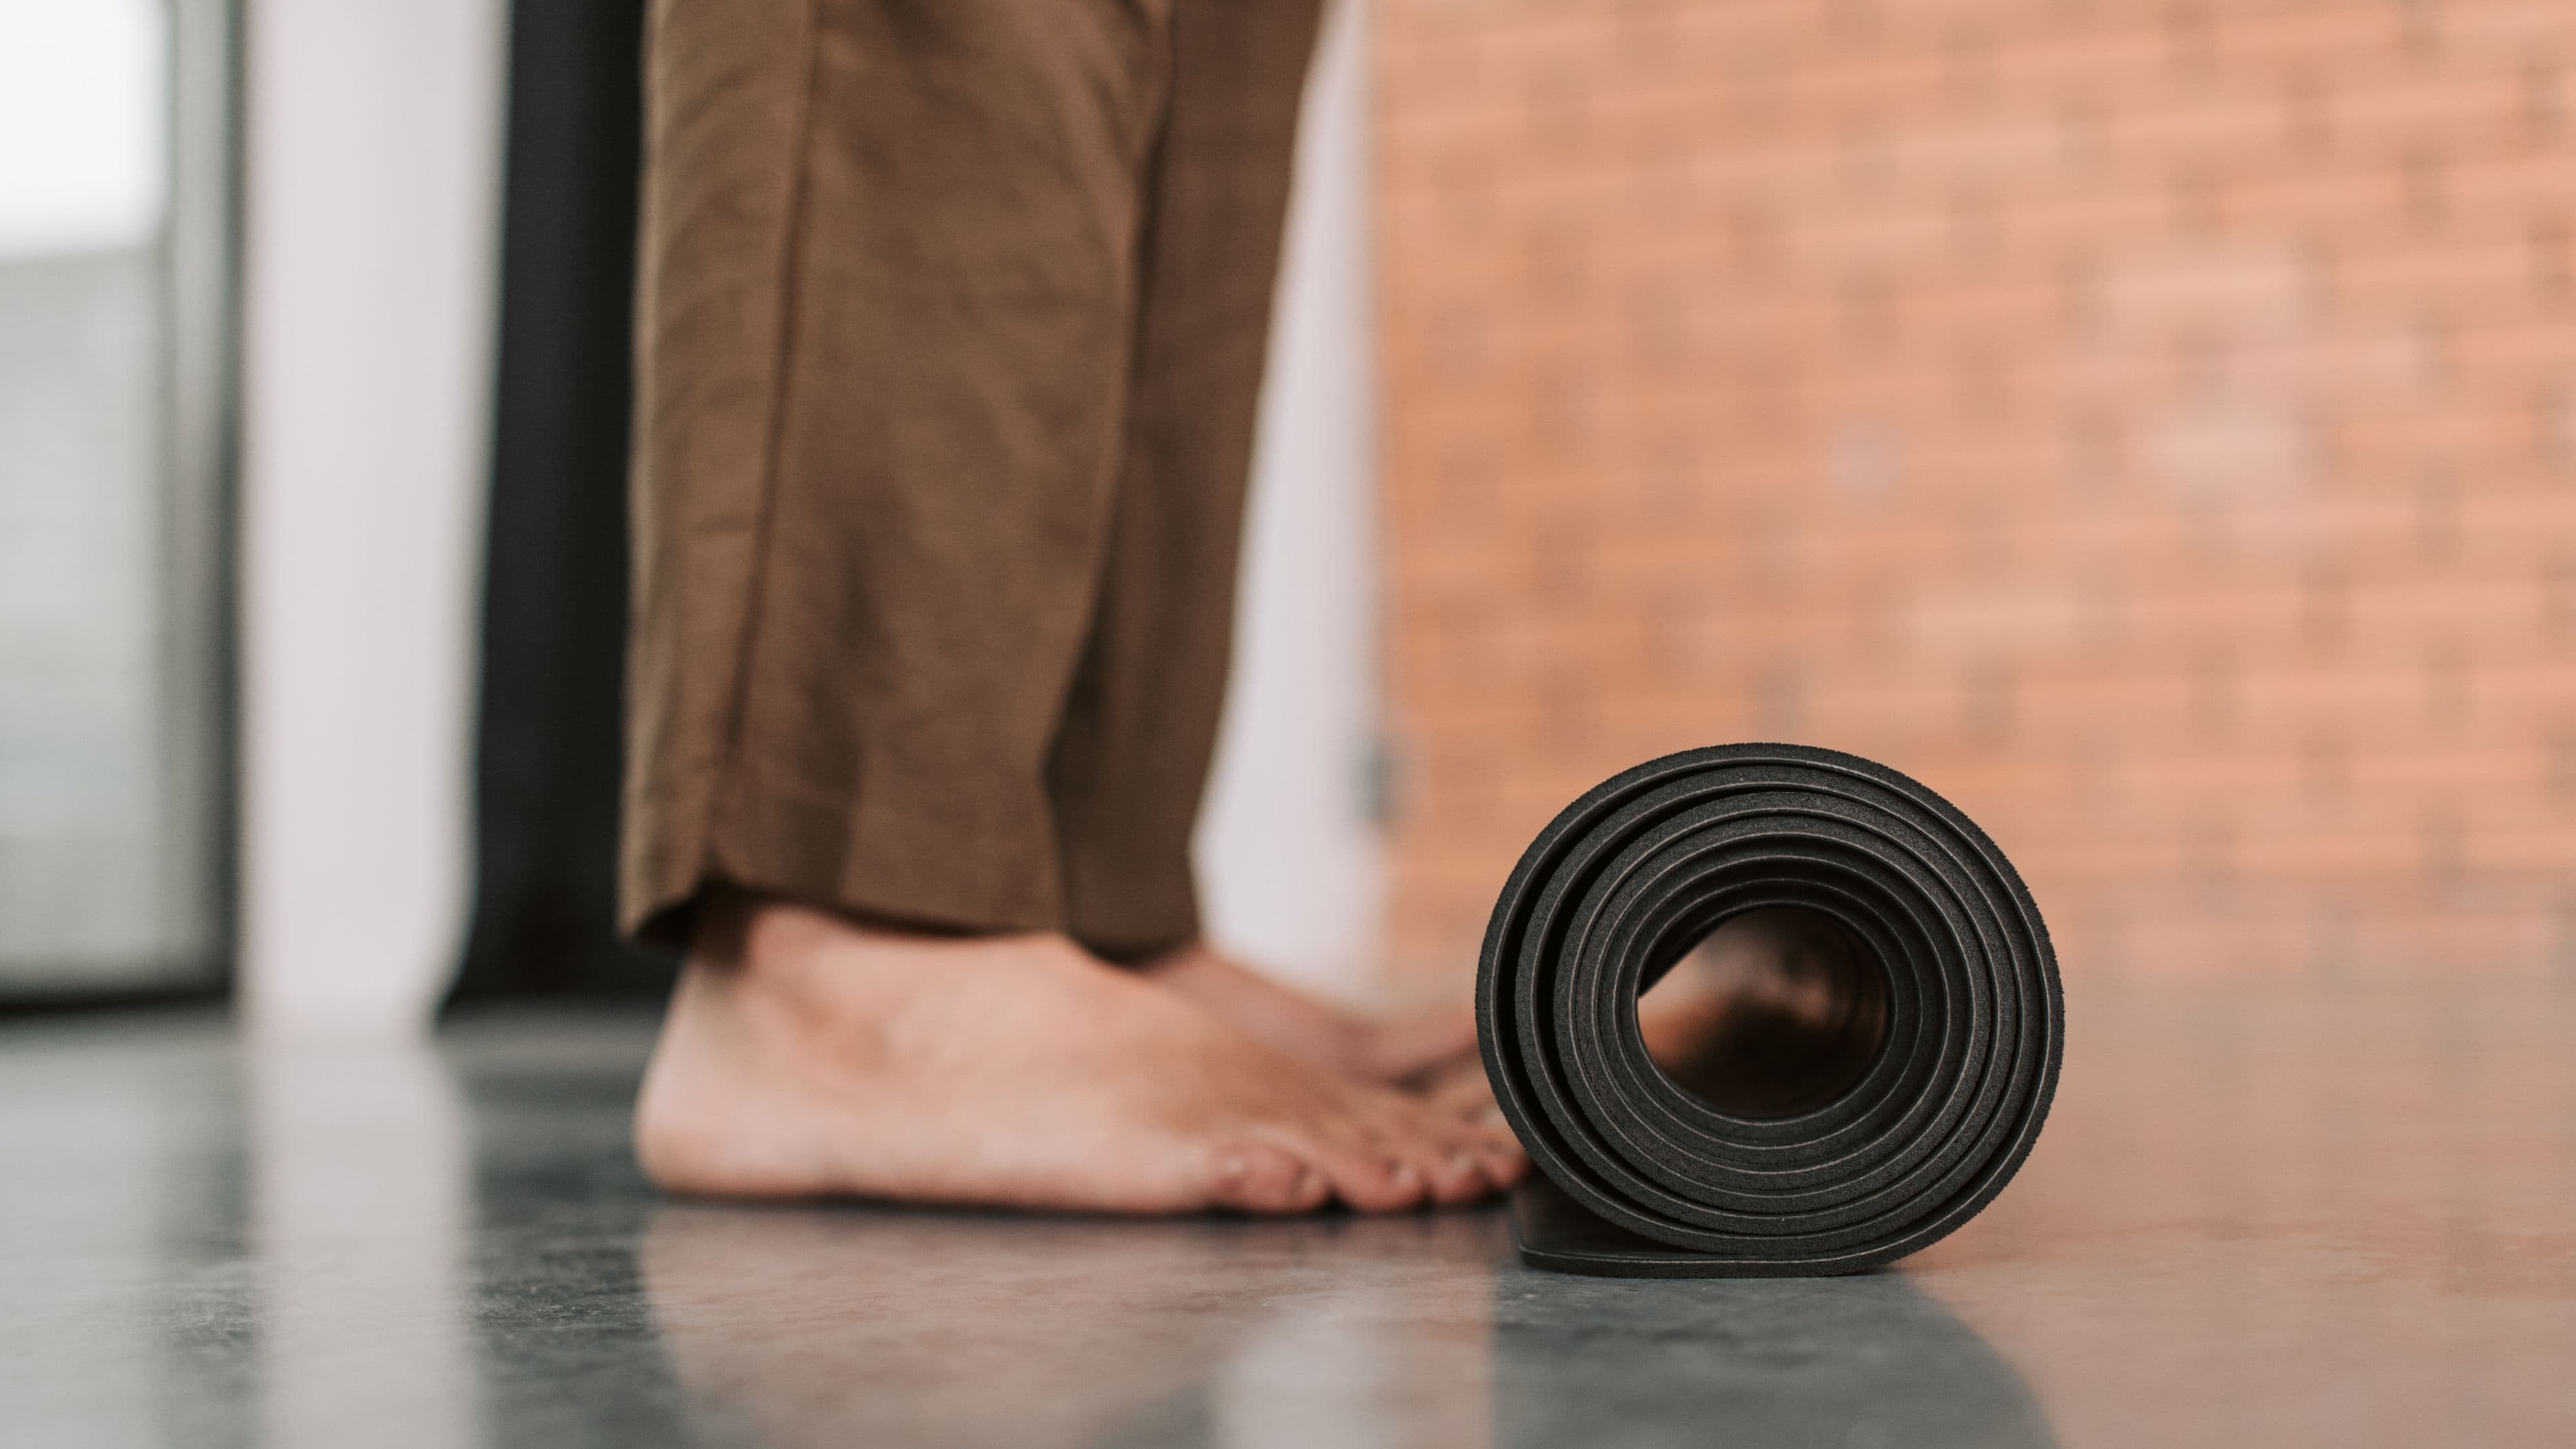
Phase 3 – Mobility and Movement Quality
This phase is frequently treated as an afterthought. It shouldn't be. Mobility work done consistently maintains the joint range of motion required to train compound movements safely as loading increases and age compounds. It also directly reduces injury frequency – the single biggest training disruptor for anyone past 25.
Gymnastics Rings
Rings hanging from your power rack uprights or ceiling mount are among the most versatile tools for mobility and upper body movement quality work. Ring support holds, ring rows, ring push-ups, and skin-the-cat progressions develop shoulder stability, scapular control, and overhead mobility in ways that static stretching and band work simply can't match. Gymnastic rings from Rogue or Rep run $35–$75 and mount in minutes.
Cost: $35–$75
Landmine Attachment
A landmine attachment connects to any standard power rack upright and transforms a loaded barbell into a rotational, arc-path tool. Landmine presses, rows, squats, and rotational work target movement patterns and planes of motion that straight-bar exercises don't reach. For thoracic rotation, shoulder health, and anti-rotation core development, the landmine is one of the most underutilized tools in strength training. Most rack manufacturers offer compatible attachments for $30–$60.
Cost: $30–$60
Foam Roller and Lacrosse Balls
Soft tissue work between sessions and before training reduces adhesions, improves local blood flow, and maintains tissue quality that compounds significantly over years of training. A high-density foam roller ($25–$40) and two lacrosse balls ($5–$10) cover the vast majority of soft tissue maintenance work for the lower body, thoracic spine, lats, and posterior shoulder. Low cost, high return.
Cost: $30–$50
Pull-Up Bar / Gymnastic Work Station
If your rack doesn't include an integrated pull-up bar – or if you want additional mounting options – a ceiling-mounted pull-up station or wall-mounted bar provides vertical pull capacity at every grip width. Neutral grip, wide overhand, close supinated, and towel pull-up variations each target different aspects of back and shoulder function. If your rack includes a pull-up bar (most quality racks do), skip this line item.
Cost: $0 (included in rack) or $50–$150 additional
Phase 3 Total: $95–$185
Phase 4 – Recovery
Recovery infrastructure in a home gym is what separates a serious performance setup from a garage with equipment in it. The tools in this category don't build fitness directly – they allow more of the fitness you build to actually express itself by reducing the accumulating cost of hard training.
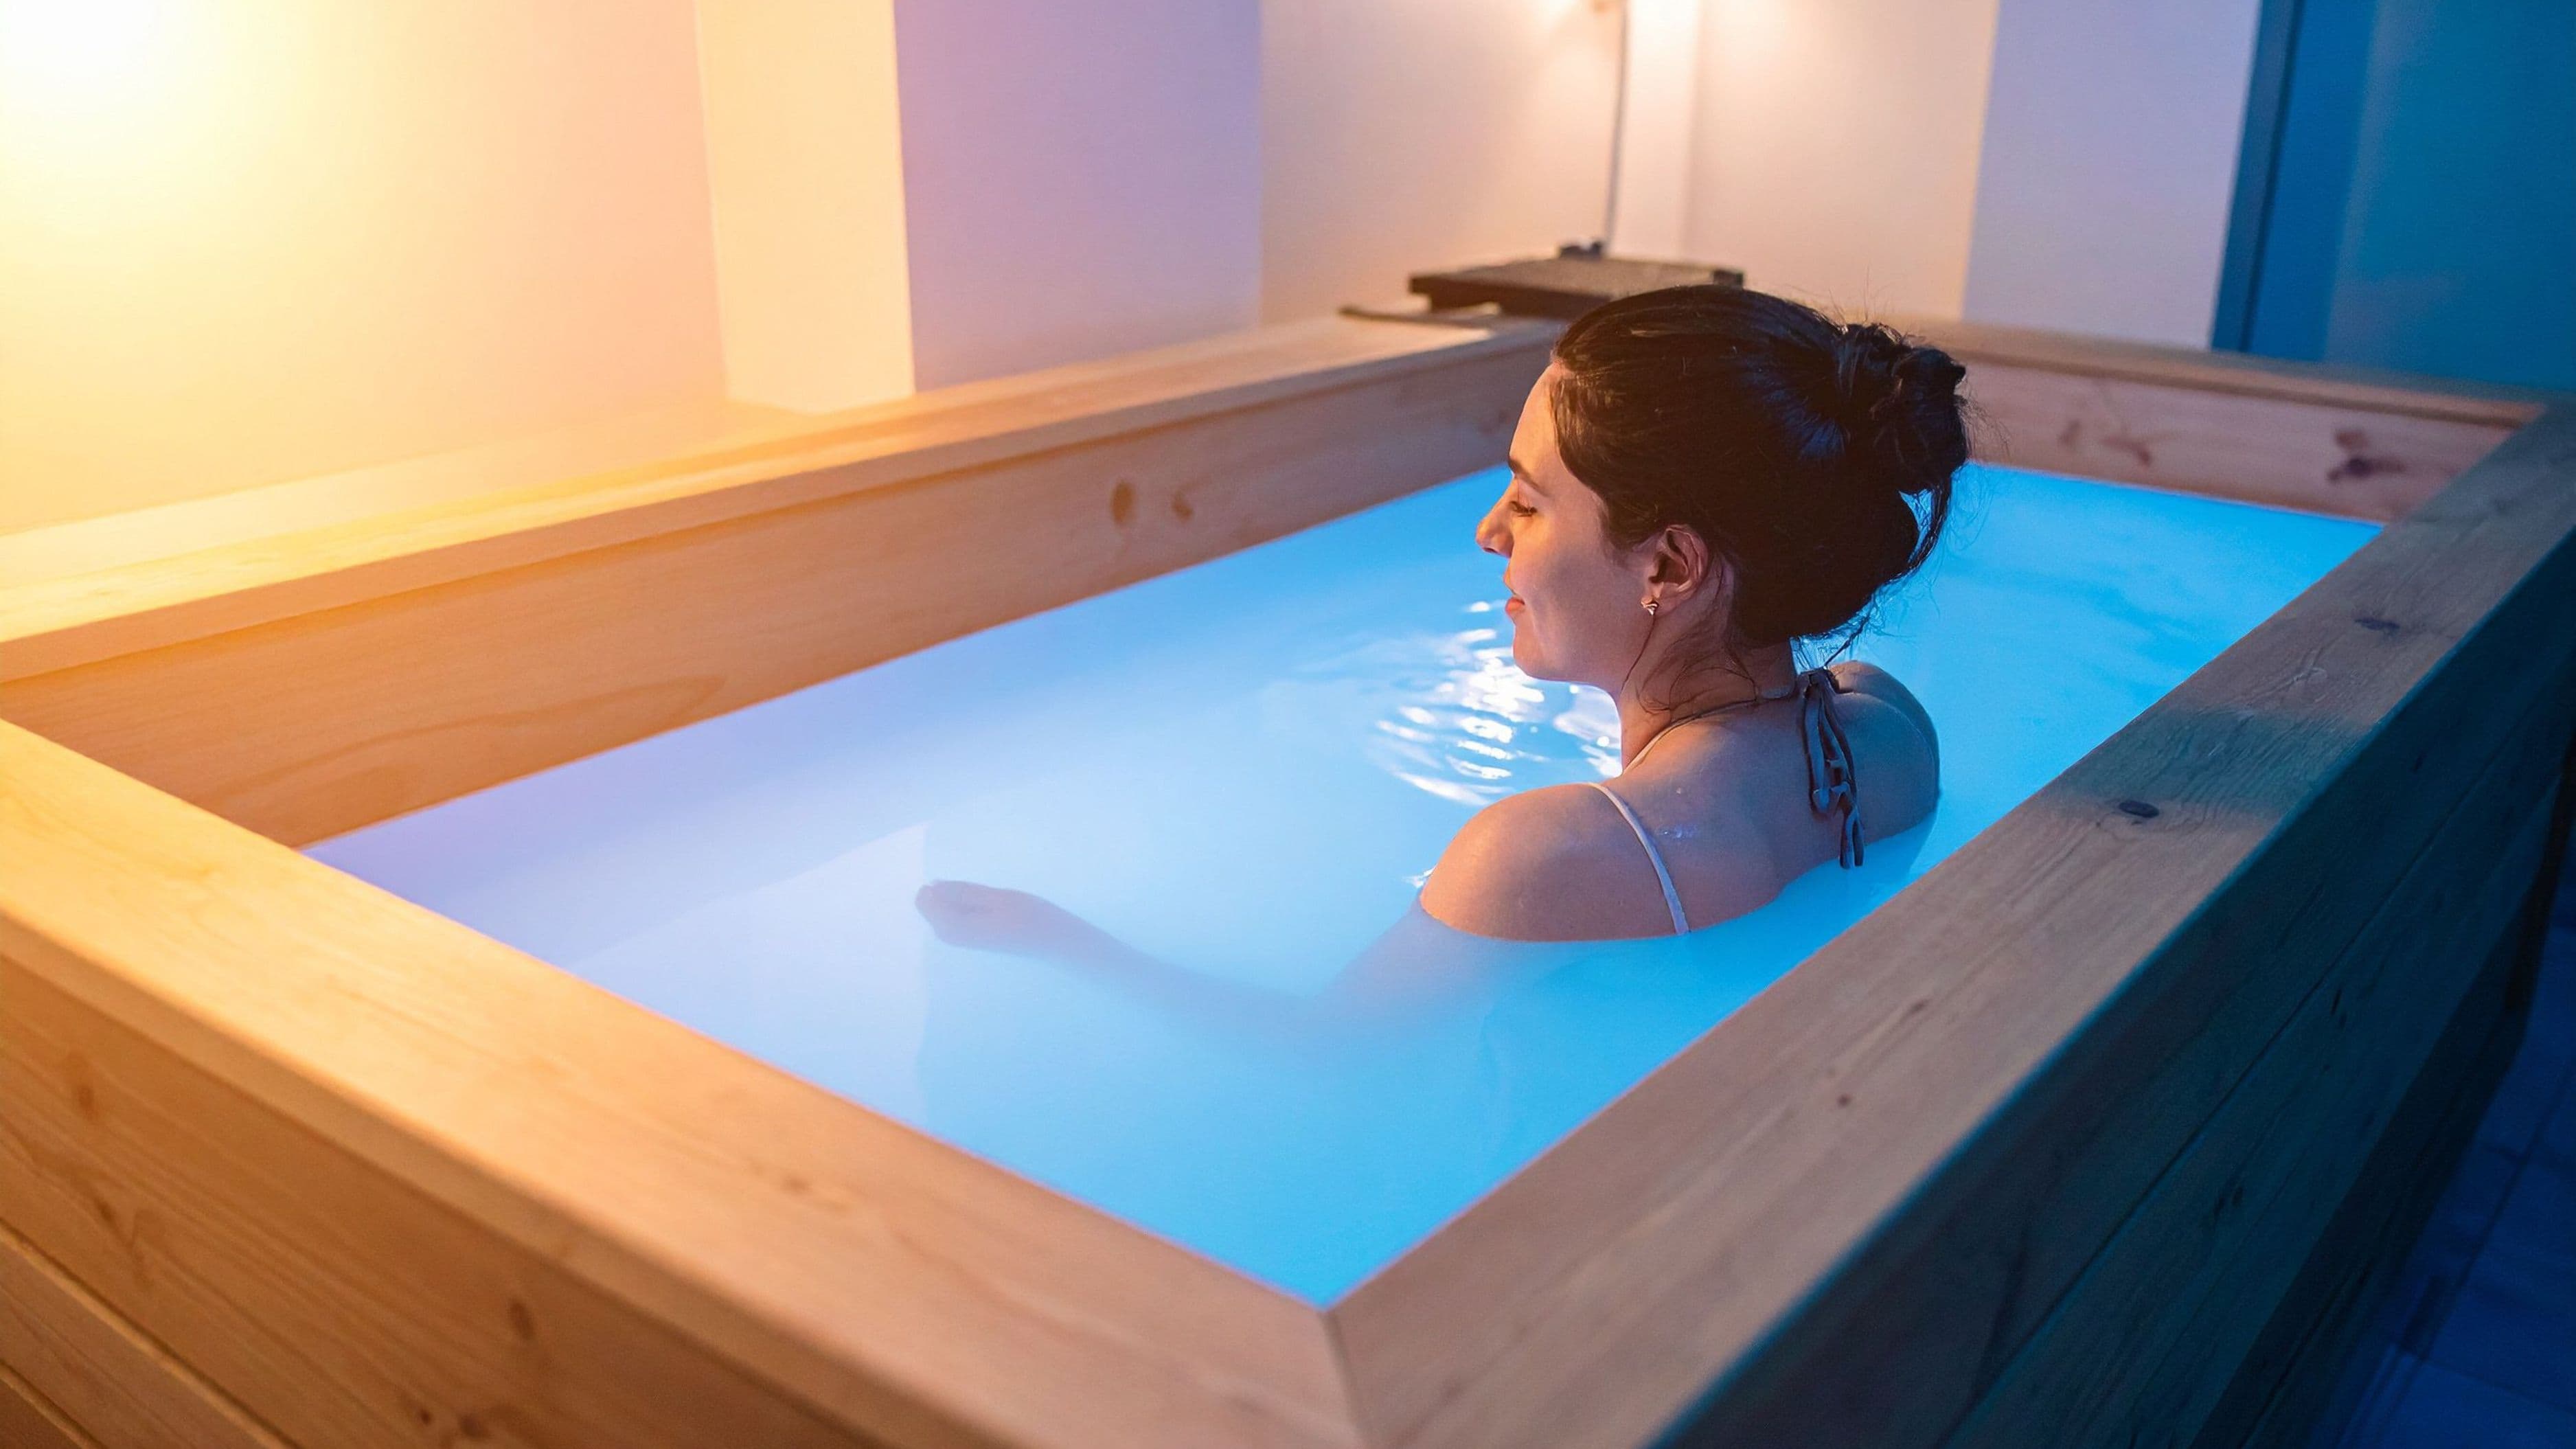
Cold Plunge
Cold water immersion in the 50–59°F range is the highest-evidence recovery modality available outside of sleep. The full DIY build protocol (covered separately on this site) runs $350–$1,420 for a stock tank or chest freezer setup with a chiller and sanitation system. For this build's purposes, budget $800–$1,200 for a functional DIY cold plunge that matches commercial units in every physiologically relevant way.
If budget or space doesn't support a dedicated cold plunge, a cold shower protocol at the lowest available temperature (typically 50–60°F from most municipal water supplies) delivers a meaningful but attenuated version of the stimulus. It's not equivalent, but it's not nothing.
Cost: $800–$1,200 (DIY) or $0 incremental (cold shower protocol)
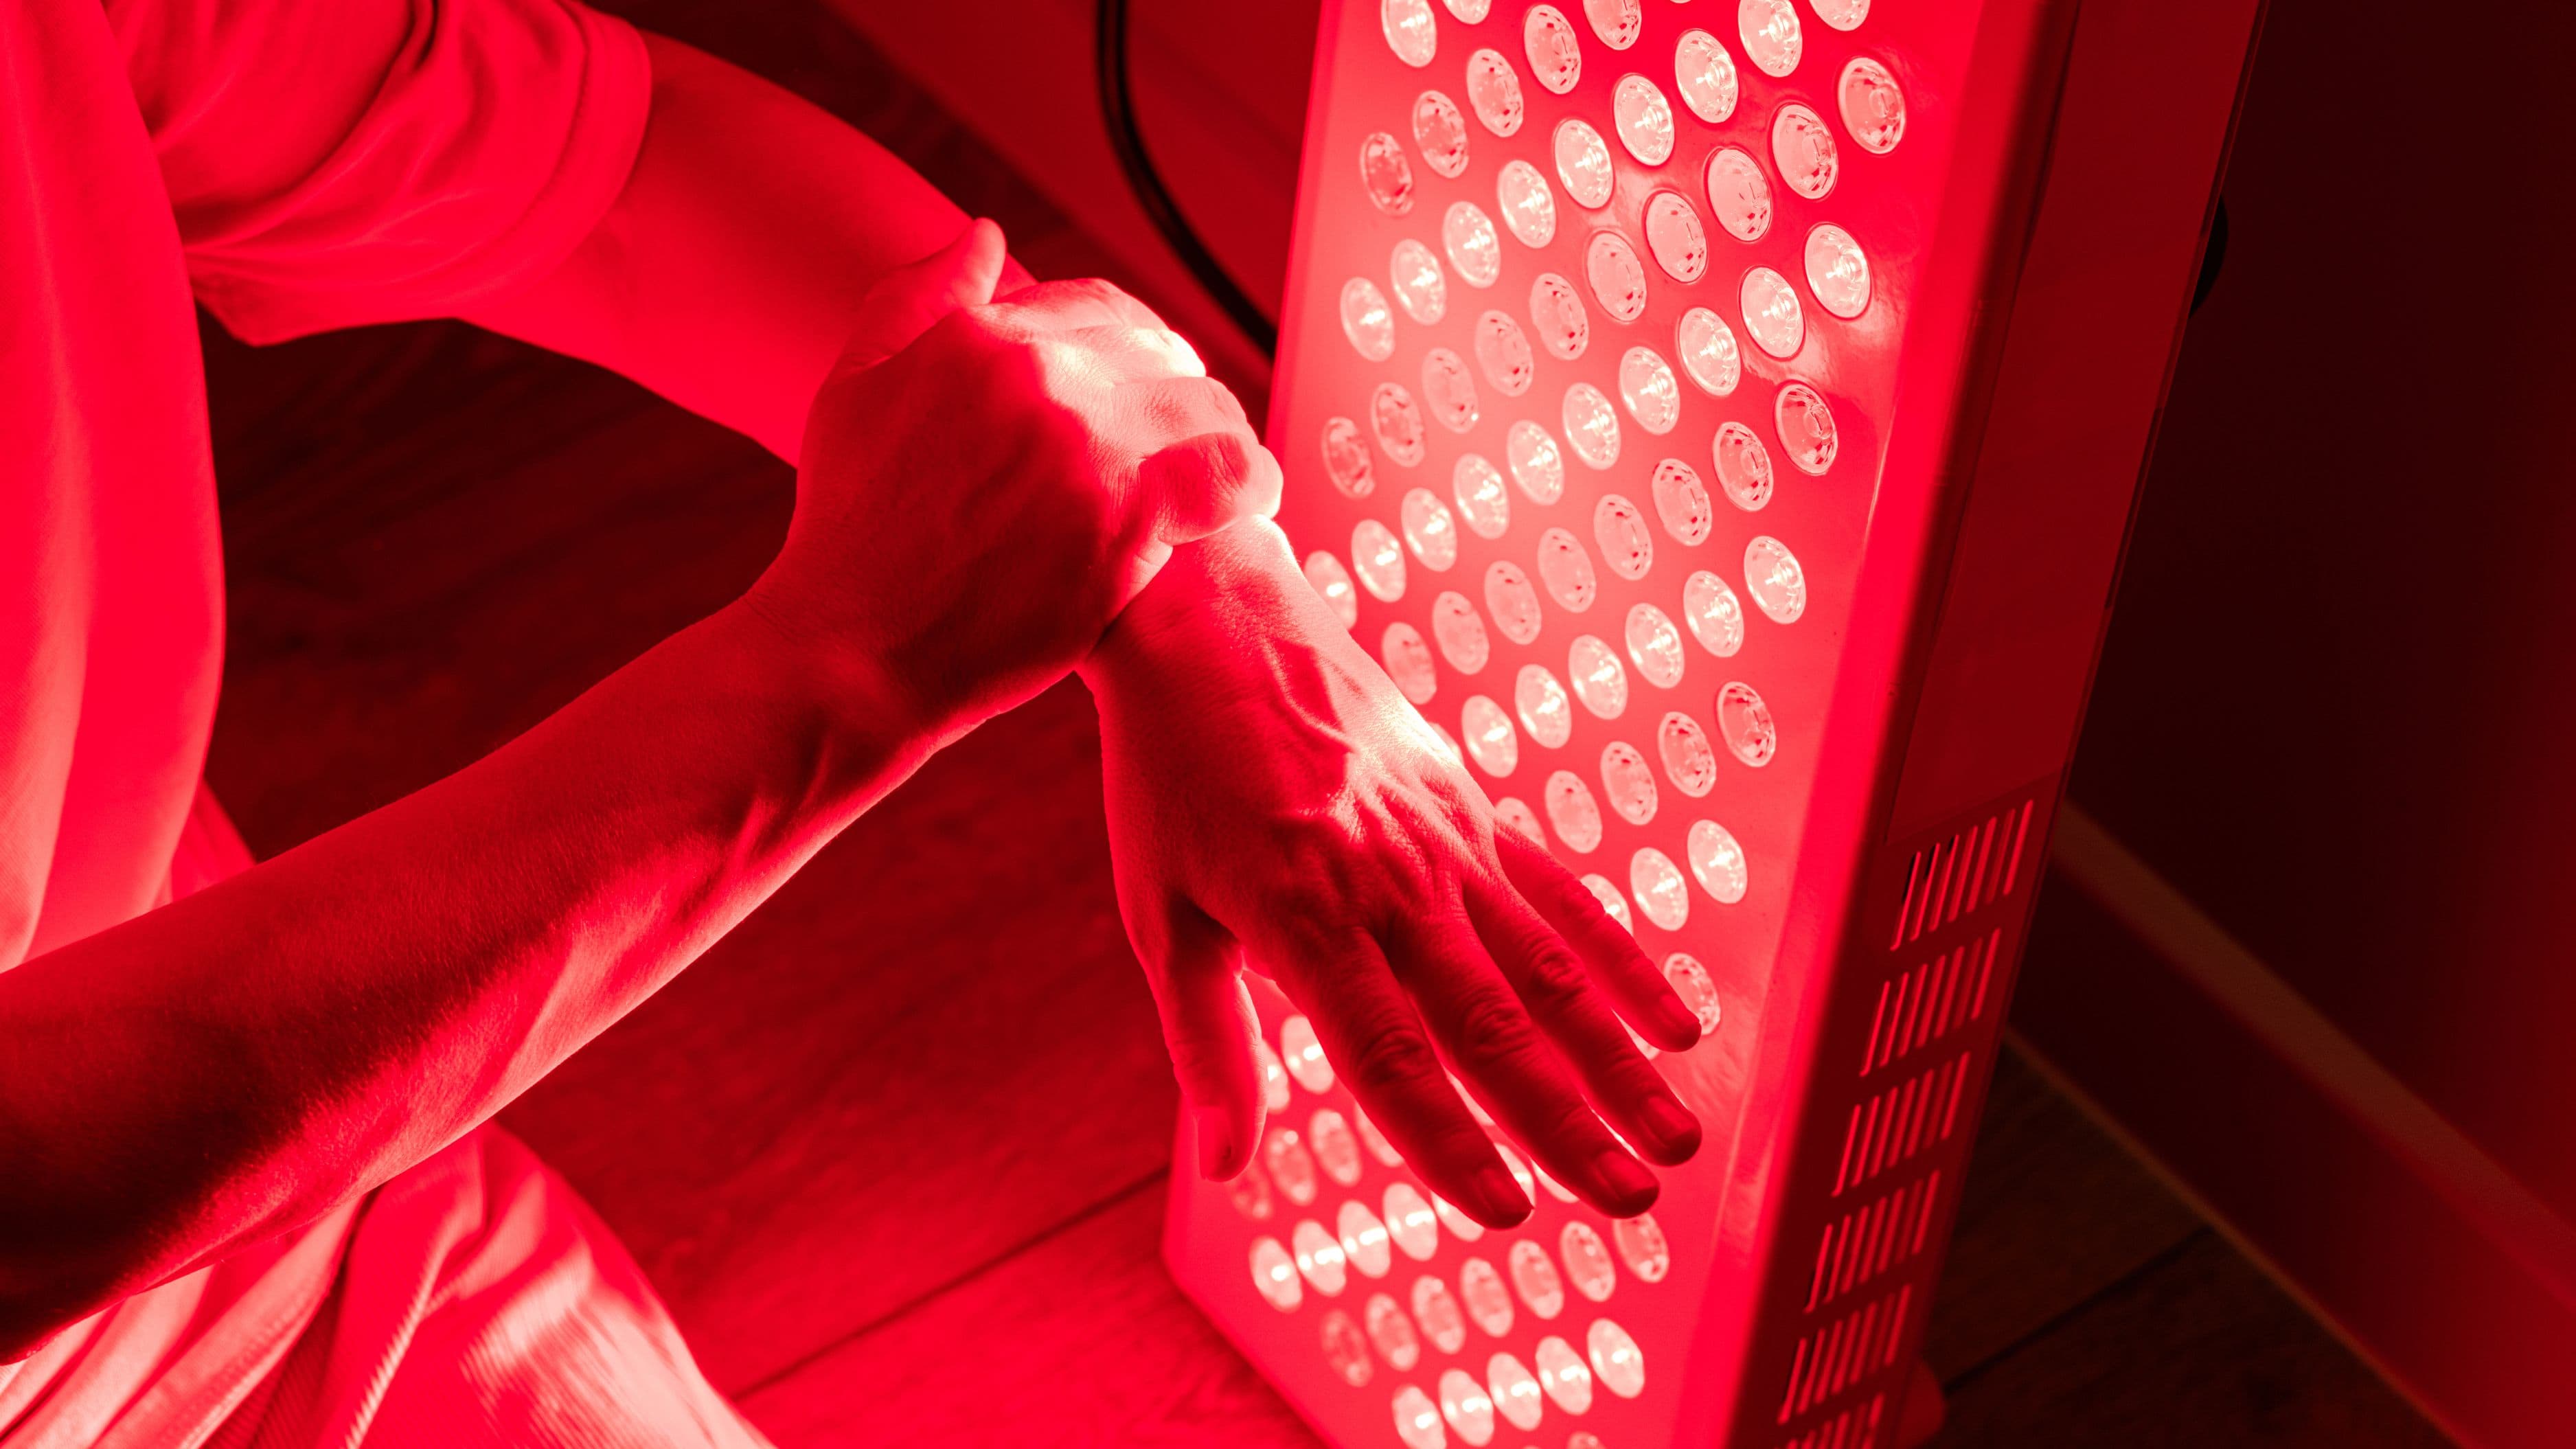
Sauna (Infrared Panel or Traditional)
Heat exposure produces a distinct and complementary set of adaptations to cold. Regular sauna use is associated with cardiovascular health improvements, growth hormone elevation, and heat shock protein activation that supports cellular repair. For a home gym setting, a two-person infrared sauna cabin (120–240V) runs $900–$1,500 and fits in approximately 4x4 feet of floor space. Brands like Sunlighten and Clearlight are the quality benchmarks. More affordable options from Dynamic Saunas and Radiant Health run $700–$1,000 and are adequate for daily use.
For budget-constrained builds, a portable infrared sauna blanket ($200–$350 from HigherDOSE or similar) delivers core-temperature elevation at a fraction of the cost and floor space. The experience is less comfortable than a cabin and the heat distribution is different, but the physiological stimulus – particularly for growth hormone and heat shock protein response – is comparable.
Cost: $700–$1,500 (cabin) or $200–$350 (blanket)
Percussion Massager
A quality percussion massager (Theragun Pro, Hypervolt 2, or the more affordable Theragun Prime at $200–$400) accelerates local muscle recovery between sessions, reduces delayed onset soreness, and maintains the kind of tissue quality that translates directly to training readiness. Used strategically – 60–90 seconds per muscle group post-training or on recovery days – it produces a meaningful reduction in the days between when you can train hard again.
Cost: $200–$400
Phase 4 Total: $1,200–$3,100 (full cold plunge + sauna + massager)
Space and Layout Considerations
A functional build covering all four performance categories requires a minimum of 200–250 square feet of dedicated space. A standard two-car garage (approximately 400–440 square feet) accommodates everything on this list with room to move. A single-car garage (200–240 square feet) works if the cold plunge lives outside and the sauna is a blanket rather than a cabin.
Flooring matters more than most builds account for. Horse stall mats (4x6 feet, 3/4 inch thick) from Tractor Supply or similar farm supply stores run $40–$50 each and provide the impact absorption, traction, and equipment protection required for serious training. A 200 square foot space requires approximately 8–9 mats – budget $350–$450 for flooring that will outlast everything on top of it.
Ceiling height determines what's possible. Eight feet minimum for overhead press in a rack; ten feet minimum if you want to do Olympic lifts without abbreviated receiving positions. Measure before placing equipment.
Full Build Budget Summary
Phase 1 – Strength Infrastructure: $1,620–$3,150
Phase 2 – Conditioning: $880–$1,110
Phase 3 – Mobility: $95–$185
Phase 4 – Recovery (full): $1,200–$3,100
Flooring: $350–$450
Total Range: $4,145–$7,995
The lower end of that range – closer to $4,000–$5,000 built with secondhand plates, mid-tier but quality equipment, and a DIY cold plunge – represents a home gym that outperforms any commercial facility for the kind of training most serious athletes actually do. The upper end adds sauna infrastructure and premium equipment that will last 15–20 years without replacement.
Build Phase 1 first and use it. Add Phase 2 conditioning tools in the first six months. Phase 3 mobility tools can come simultaneously with Phase 1 given their low cost. Phase 4 recovery infrastructure is the final layer – add it when the training load justifies the investment, which for most people happens naturally around the 6–12 month mark of consistent training.
Common Mistakes
Buying a low-quality rack first and upgrading later costs more than buying a quality rack once. The rack is the infrastructure everything attaches to – it's the worst place to compromise on quality. The same logic applies to the barbell.
Skipping conditioning because "the barbell covers everything" is a consistent blind spot in strength-focused athletes. Cardiovascular capacity directly supports strength performance, recovery rate between sets, and long-term health outcomes that barbell work alone doesn't address. The Assault or Echo Bike is not optional in a genuinely complete build.
Treating recovery as a luxury phase rather than a performance variable will eventually surface as injury frequency, training plateau, or both. Cold exposure and heat aren't comfort items for people who train seriously – they're maintenance protocols for the machine.
FAQ
What's the minimum viable version of this build? Phase 1 at the lower end of budget – secondhand plates, REP PR-4000 rack, REP barbell, Bowflex dumbbells, REP bench – runs approximately $1,600–$2,200 and covers everything needed for serious strength and hypertrophy training. Add the Echo Bike and kettlebells and you're at a complete strength and conditioning setup for $2,500–$3,200. That's the minimum viable performance gym.
Is a cable machine necessary? Not mandatory in a well-designed build. A lat pulldown/low row cable attachment that mounts to a quality rack (REP and Titan both offer these at $200–$350) covers cable-specific movements without requiring a standalone cable machine. Full cable stations run $500–$1,500 and consume significant floor space for functionality that attachments mostly replicate.
What if I have a 10x10 space? A 10x10 space (100 square feet) requires prioritization. A wall-mounted folding rack (Rogue's Monster Lite fold-back rack or REP's PR-4000 fold-back version at $600–$900) recovers most of the floor space when not in use. In a 10x10, prioritize the rack, barbell, plates, and adjustable dumbbells. Add an Assault Bike in whatever corner remains. Recovery and mobility tools fit in this space without issue.
How long does a well-built home gym last? Quality racks, barbells, and iron plates are indefinite-lifespan equipment maintained properly. Conditioning equipment (Assault/Echo Bike) has a mechanical lifespan of 5–10 years with regular maintenance – replace belts and bearings as needed. Recovery equipment varies: a cold plunge chiller typically lasts 5–8 years; a quality infrared sauna cabin 10–15 years. Budget for periodic replacement of soft goods (bench pads, foam rollers) every 2–3 years.
📚 Sources
Progressive Overload and Strength Adaptation – Journal of Strength and Conditioning Research: https://pubmed.ncbi.nlm.nih.gov/20847704
Cardiovascular Benefits of High-Intensity Interval Training – Mayo Clinic Proceedings: https://www.mayoclinicsproceedings.org/article/S0025-6196(13)00375-0
Sauna Use and Cardiovascular Health – JAMA Internal Medicine: https://pubmed.ncbi.nlm.nih.gov/25705824
Cold Water Immersion and Recovery – British Journal of Sports Medicine: https://bjsm.bmj.com/content/46/4/233
Foam Rolling and Tissue Quality – International Journal of Sports Physical Therapy: https://www.ncbi.nlm.nih.gov/pmc/articles/PMC4299735
Rogue Fitness Equipment Specifications: https://www.roguefitness.com
REP Fitness Equipment Line Overview: https://repfitness.com
🔍 Explore Related Topics