
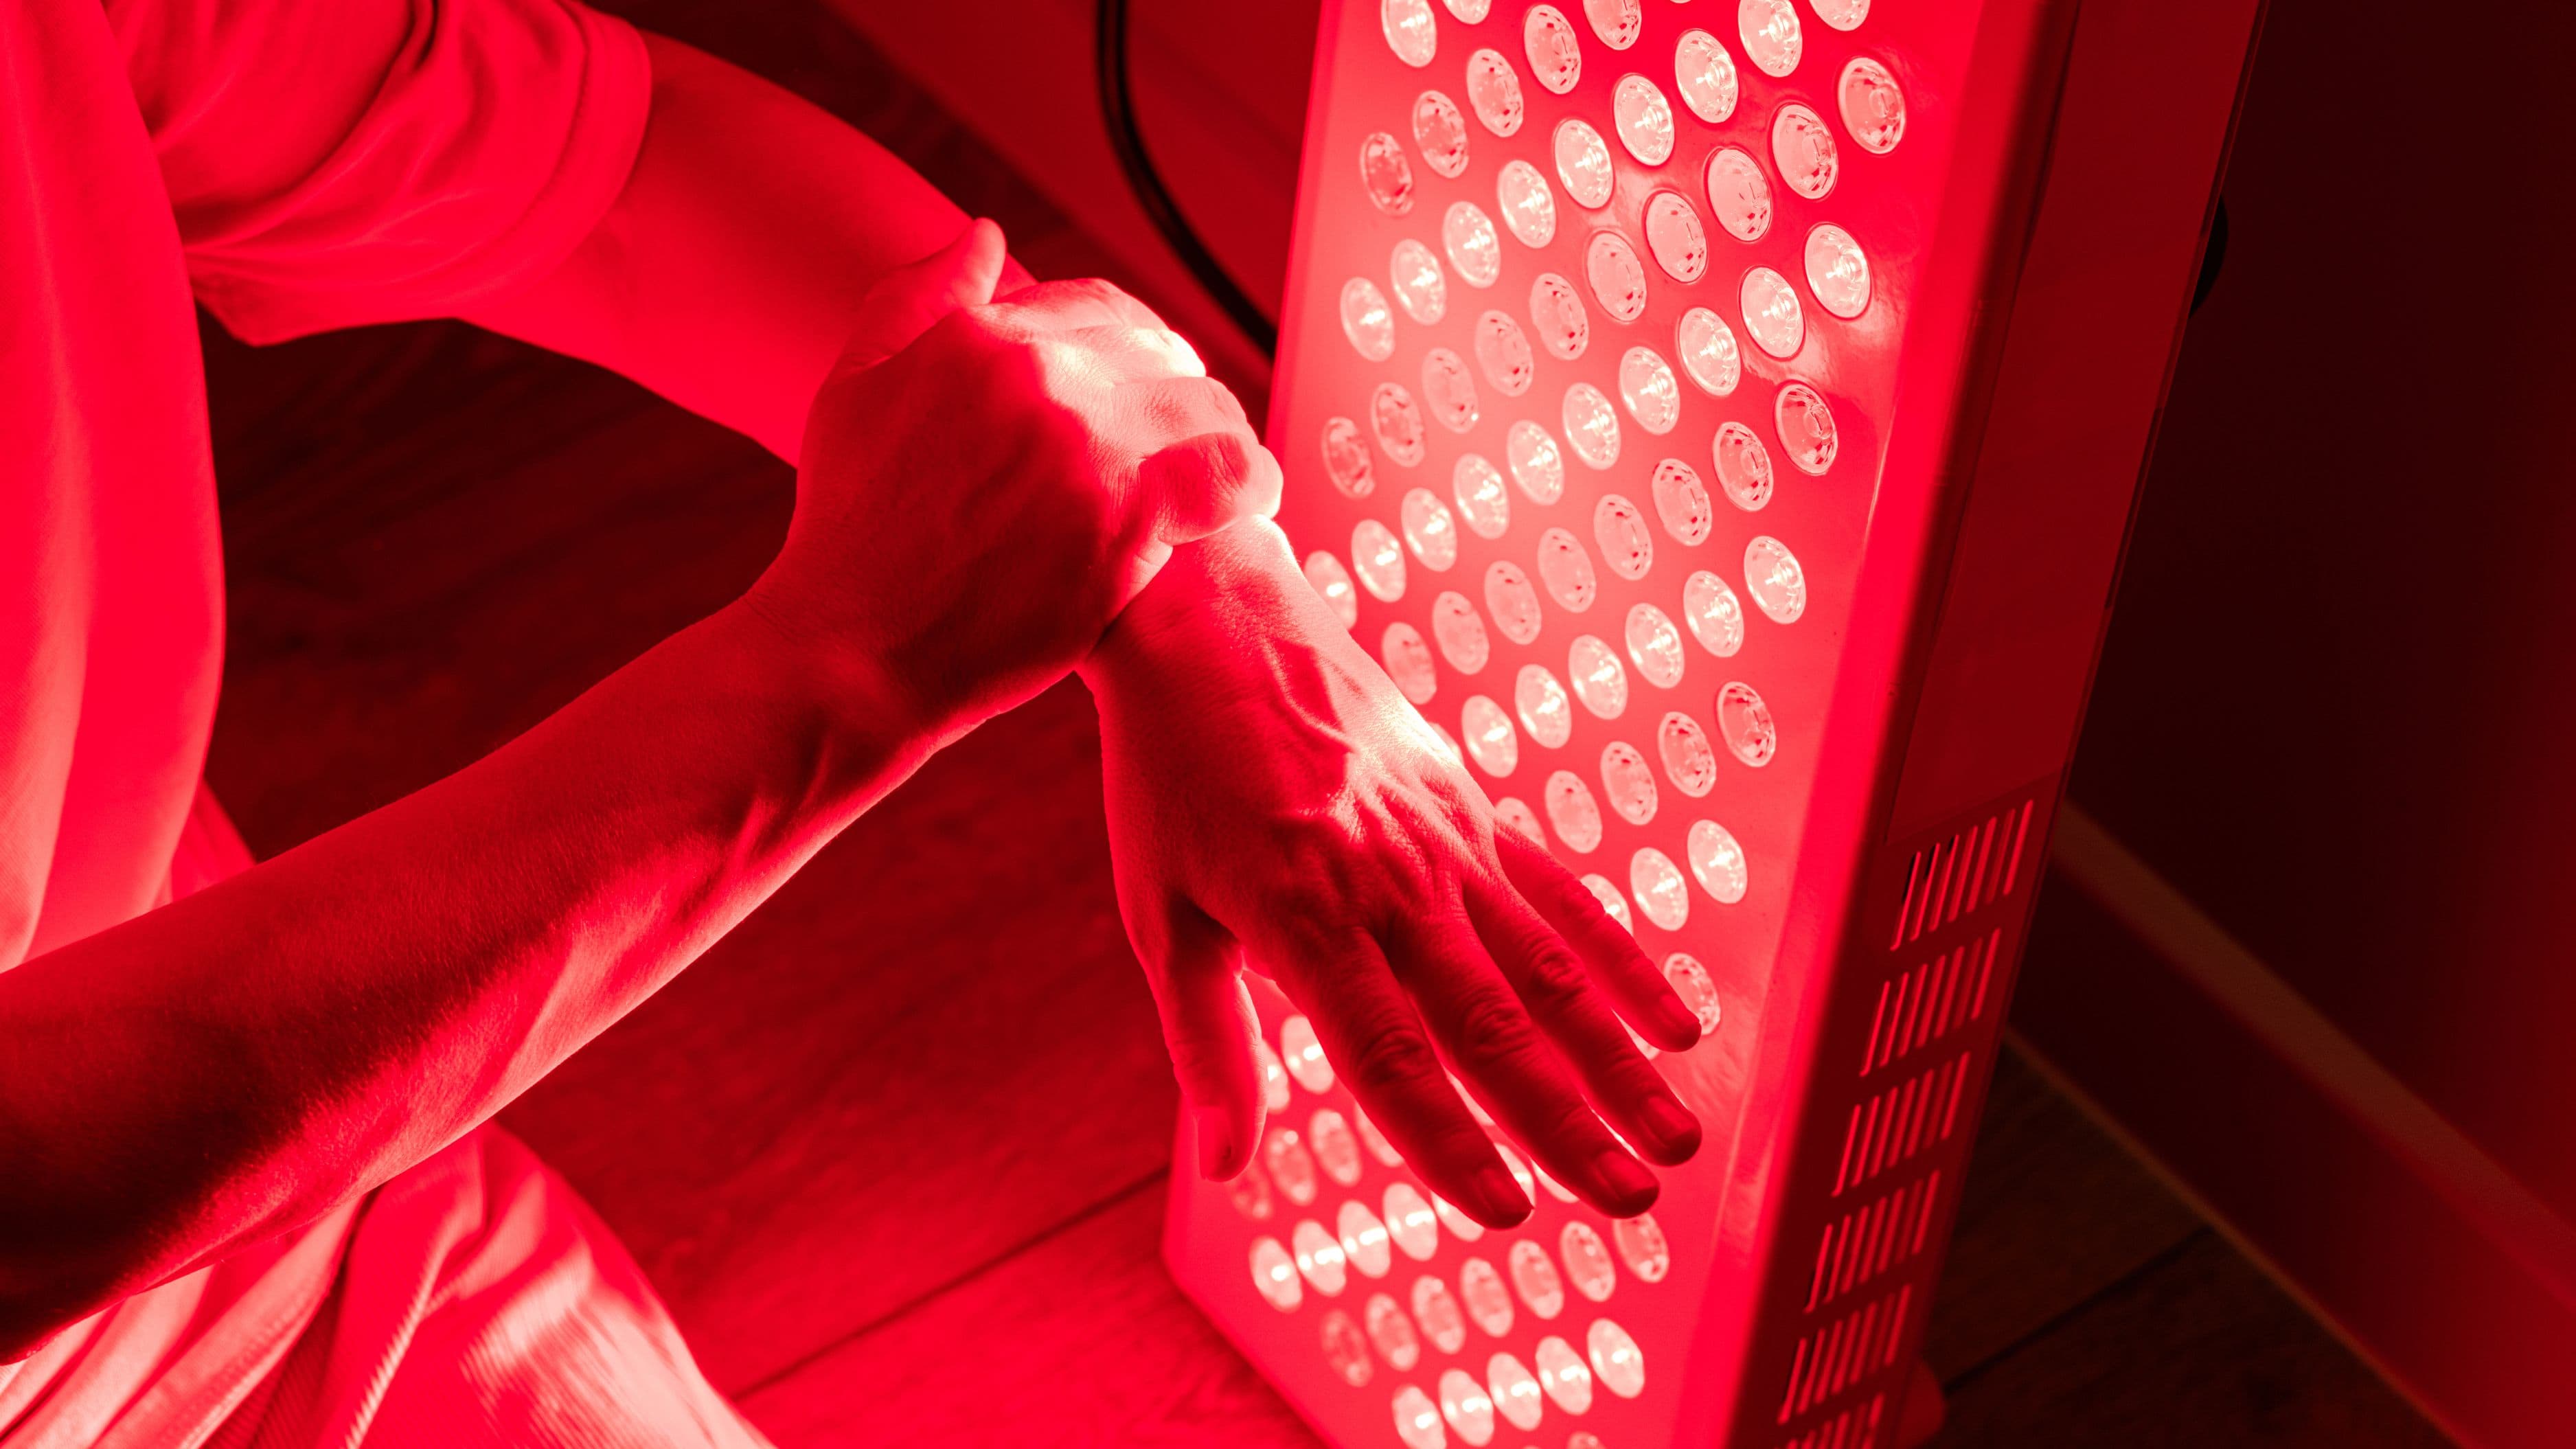
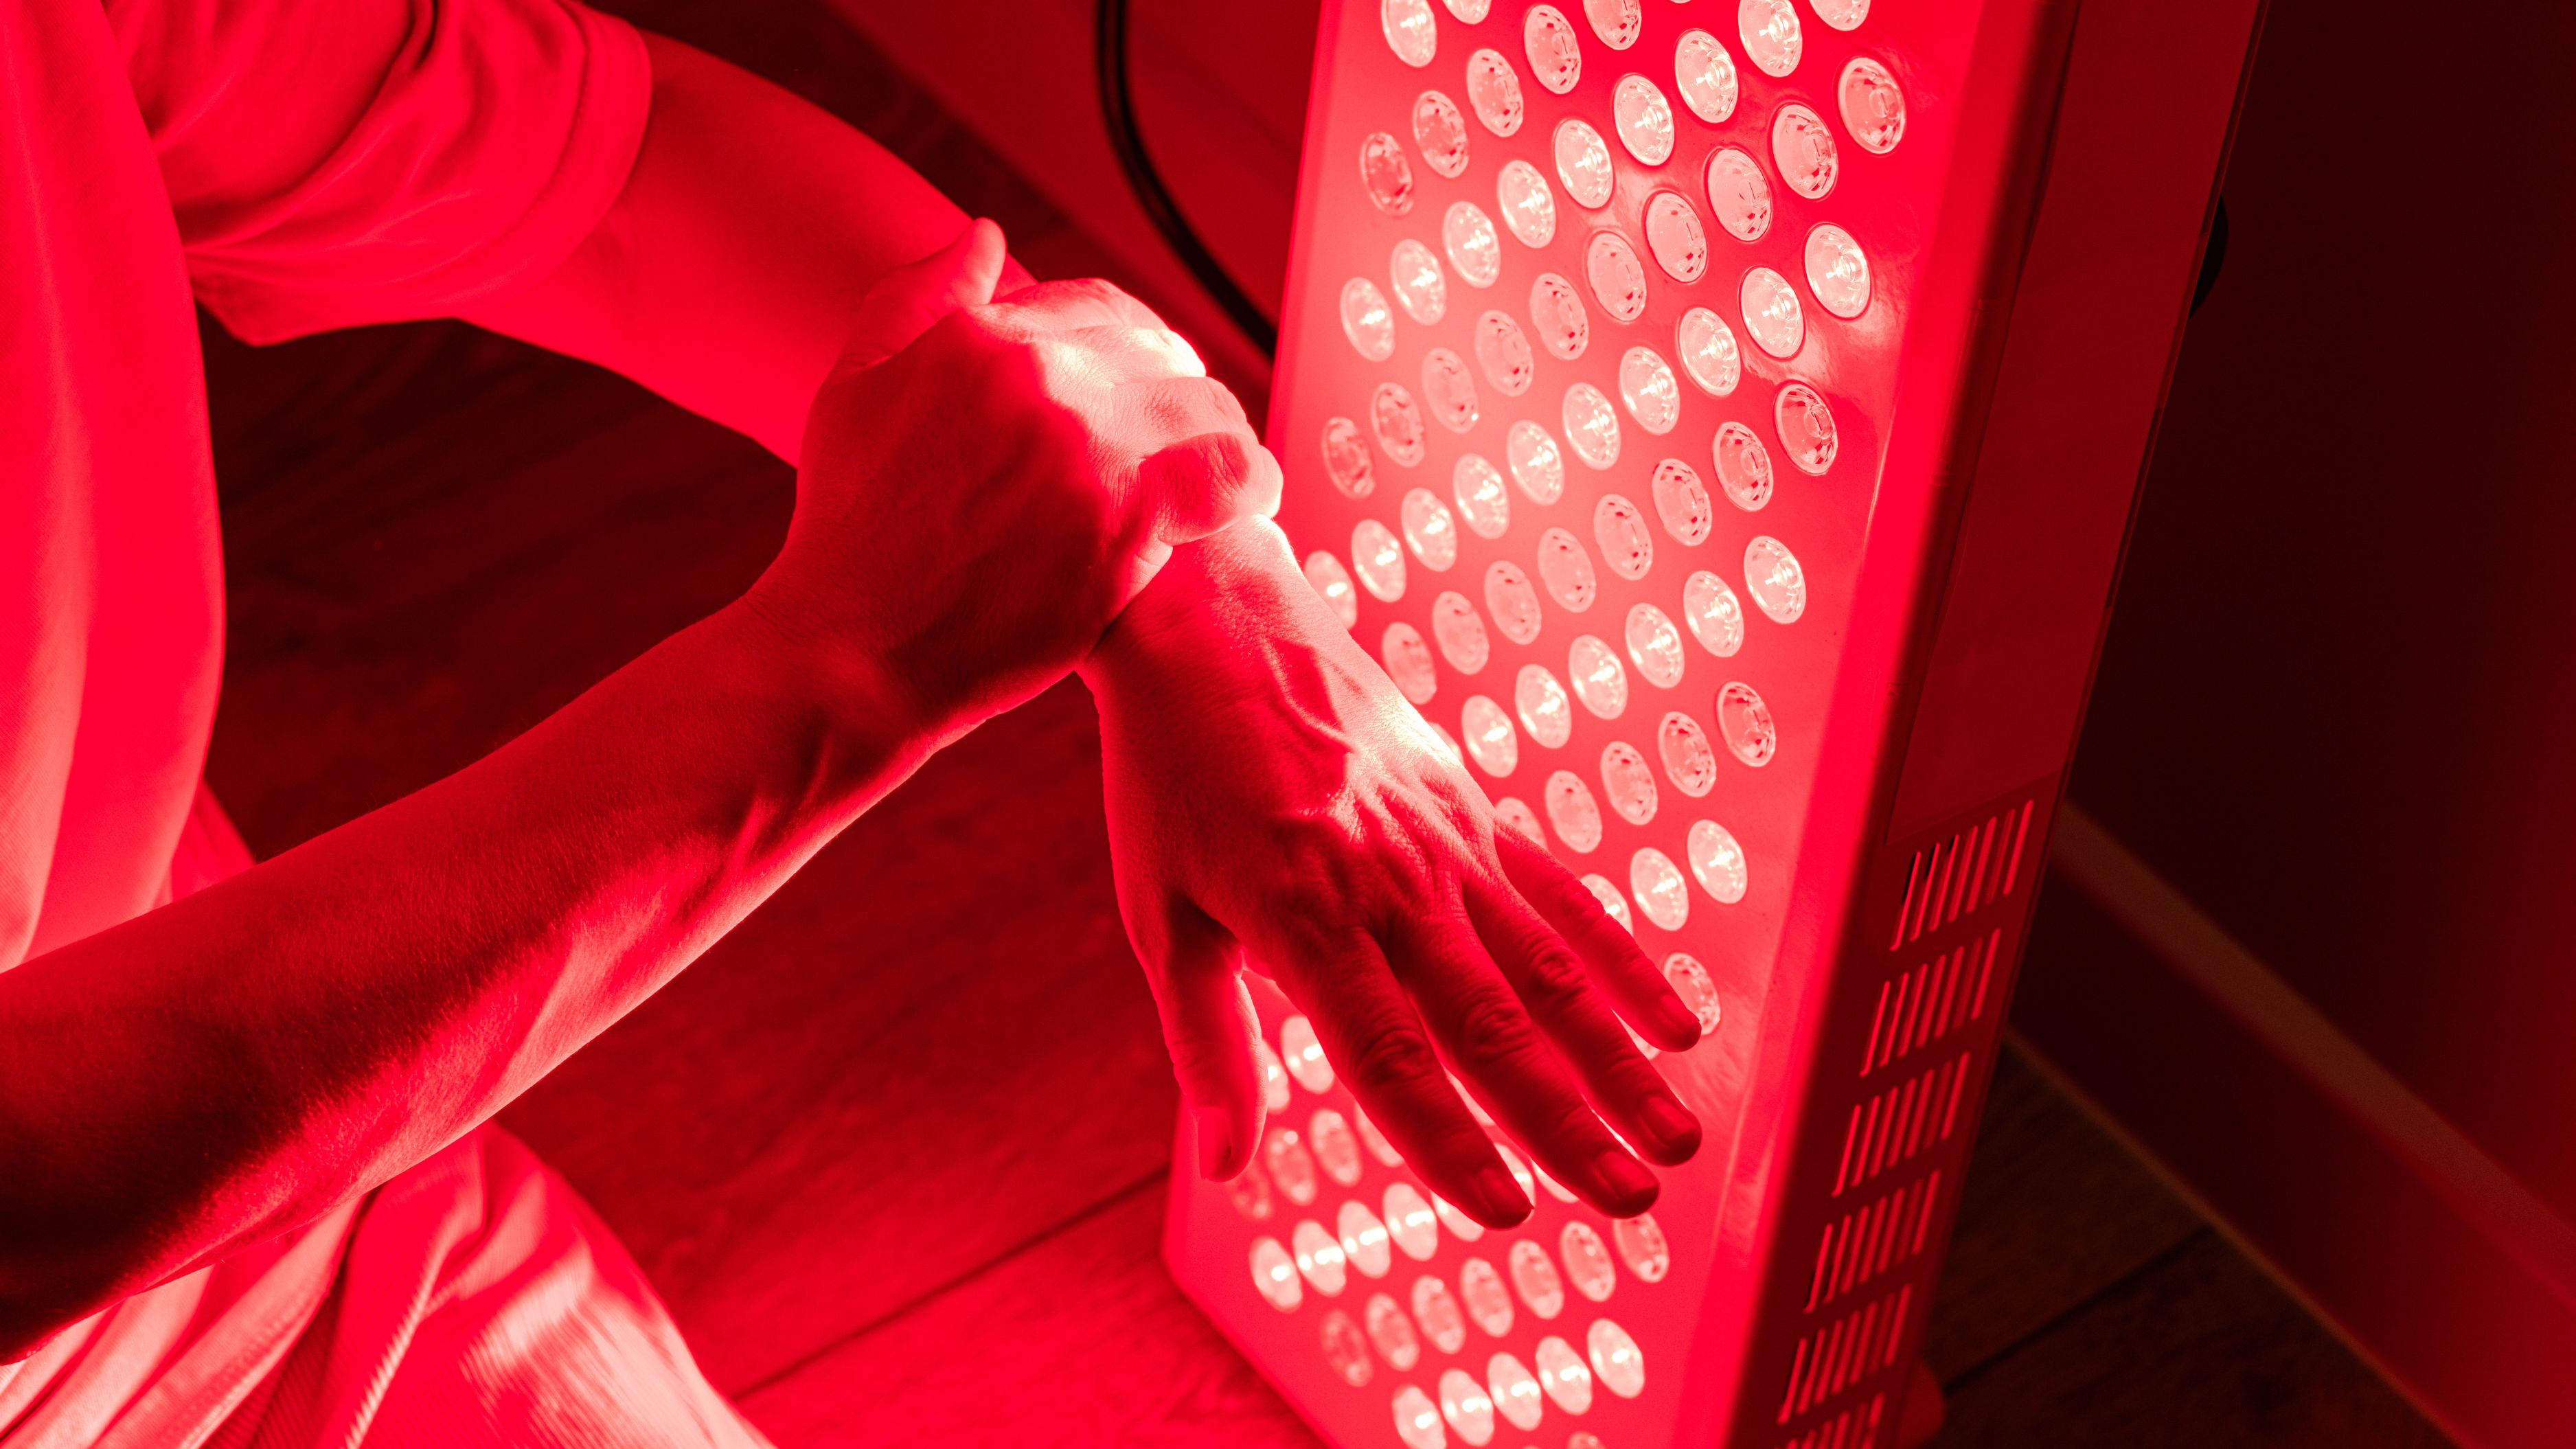
Why Red Light Therapy Works (The Mechanism)
Red and near-infrared light in the 630–850nm range is absorbed by cytochrome c oxidase, a key enzyme in the mitochondrial electron transport chain. This absorption enhances mitochondrial function, increases ATP production, and reduces reactive oxygen species. The downstream effects – improved cellular repair, reduced inflammation, enhanced collagen synthesis, accelerated muscle recovery, and neuroprotection – are well-documented across hundreds of peer-reviewed studies. The mechanism is photobiomodulation (PBM), not heat, placebo, or vague "energy."
For the build to deliver therapeutic benefit, it needs to emit the right wavelengths at adequate irradiance. Commercial panels differentiate themselves primarily on irradiance (measured in mW/cm²) at a given distance, EMF output, and the ratio of red to near-infrared LEDs. A properly built DIY panel can match or exceed commercial panels on irradiance while significantly undercutting them on cost.
Target Specifications for This Build
Before purchasing components, understand what you're building toward. A therapeutic panel should deliver at minimum 20–100 mW/cm² at 6 inches, and 10–50 mW/cm² at 12 inches. Most commercial panels in the $500–$800 range deliver 50–100 mW/cm² at 6 inches. This build targets that range.
Wavelength split: a 50/50 or 60/40 ratio of red (660nm) to near-infrared (850nm) LEDs covers both superficial tissue (red is more effective for skin and surface-level tissue) and deeper penetration (NIR reaches muscle, joint, and neural tissue). A full-body panel in the 12" x 24" to 18" x 36" range gives you meaningful coverage for a 10–20 minute session without repositioning.
Parts List and Cost Breakdown
LED chips or strips: The most cost-effective approach uses grow light LED chips or high-power LED arrays rated for 660nm and 850nm specifically – not "warm white" or "full spectrum," which include unneeded wavelengths. Bridgelux and Epistar are the component-level brands used in many commercial panels. Budget: $80–$130 for enough LEDs to build a panel with adequate irradiance.
A practical alternative for a first build: purchase pre-wired 660nm and 850nm LED bars or arrays from AliExpress or Amazon, sold for photography or plant growth applications. These are often the exact same components used by commercial therapy panel manufacturers. Look for chips rated at 3W or 5W per diode with a wavelength spec of 660nm ±5nm and 850nm ±10nm. A set of 48–100 chips covers a 12" x 24" panel with adequate density.
Aluminum heatsink backing: LEDs generate heat and degrade rapidly without heat dissipation. Aluminum channel or flat aluminum plate in the 1/8" to 1/4" thickness range, cut to your panel dimensions, serves as both the structural backing and heatsink. Available from metal suppliers or hardware stores. Budget: $30–$60 depending on size.
LED driver (power supply): You need a constant-current driver matched to your LED configuration. Mean Well is the industry-standard brand for reliability and consistent output. An HLG-series driver sized to your total wattage (typically 100–200W for a full panel) runs $25–$55.
Wiring and connectors: 18-22 AWG wire, heat shrink tubing, and lever connectors for assembly. Budget: $10–$15.
Panel frame: 1"x2" lumber, aluminum angle iron, or a repurposed picture frame to hold the assembly. Budget: $15–$30.
Wall mounting hardware: French cleat system (two interlocking angled wood strips) allows easy leveling and removal. Budget: $10–$20 in lumber or $15–$25 for a pre-cut metal cleat system.
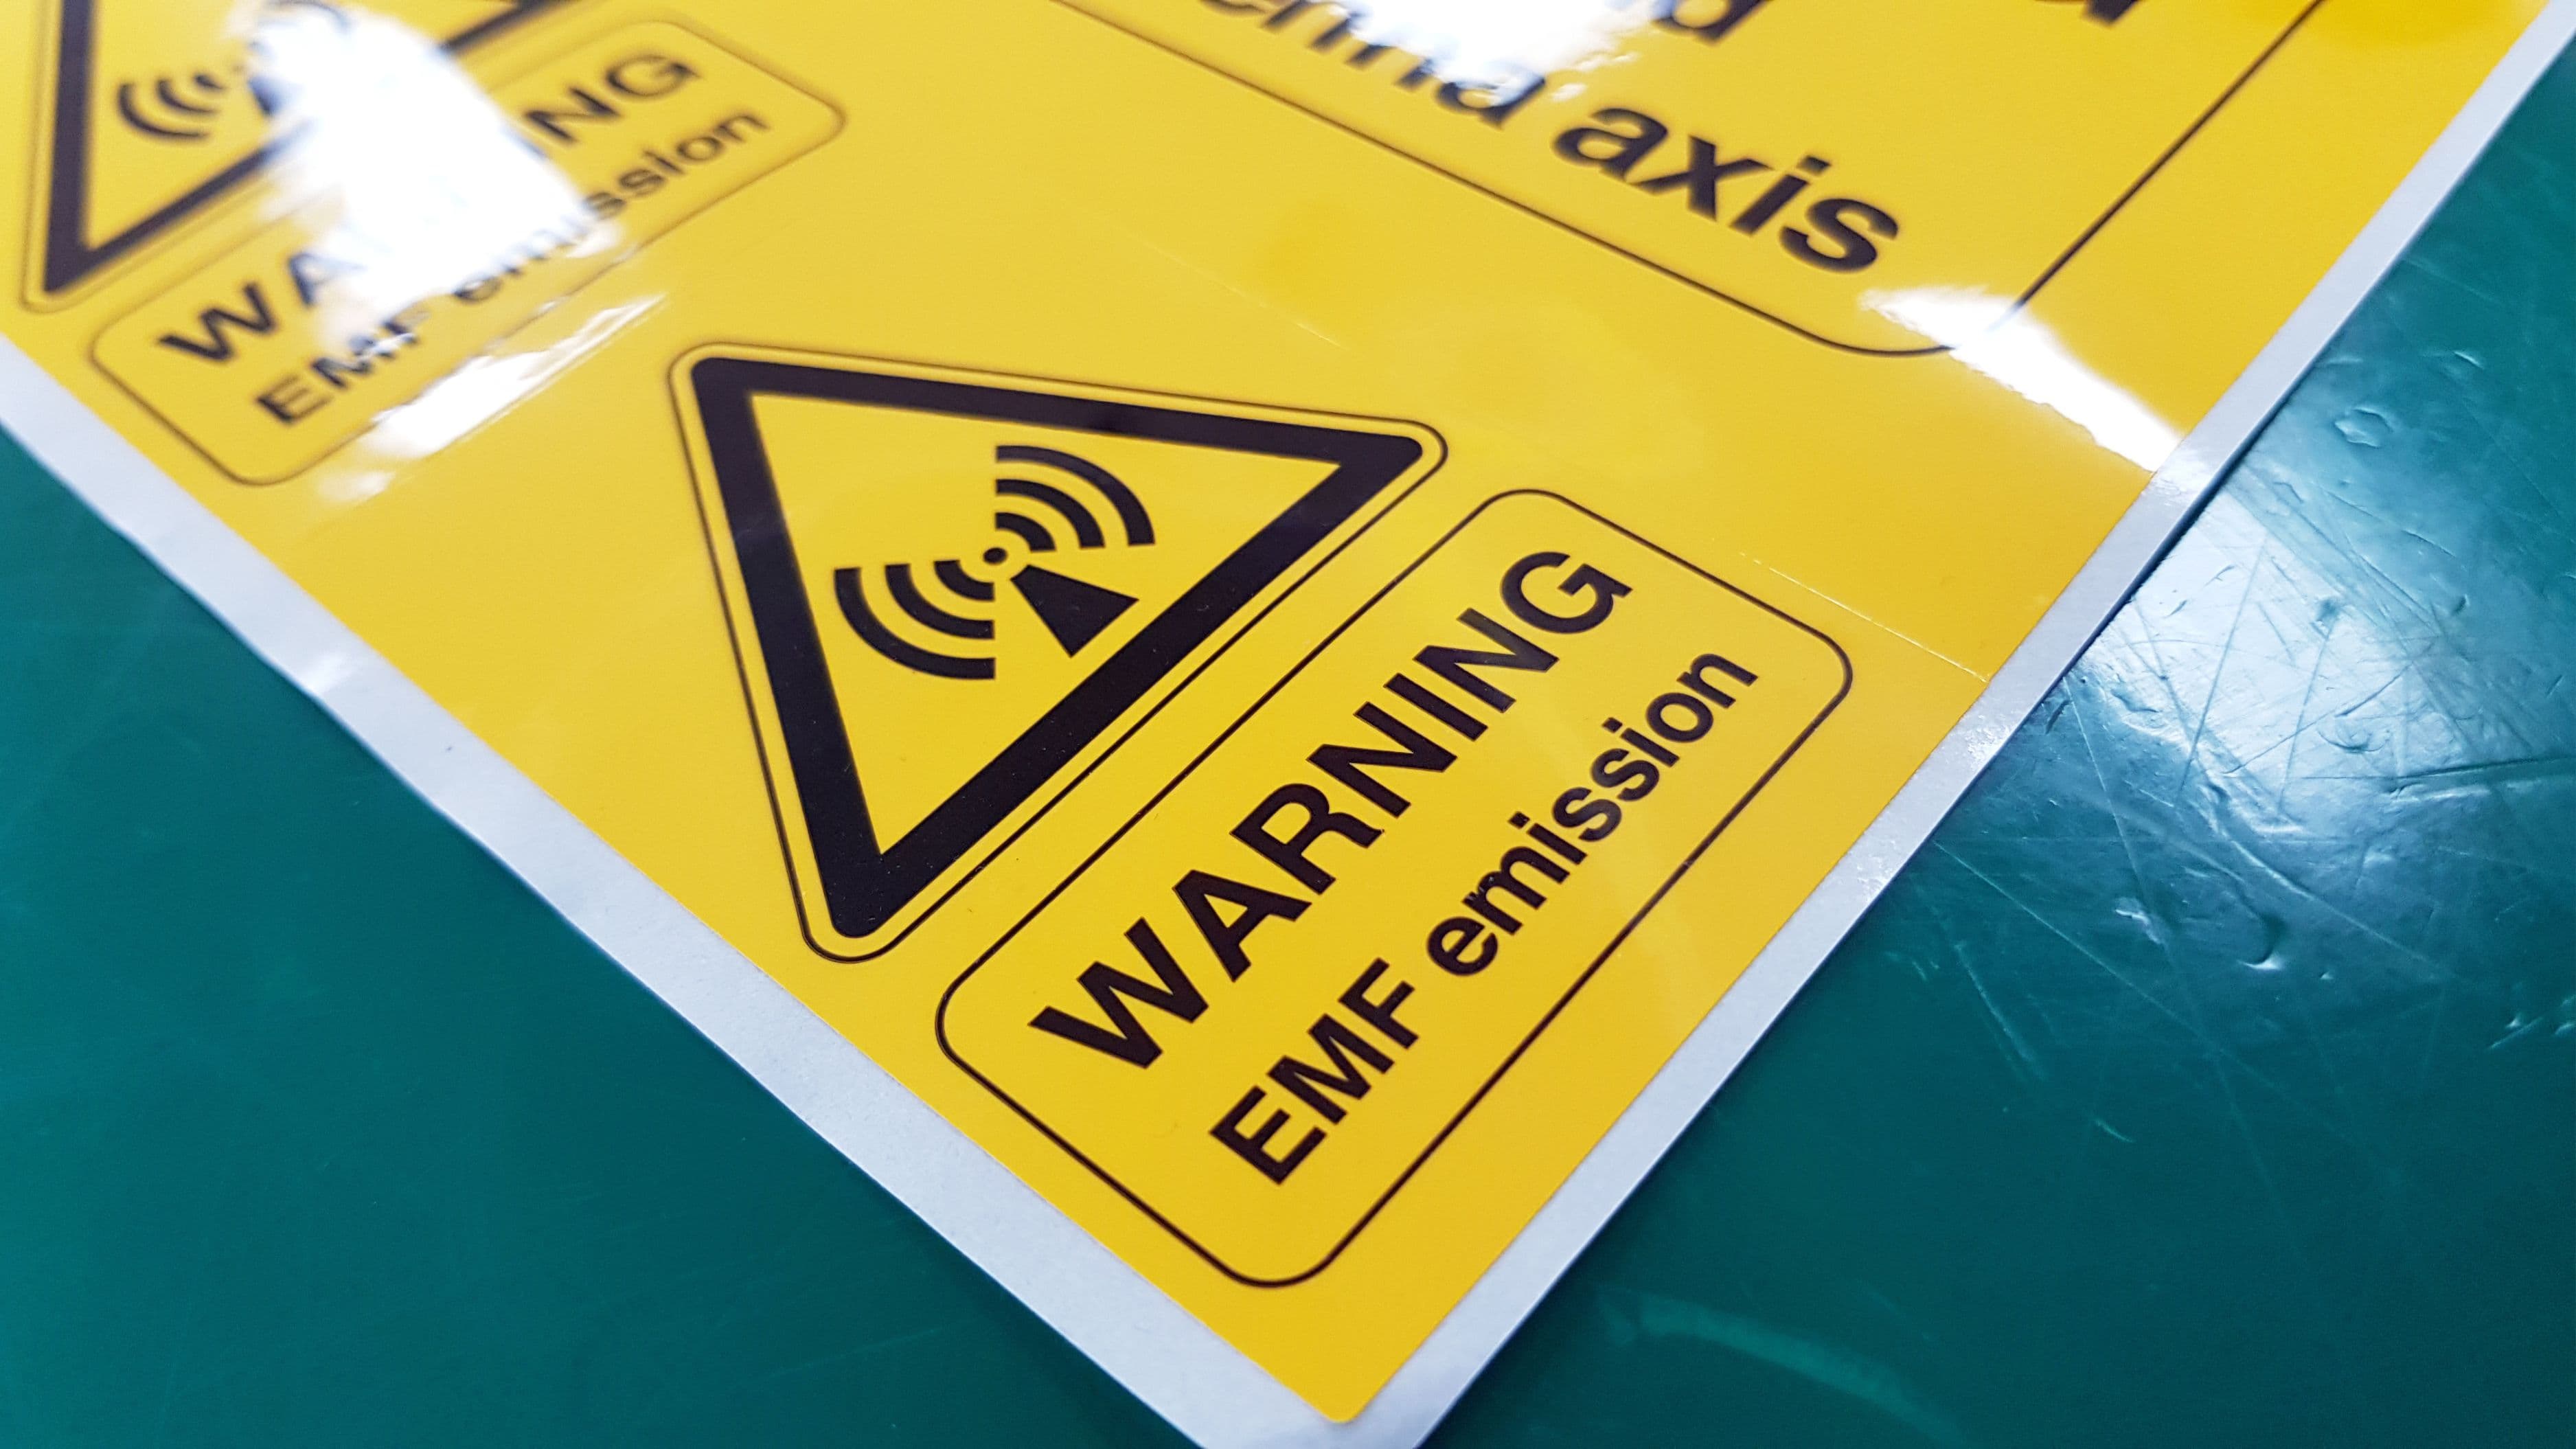
Optional – EMF shielding: Commercial panels often advertise low EMF. The main EMF source in an LED panel is the driver. Placing the driver outside the panel enclosure or in a separate metal box significantly reduces field exposure during sessions. An aluminum or steel project box for the driver: $10–$20.
Total estimated cost: $180–$310 for a 12" x 24" panel. A larger 18" x 36" build with higher LED density runs $280–$380.
Build Protocol
Step 1 – Design the LED layout. Determine your panel dimensions and LED count. For a 12" x 24" panel, 48 LEDs in a 6x8 grid provides adequate density. Alternate 660nm and 850nm LEDs in a checkerboard pattern for even wavelength distribution across the panel surface. Sketch the layout before drilling.
Step 2 – Drill mounting holes in aluminum backing. Mark your LED positions with a center punch. Drill pilot holes sized to your LED mounting hardware. Keep spacing even – 2" on center is a reasonable starting point for a 48-LED panel. Deburr all holes.
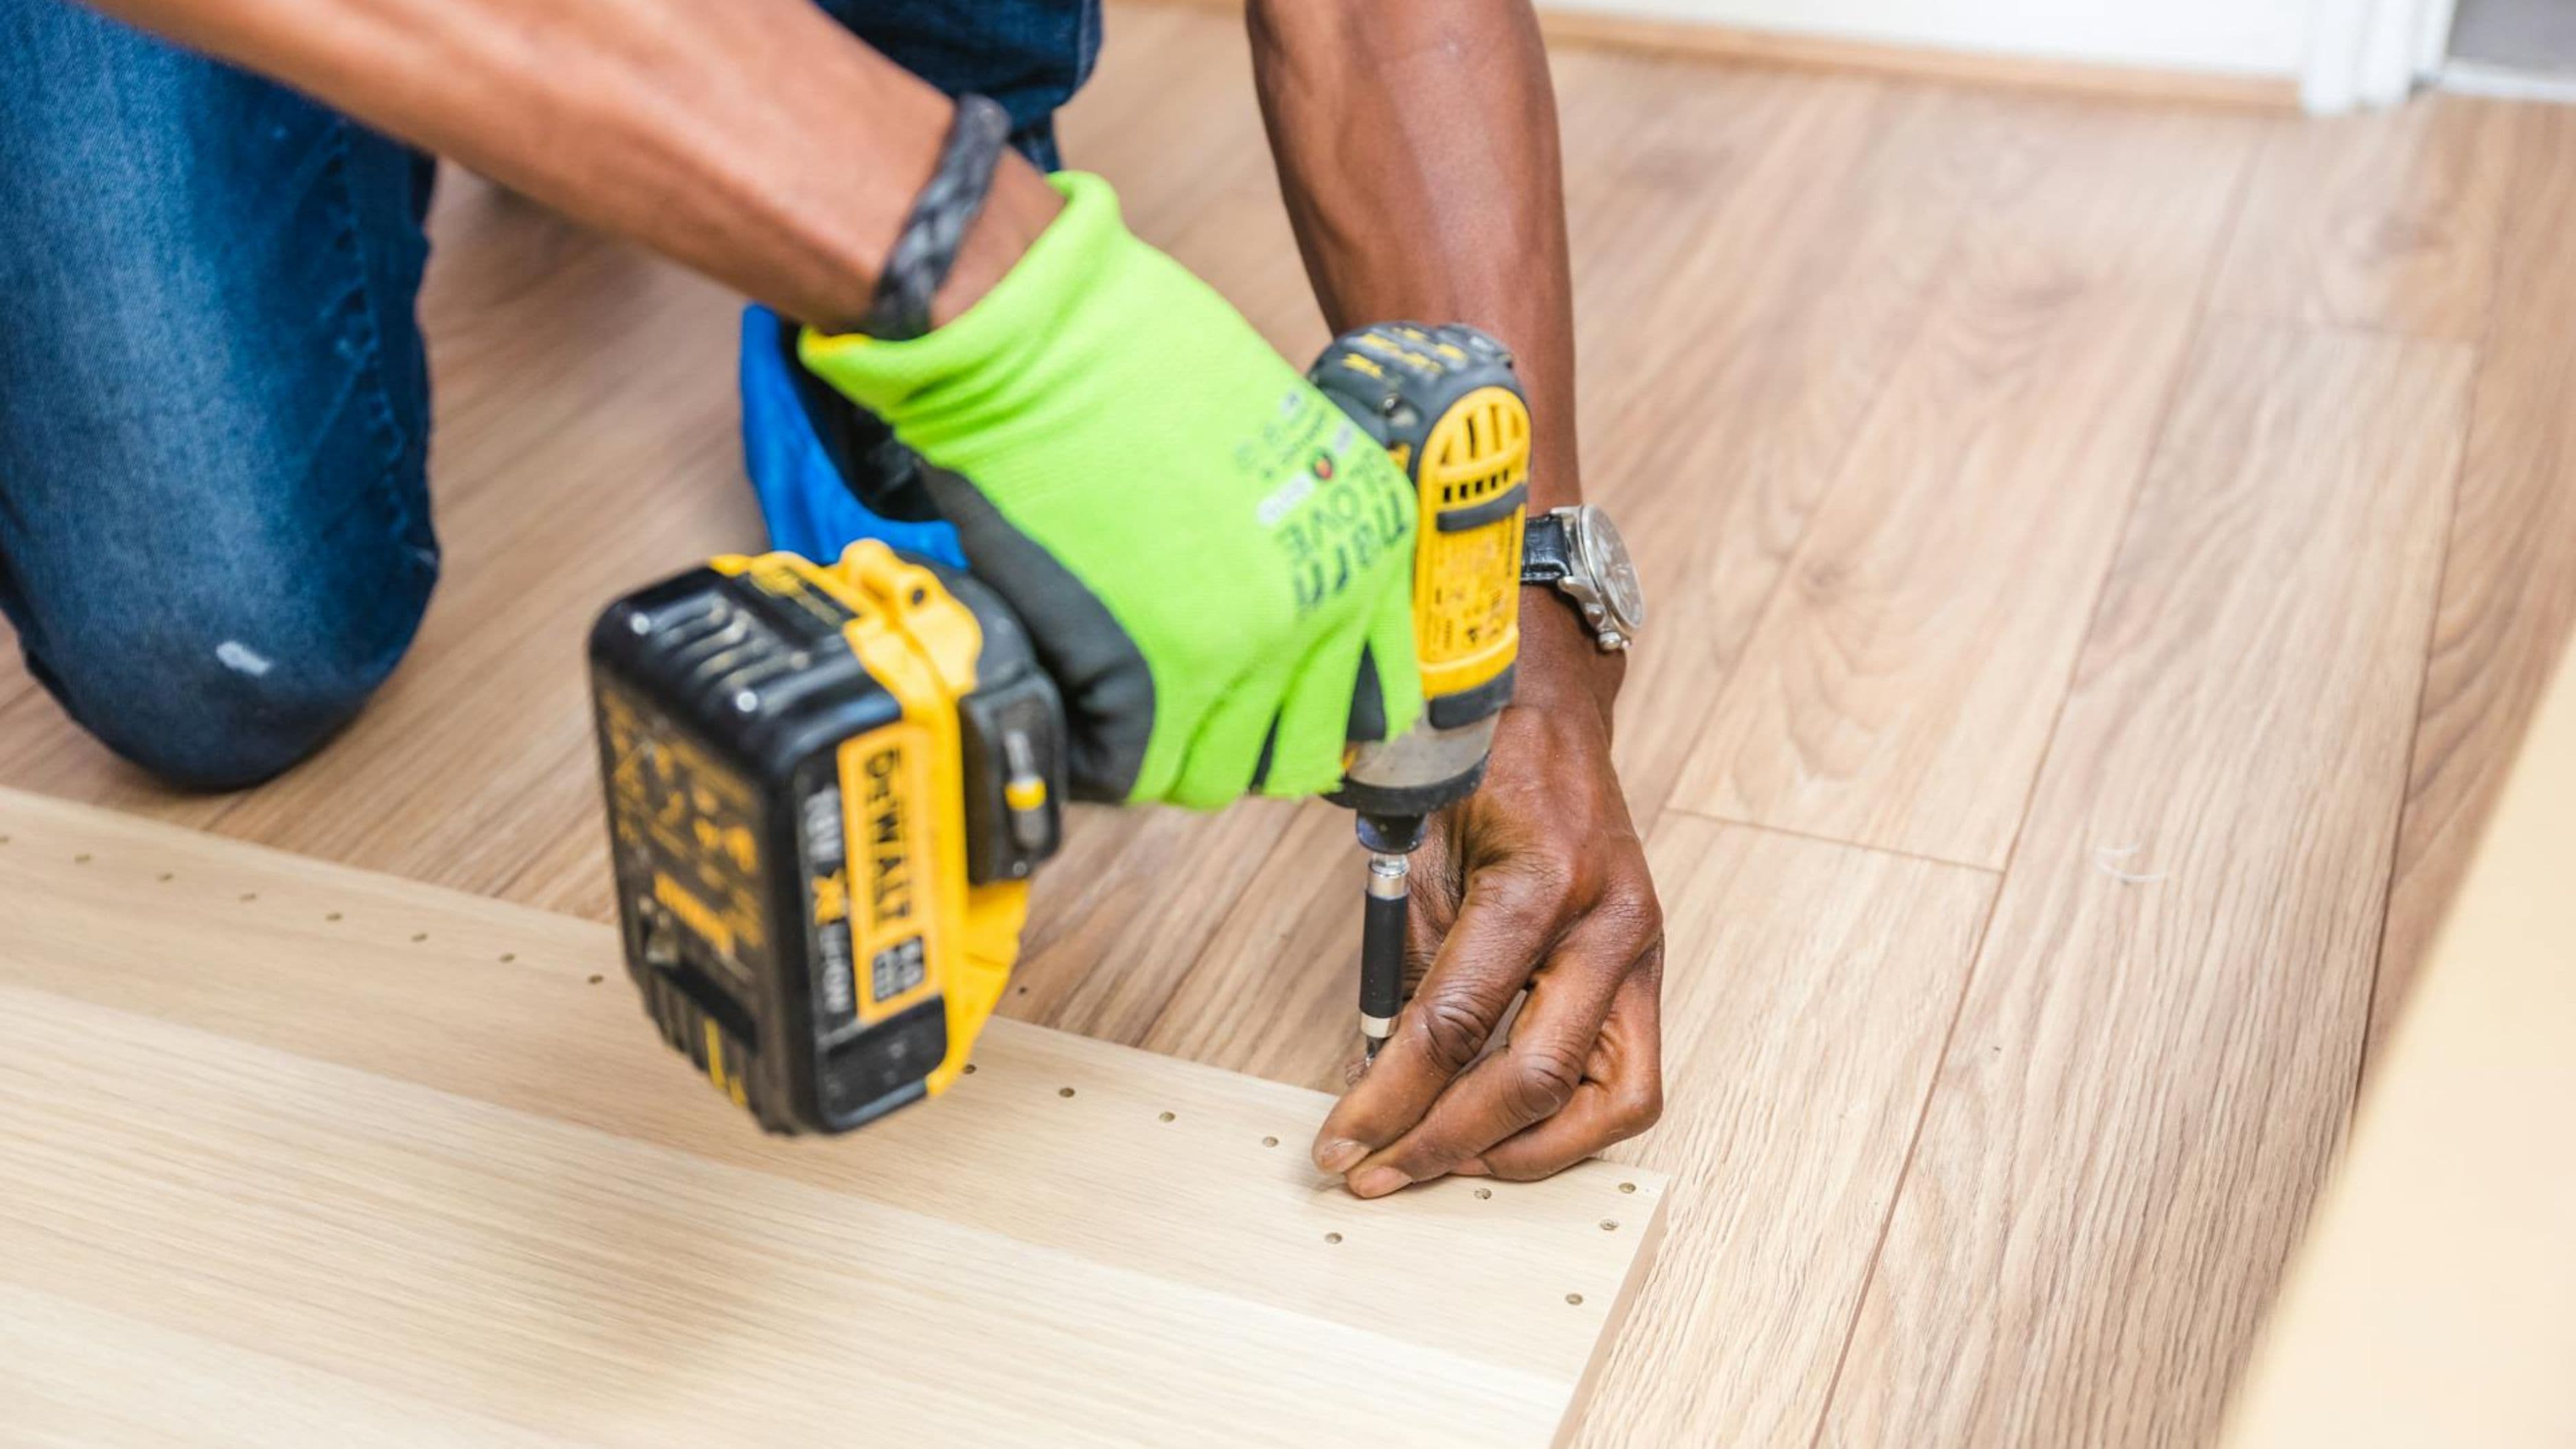
Step 3 – Mount LEDs to aluminum. Use thermal paste between LED base and aluminum before securing. This is non-negotiable – thermal paste dramatically reduces LED operating temperature and extends lifespan. Secure LEDs with M3 screws or thermal adhesive rated for high temperature. Do not skip thermal management.
Step 4 – Wire LEDs in series-parallel configuration. Wire LEDs in series strings (typically 6–8 LEDs per string depending on forward voltage) and connect strings in parallel to the driver. Series wiring maintains consistent current across each string. Solder connections are more reliable than push-in connectors for high-current applications – use them where possible. Red and NIR LEDs can be wired to separate driver channels or combined, depending on your driver configuration.
Step 5 – Connect the driver. Wire your LED array to the Mean Well driver following its datasheet. Input connects to a standard grounded power cable; output connects to your LED strings. Double-check polarity. If housing the driver externally (recommended for EMF reduction), run the output cable through a grommet in the panel frame.
Step 6 – Test before final assembly. Power on briefly and verify all LEDs illuminate. Check for unlit LEDs, which indicate a wiring issue in that series string. Use an infrared thermometer to check LED surface temperature after 5 minutes of operation – LEDs should run under 60°C at the substrate.
Step 7 – Mount to frame and install French cleat. Secure the aluminum panel to your frame. Install the wall-mounted cleat portion at your target height – typically positioned so the panel centers on your torso at standing height. The panel-side cleat hooks over the wall cleat and sits flush. This system supports significant weight and allows easy adjustment.
Session Protocol
Distance matters as much as duration. At 6 inches, irradiance is high – 5 to 10 minutes is appropriate. At 12 inches, irradiance drops by roughly 75% per the inverse square law, requiring 15–20 minutes for equivalent dose. For most recovery and performance applications, 10–20 minutes at 6–12 inches, once daily or 4–5 times weekly, is the evidence-supported range. Eyes should be protected with blackout or NIR-blocking glasses during sessions, particularly for 850nm exposure.
Skin exposure is required – the light does not penetrate clothing meaningfully. Direct skin contact with the panel surface is unnecessary and inadvisable; the therapeutic zone begins several inches from the panel.
Common Mistakes
Buying cheap LEDs without verified wavelength specs is the most costly error. LEDs sold as "660nm" by unverified suppliers often emit at 630nm or 680nm – outside the peak cytochrome c oxidase absorption window. Purchase from suppliers who provide spectral data or test with a spectrometer if serious about verification.
Skipping thermal management is the fastest way to destroy a build. LEDs without adequate heat sinking degrade within hours of operation. Thermal paste and an aluminum backing are not optional.
Using an undersized driver that can't handle your LED load causes flickering, inconsistent current, and driver failure. Size your driver to 80% of its rated capacity – a 200W driver for a 160W LED array, not at 100%.
Positioning the panel too far away and then compensating with longer session time is a reasonable workaround, but running sessions beyond 30 minutes daily provides diminishing returns and can cause mild photobiomodulation inhibition (paradoxical inhibition at very high cumulative doses).
Expected Results and Timeline
Muscle recovery improvements and reduced DOMS (delayed onset muscle soreness) are typically noticeable within 2–3 weeks of consistent use. Skin quality changes – improved texture, reduced inflammation, collagen density – appear at 8–12 weeks. Systemic effects (improved sleep quality via circadian entrainment when used in the morning, joint comfort, sustained energy) develop over 4–8 weeks of daily use. None of these are dramatic overnight changes. Red light therapy is a consistent-use protocol, not an acute intervention.
FAQ
Can I use grow light LEDs instead of purpose-built therapy LEDs? Only if the wavelength specifications match exactly – 660nm red and 850nm NIR. Many grow lights use 630nm or broad-spectrum configurations that don't align with the photobiomodulation absorption peaks. Always verify spectral output before building.
Is DIY red light therapy safe? The photobiomodulation itself is safe at the doses used therapeutically. The safety considerations are electrical – proper grounding, appropriate wire gauge, secure connections, and a quality driver. Don't cut corners on electrical components.
How does this compare to a $700 commercial panel? At equivalent irradiance, the therapeutic output is identical. Commercial panels offer polished construction, warranty coverage, and often third-party irradiance testing. The DIY version delivers the same photons at a fraction of the cost with a modest investment of time and skill.
Do I need both 660nm and 850nm LEDs? For full-body performance use, yes. 660nm is more effective for superficial tissue – skin, wound healing, surface inflammation. 850nm penetrates deeper to reach muscle, joint, and neural tissue. A panel with only one wavelength limits the application range.
How long will the LEDs last? Quality LEDs rated at 50,000 hours operated at 80% of rated current will last 10+ years of daily use. Thermal management is the primary variable – inadequately cooled LEDs degrade significantly faster regardless of rated lifespan.
📚 Sources
Hamblin MR – Mechanisms and applications of the anti-inflammatory effects of photobiomodulation (AIMS Biophysics, 2017): https://www.ncbi.nlm.nih.gov/pmc/articles/PMC5523874/
Chung H et al – The nuts and bolts of low-level laser (light) therapy (Annals of Biomedical Engineering, 2012): https://www.ncbi.nlm.nih.gov/pmc/articles/PMC3288797/
Ferraresi C et al – Low-level laser therapy in human skeletal muscle (Photomedicine and Laser Surgery, 2011): https://pubmed.ncbi.nlm.nih.gov/22017476/
Mean Well – HLG Series LED Driver Specifications: https://www.meanwell.com/productSeries.aspx?i=181
Yin K et al – Photobiomodulation therapy for traumatic brain injury (Neural Regeneration Research, 2022):