
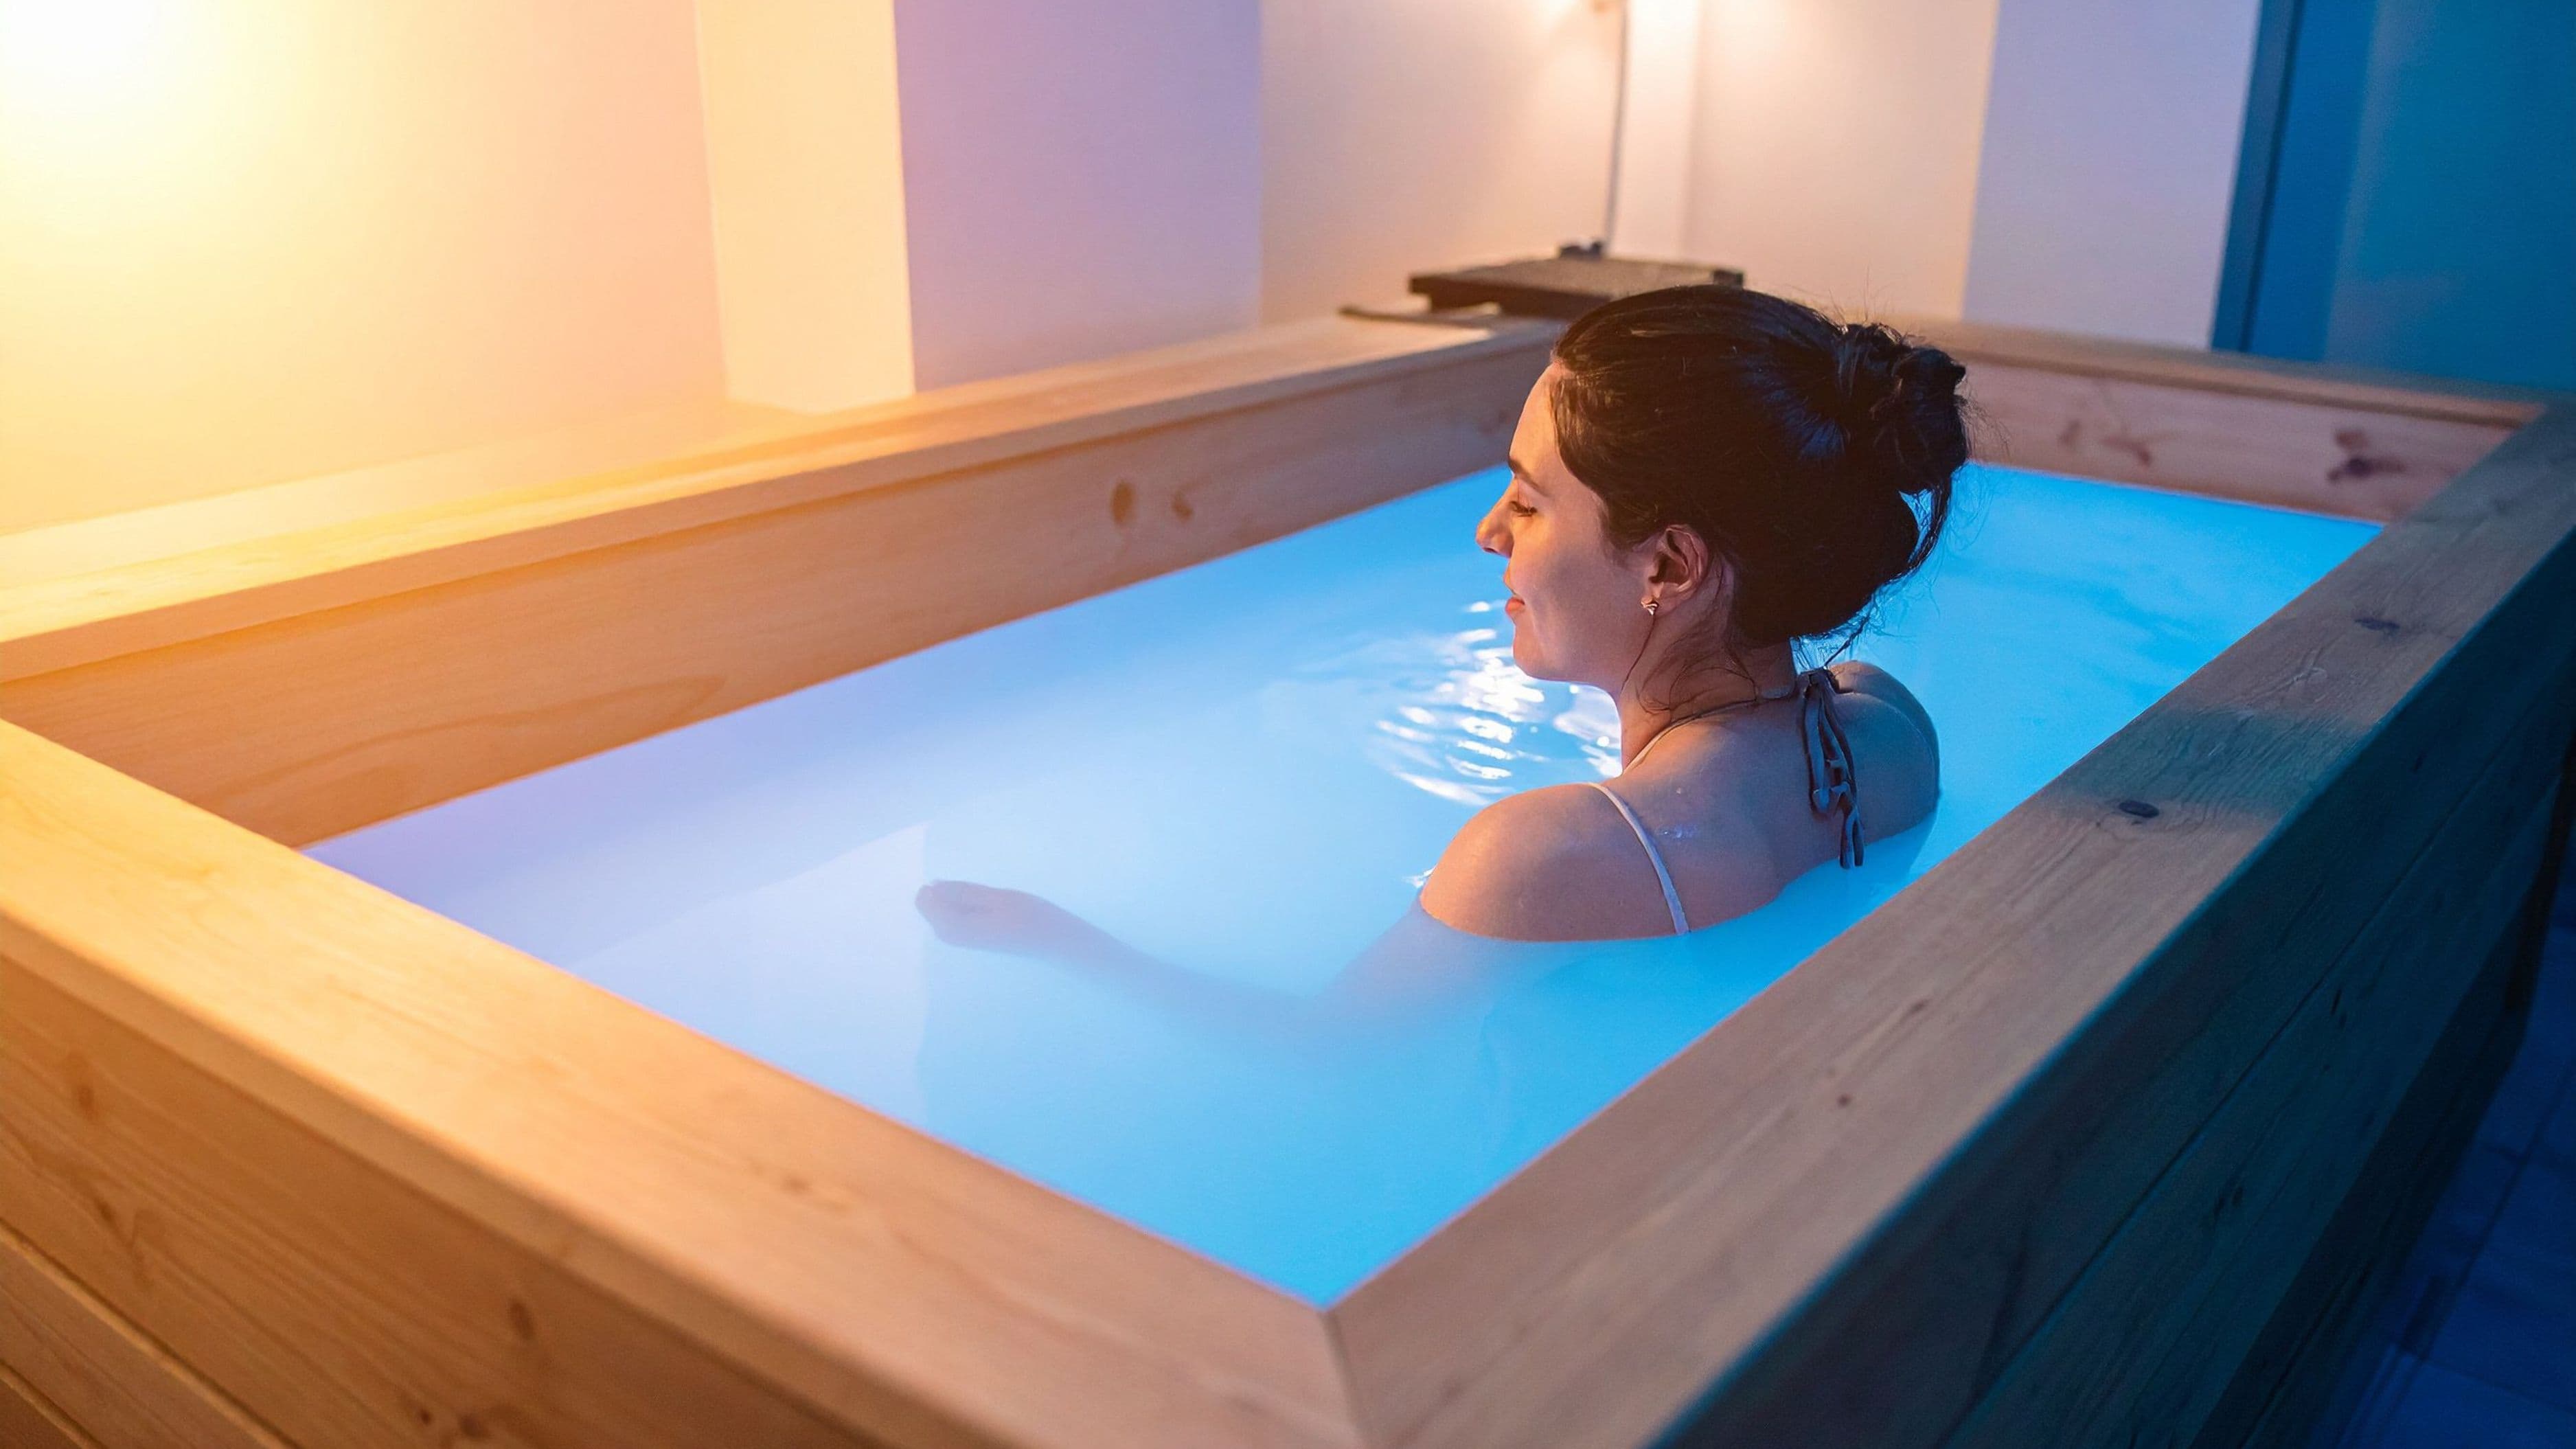
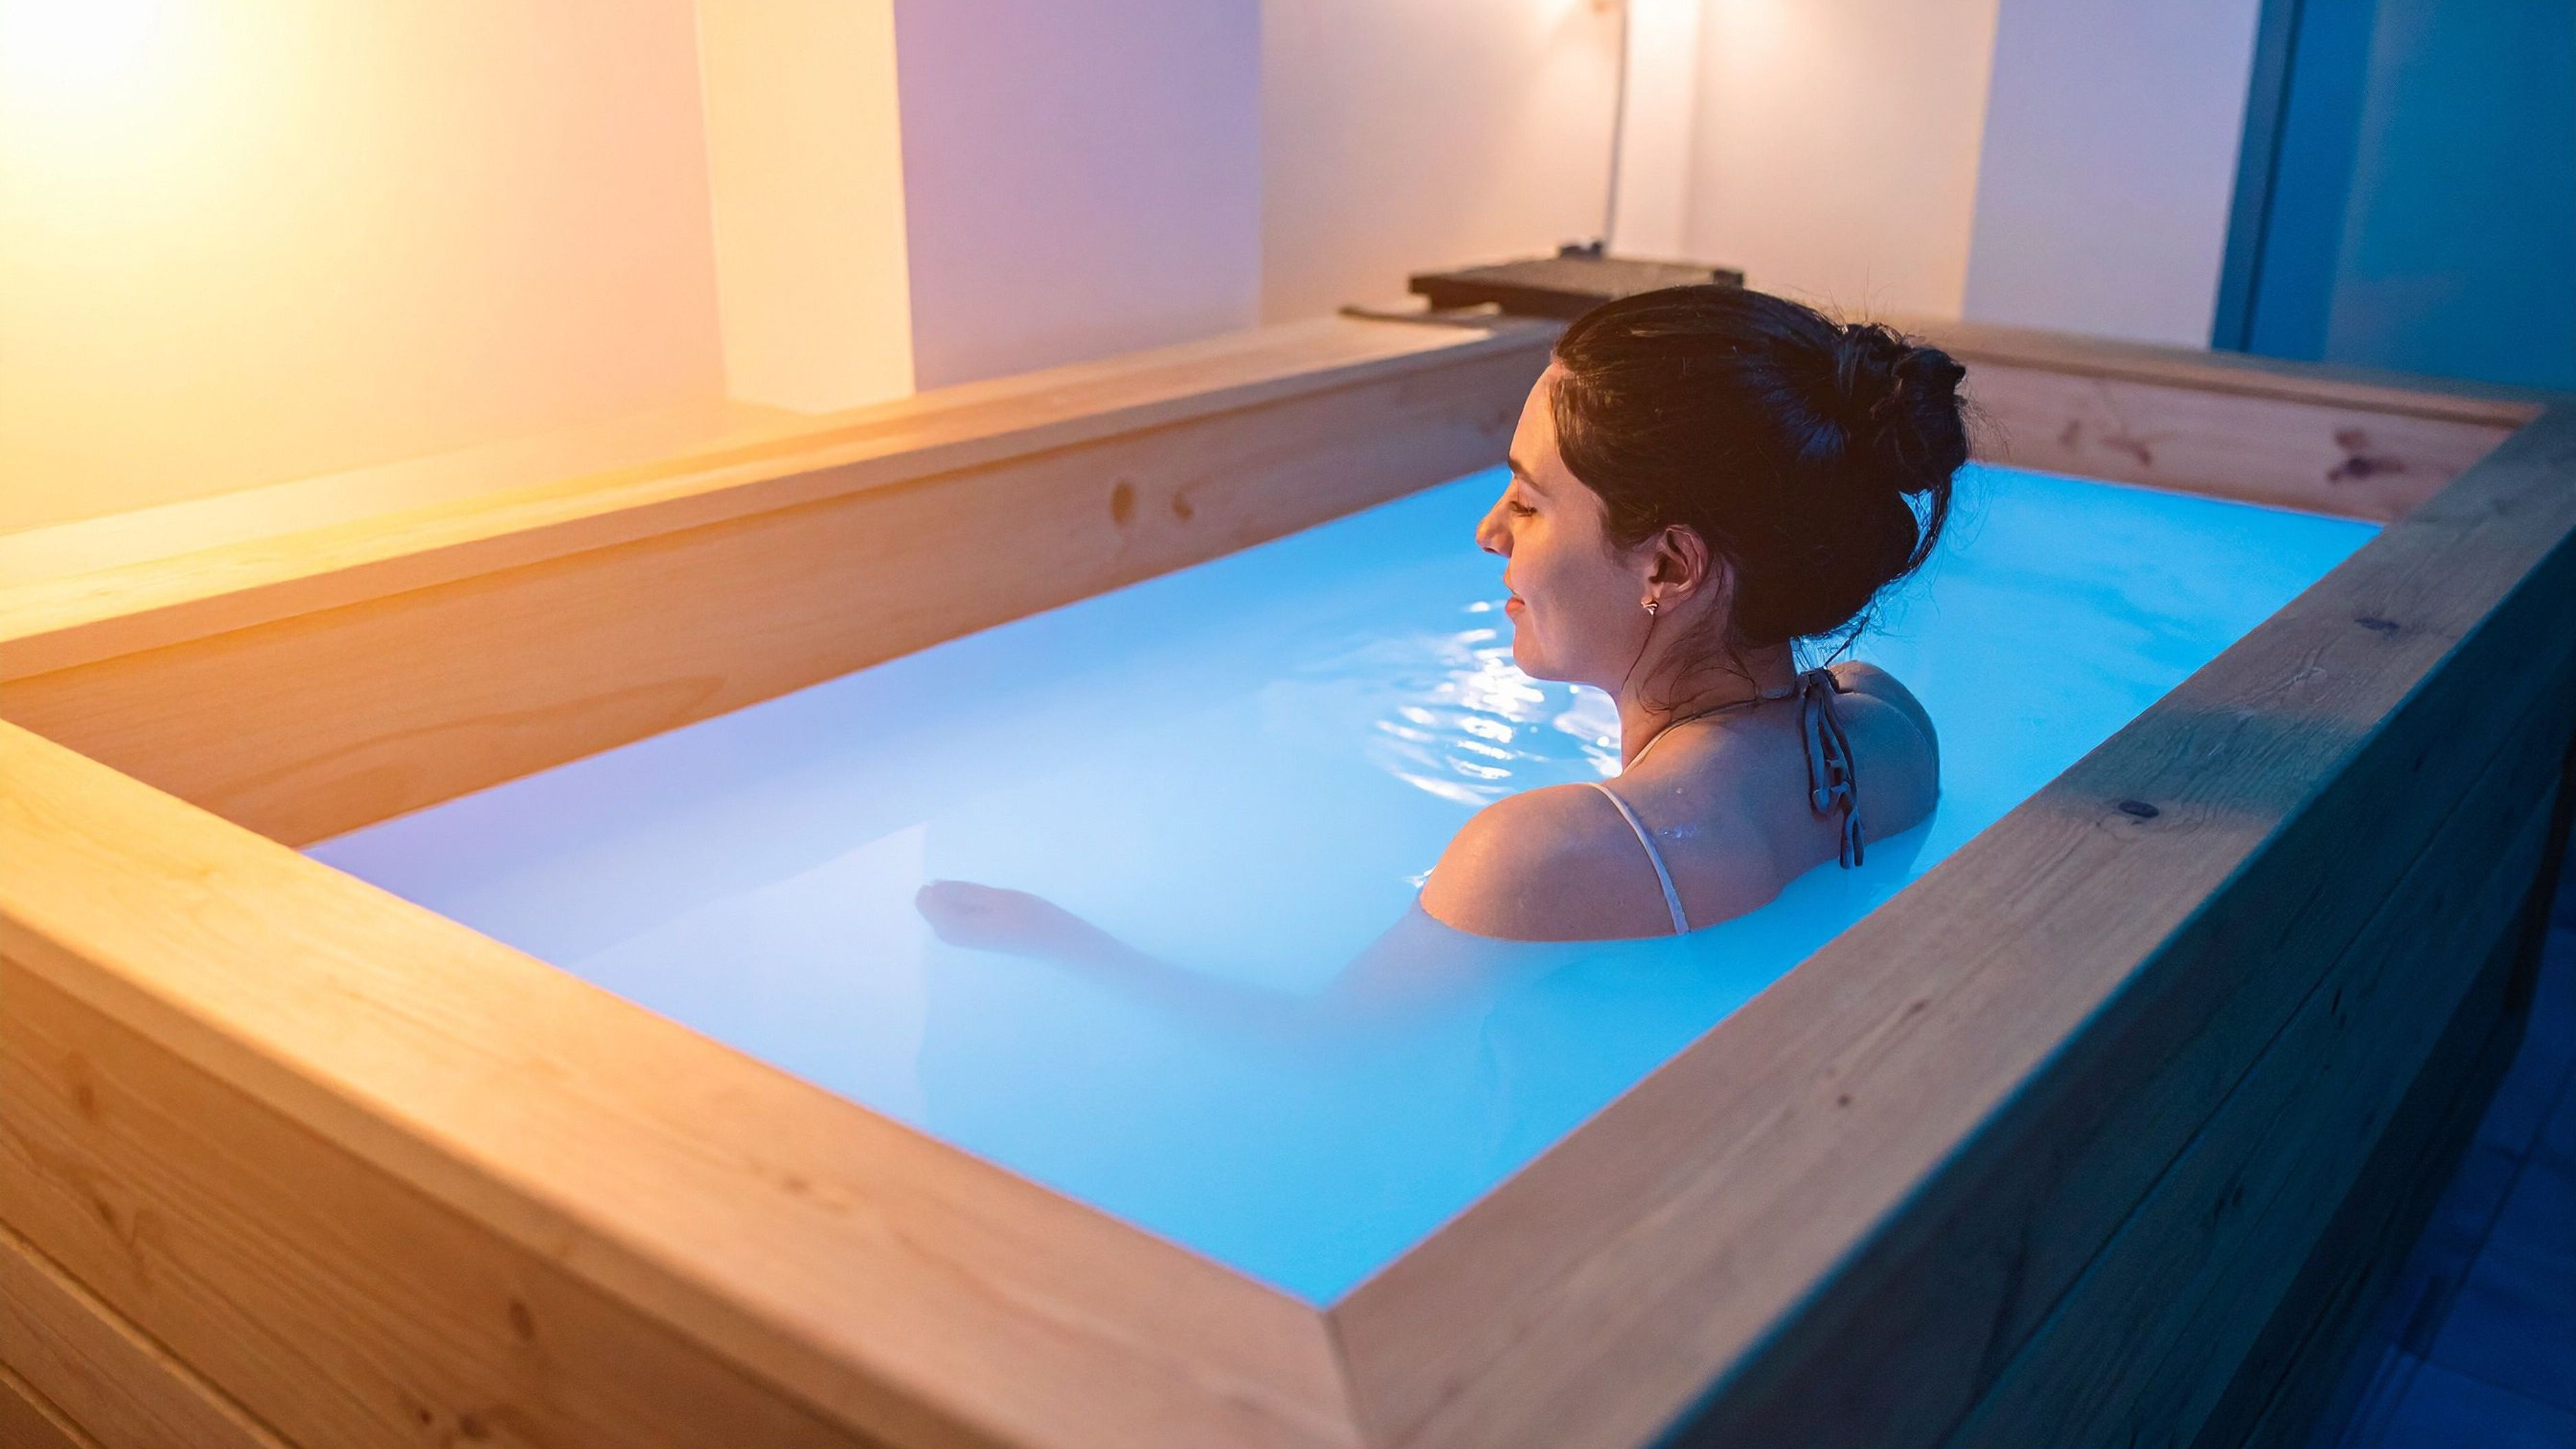
You don't need to spend that. A functional, effective cold plunge setup that delivers water temperatures in the 45–55°F range – the physiologically relevant zone for most cold exposure protocols – can be built for under $1,500 if you're willing to put in the legwork. Here's exactly how.
What You Actually Need to Hit Cold Exposure Targets
Before spending anything, it's worth being precise about the goal. The therapeutic range for cold water immersion in most protocols sits between 39°F and 59°F, with meaningful norepinephrine elevation starting around 57°F and compounding as temperature drops. You're not chasing ice bath theatre – you're chasing a controlled, repeatable stimulus your nervous system will adapt to over time.
That means you need three things: a vessel large enough to submerge to at least chest level, a water chilling mechanism that can reach and hold target temperatures, and a filtration or maintenance system to keep the water sanitary between sessions. Everything else – covers, steps, aesthetics – is optional. Build toward those three requirements and you have a functional protocol. Build past them only once the core is working.
Step 1 – Choose Your Vessel
The vessel is the most visible part of the build and the easiest place to either spend money wisely or waste it. You have three realistic options at this price point.
Stock Tank (Recommended)
A galvanized steel stock tank – the kind used for livestock watering – is the most popular DIY cold plunge vessel for good reason. They're durable, widely available at farm supply stores like Tractor Supply Co., and come in sizes that work well for human immersion. A 100-gallon oval tank (roughly 2' x 4') accommodates most body types comfortably for chest-depth immersion. Expect to pay $100–$175 for a 100-gallon model. The 150-gallon version gives more shoulder room and runs $175–$250.
One practical note: galvanized steel is compatible with most sanitization approaches but can interact with some chemical treatments over time. Rinsing with fresh water after each use and monitoring for rust at the seams extends the lifespan significantly. Many users also add a food-grade liner for an extra layer of protection.
Chest Freezer Conversion
A chest freezer conversion is the most temperature-precise DIY option and can hit lower temperatures more consistently than a stock tank with an external chiller. The basic approach: purchase a chest freezer (typically 7–15 cubic feet), line it with a waterproof barrier if needed, and either use the freezer's compressor directly (with a temperature controller mod) or connect an external chiller. A 10-cubic-foot chest freezer runs $200–$400 depending on brand and condition – secondhand units from Facebook Marketplace or Craigslist frequently appear in the $100–$200 range and work well for this application.
The tradeoff is ergonomics. Chest freezers require you to step over a high wall and sit with your legs forward rather than downward, which some people find less comfortable for longer sessions. The conversion also involves a moderate level of DIY comfort – sealing the interior, adding a drain, and installing a temperature controller (around $20–$40) if you want precise control below the freezer's default setting.
Large Soaking Tub or IBC Tote
An IBC (Intermediate Bulk Container) tote – the 275 or 330-gallon plastic tanks used for industrial liquid transport – can be found on Craigslist or agricultural supply sites for $100–$300 depending on condition and previous contents. They're large, durable, and have built-in drain valves that make water changes convenient. The size is overkill for solo use but works well if you intend to share the setup or want the freedom of more movement during immersion. Previous contents matter – food-grade IBC totes are what you want. Avoid any that contained non-food industrial chemicals regardless of how well they've been cleaned.
Vessel budget target: $100–$400
Step 2 – Choose Your Chilling Method
This is where most builds go wrong. The vessel is easy. Getting the water cold – and keeping it cold without constantly adding ice – is the challenge that separates a sustainable daily protocol from a logistical ordeal.
Portable Water Chiller (Primary Recommendation)
A dedicated water chiller is the cleanest solution for consistent temperature control. Chillers designed for aquariums, hydroponics, or small pools connect to your vessel via intake and return hoses and cycle the water continuously through a refrigeration unit. For a 100–150 gallon stock tank, a 1/4 HP to 1/2 HP chiller is sufficient. The VEVOR and BWT brands offer units in this range at $300–$600 that are reliable enough for daily residential use.
A 1/4 HP chiller can typically bring a 100-gallon tank to 50–55°F in ambient temperatures up to around 75°F, with the process taking several hours from ambient temperature. In warmer climates or during summer months, a 1/2 HP unit provides more consistent performance. Pair the chiller with a circulation pump if the chiller doesn't include one – water movement improves both chilling efficiency and sanitation.
Ice-Based Approach
For those who want to minimize upfront cost, an ice-based system is a viable starting point. A 100-gallon tank requires roughly 40–60 lbs of ice to drop from ambient temperature to the 50–55°F range, depending on starting water temperature and ambient air temperature. At $3–$5 per 20 lb bag, that's $6–$15 per session – manageable if you're plunging two to three times per week, but the cost and inconvenience compound quickly. The ice approach is best treated as a proof-of-concept phase while you save for a chiller, not a permanent solution.
Through-Wall Freezer Mod
If you've gone the chest freezer route, the simplest chilling mechanism is the freezer's own compressor with a temperature controller (like the Inkbird ITC-308) installed to prevent overcooling. This mod lets you set a precise target temperature, the compressor kicks on and off to maintain it, and you bypass the need for any additional chilling unit. Total cost for the controller: $20–$35. It's the most cost-efficient chilling solution on the list and one of the most precise, but it only works with the chest freezer vessel option.
Chilling budget target: $300–$650 (chiller route) or $20–$35 (freezer mod route)
Step 3 – Water Sanitation
A cold plunge you use daily accumulates skin cells, sweat, and environmental contaminants quickly. Without a sanitation system, water quality degrades fast and becomes a health liability. This is non-negotiable – not optional optimization.
Ozone Generator
An ozone generator is the cleanest and lowest-maintenance sanitation approach for cold plunge applications. Ozone (O₃) oxidizes and eliminates bacteria, viruses, and organic contaminants without leaving chemical residue in the water. Small ozone generators designed for water treatment run $50–$150 and connect easily to most DIY setups. Run it for 30–60 minutes daily (or after each session) and water quality remains consistently clean with minimal effort. Compatible with all vessel types.
UV Sterilizer
A UV sterilizer passes water through a chamber where ultraviolet light neutralizes pathogens at the DNA level. Similar efficacy to ozone for bacteria and viruses, no chemical residue, low maintenance. Inline UV sterilizers for small water systems run $40–$100 and work well in combination with a circulation pump. Some cold plunge builders use both ozone and UV for belt-and-suspenders sanitation coverage.
Chemical Approach
Bromine (preferred over chlorine for cold water applications due to better efficacy at lower temperatures) combined with regular water changes is a lower-tech but functional approach. Bromine tablets and a floating dispenser run $20–$40 and maintain consistent sanitization with weekly testing via inexpensive test strips. The tradeoff is chemical exposure and the need to maintain proper levels – both manageable, but more involved than ozone or UV.
Sanitation budget target: $50–$150
Step 4 – Plumbing and Setup
The plumbing connecting your chiller (or pump) to your vessel is straightforward but worth doing properly. Most portable chillers come with compatible hose fittings – confirm the inlet/outlet diameter before purchasing hoses. Standard garden hose fittings work for many setups. Add a bulkhead fitting to your stock tank for a permanent drain connection ($10–$20) to simplify water changes, and consider a simple pre-filter (a mesh screen or foam block over the pump intake) to reduce debris entering the chiller.
Position the chiller near the vessel but off the ground if possible – elevation improves heat dissipation and extends compressor life. Run the chiller power through a weatherproof outdoor outlet if the setup is outside, and use a GFCI-protected circuit. Water and electricity require that minimum of care.
Plumbing and accessories budget: $50–$150
Full Budget Breakdown
At the lower end of the build spectrum, a chest freezer conversion with a temperature controller, UV sterilizer, and basic plumbing runs approximately $400–$600 total. At the higher end, a 150-gallon stock tank with a 1/2 HP chiller, ozone generator, and proper plumbing runs $900–$1,300. Either way, you're well under the $1,500 ceiling with room to spare for a cover ($50–$100 for a custom cut foam pool noodle cover or a fitted tarp) and a simple step stool for safe entry.
The chest freezer conversion is the better choice if you prioritize temperature precision and lower cost. The stock tank with a chiller is the better choice if you prioritize ergonomics, comfort during longer sessions, and a cleaner aesthetic.
Protocol Expectations and Realistic Results
A DIY setup in the 50–55°F range is physiologically equivalent to a $4,000 commercial unit in the same temperature range. Cold is cold. The benefits – acute norepinephrine elevation, improved cold tolerance, accelerated post-training recovery when timed correctly, and the mental resilience built through consistent voluntary discomfort – don't require a premium brand on the side of the tank.
Expect two to four weeks before cold tolerance develops meaningfully. Early sessions at 50°F will feel significantly harder than sessions at the same temperature after three weeks of regular exposure. Start with two to three minutes per session and build toward ten minutes as adaptation progresses. The goal is controlled, calm breathing under cold stress – not breath-holding or hyperventilation. If you can't control your breathing, the water is too cold or the session is too long for your current adaptation level.
Timing matters if recovery is your primary goal. Post-training cold immersion within 30–60 minutes of resistance training has shown blunted hypertrophy signals in some research – cold immediately after strength work may partially interfere with anabolic signaling. For recovery and general protocol purposes, morning cold exposure or post-cardio application avoids this concern. The literature here is still developing, but erring on the side of separating cold plunge from resistance training by a few hours is reasonable practice.
Mistakes to Avoid
Buying a vessel without measuring your space first is a consistent early mistake. A 100-gallon stock tank measures roughly 24" x 48" – workable in most garage or outdoor settings. A 150-gallon tank is 26" x 55". Measure twice before purchasing anything.
Using a chiller undersized for your climate is another common frustration. A 1/4 HP chiller struggling against 90°F ambient heat will run continuously, wear the compressor prematurely, and fail to reach target temperatures. In warm climates, size up to a 1/2 HP unit and position the chiller in shade or a temperature-controlled space where possible.
Neglecting sanitation until the water turns visibly cloudy is both a health risk and an accelerated path to equipment problems. Build the sanitation system before the vessel goes into regular use, not as an afterthought when the water starts looking questionable.
Finally, don't mistake discomfort for effectiveness. A five-minute session at 50°F with controlled breathing and full chest immersion achieves the physiological stimulus you're after. Ten minutes at the same temperature doesn't double the benefit. Longer sessions at temperatures below 40°F introduce diminishing returns and meaningful cold injury risk. The protocol doesn't require suffering beyond the discomfort of the stimulus itself.
FAQ
What temperature should I target for my cold plunge? The 50–59°F range is well-supported for most cold exposure benefits including norepinephrine release, mood elevation, and recovery support. Temperatures below 50°F intensify the stimulus but also increase the skill and adaptation required to manage the response safely. Start at 55–58°F and reduce temperature as tolerance develops over weeks.
How often should I change the water? With ozone or UV sanitation and a functional pre-filter, water can remain clean for 2–4 weeks with regular sanitization. Add a monthly water change as a baseline regardless of sanitation method. Test water quality weekly with inexpensive test strips to stay ahead of any deterioration.
Can I use a stock tank indoors? Yes, with adequate drainage planning and condensation management. A chiller running indoors in warm months will exhaust heat into the room – factor that into placement decisions. A floor drain or proximity to a utility sink makes water changes significantly more convenient for indoor setups.
Is a DIY cold plunge as effective as a commercial unit? For the physiological stimulus, yes – temperature is temperature. Commercial units offer more polished aesthetics, integrated filtration, and simpler maintenance. They don't produce a meaningfully different cold exposure. The case for spending $3,000+ over a well-built DIY system rests on convenience and longevity rather than efficacy.
How long does it take to chill a stock tank from ambient temperature? A 1/4 HP chiller on a 100-gallon tank typically takes 6–10 hours to reach 50–55°F from ambient summer water temperature. Pre-chilling overnight is the standard approach – the tank is ready for morning use without same-day wait time.
Parts List Summary
100–150 gallon galvanized stock tank or chest freezer: $150–$400
1/4 or 1/2 HP water chiller (or Inkbird temperature controller for freezer builds): $20–$600
Ozone generator or UV sterilizer: $50–$150
Circulation pump (if not included with chiller): $30–$60
Hoses, fittings, bulkhead drain, pre-filter: $50–$100
Cover (foam or tarp): $30–$80
Step stool: $20–$30
Total range: $350–$1,420
📚 Sources
Cold Water Immersion and Norepinephrine Release – Acta Physiologica Scandinavica: https://pubmed.ncbi.nlm.nih.gov/10751106
Effects of Cold Water Immersion on Recovery – Journal of Strength and Conditioning Research: https://pubmed.ncbi.nlm.nih.gov/22330025
Cold Exposure and Post-Resistance Training Hypertrophy – Journal of Physiology: https://pubmed.ncbi.nlm.nih.gov/25PhD26757
Huberman Lab – Cold Exposure Protocols and Research Summary: https://hubermanlab.com/the-science-and-use-of-cold-exposure-for-health-and-performance
Ozone Water Treatment Efficacy – Water Research Journal: https://www.sciencedirect.com/science/article/abs/pii/S0043135499001268
Inkbird ITC-308 Temperature Controller – Product Documentation: https://inkbird.com/products/itc-308