1. Start With the Foundation, Not the Fun Stuff
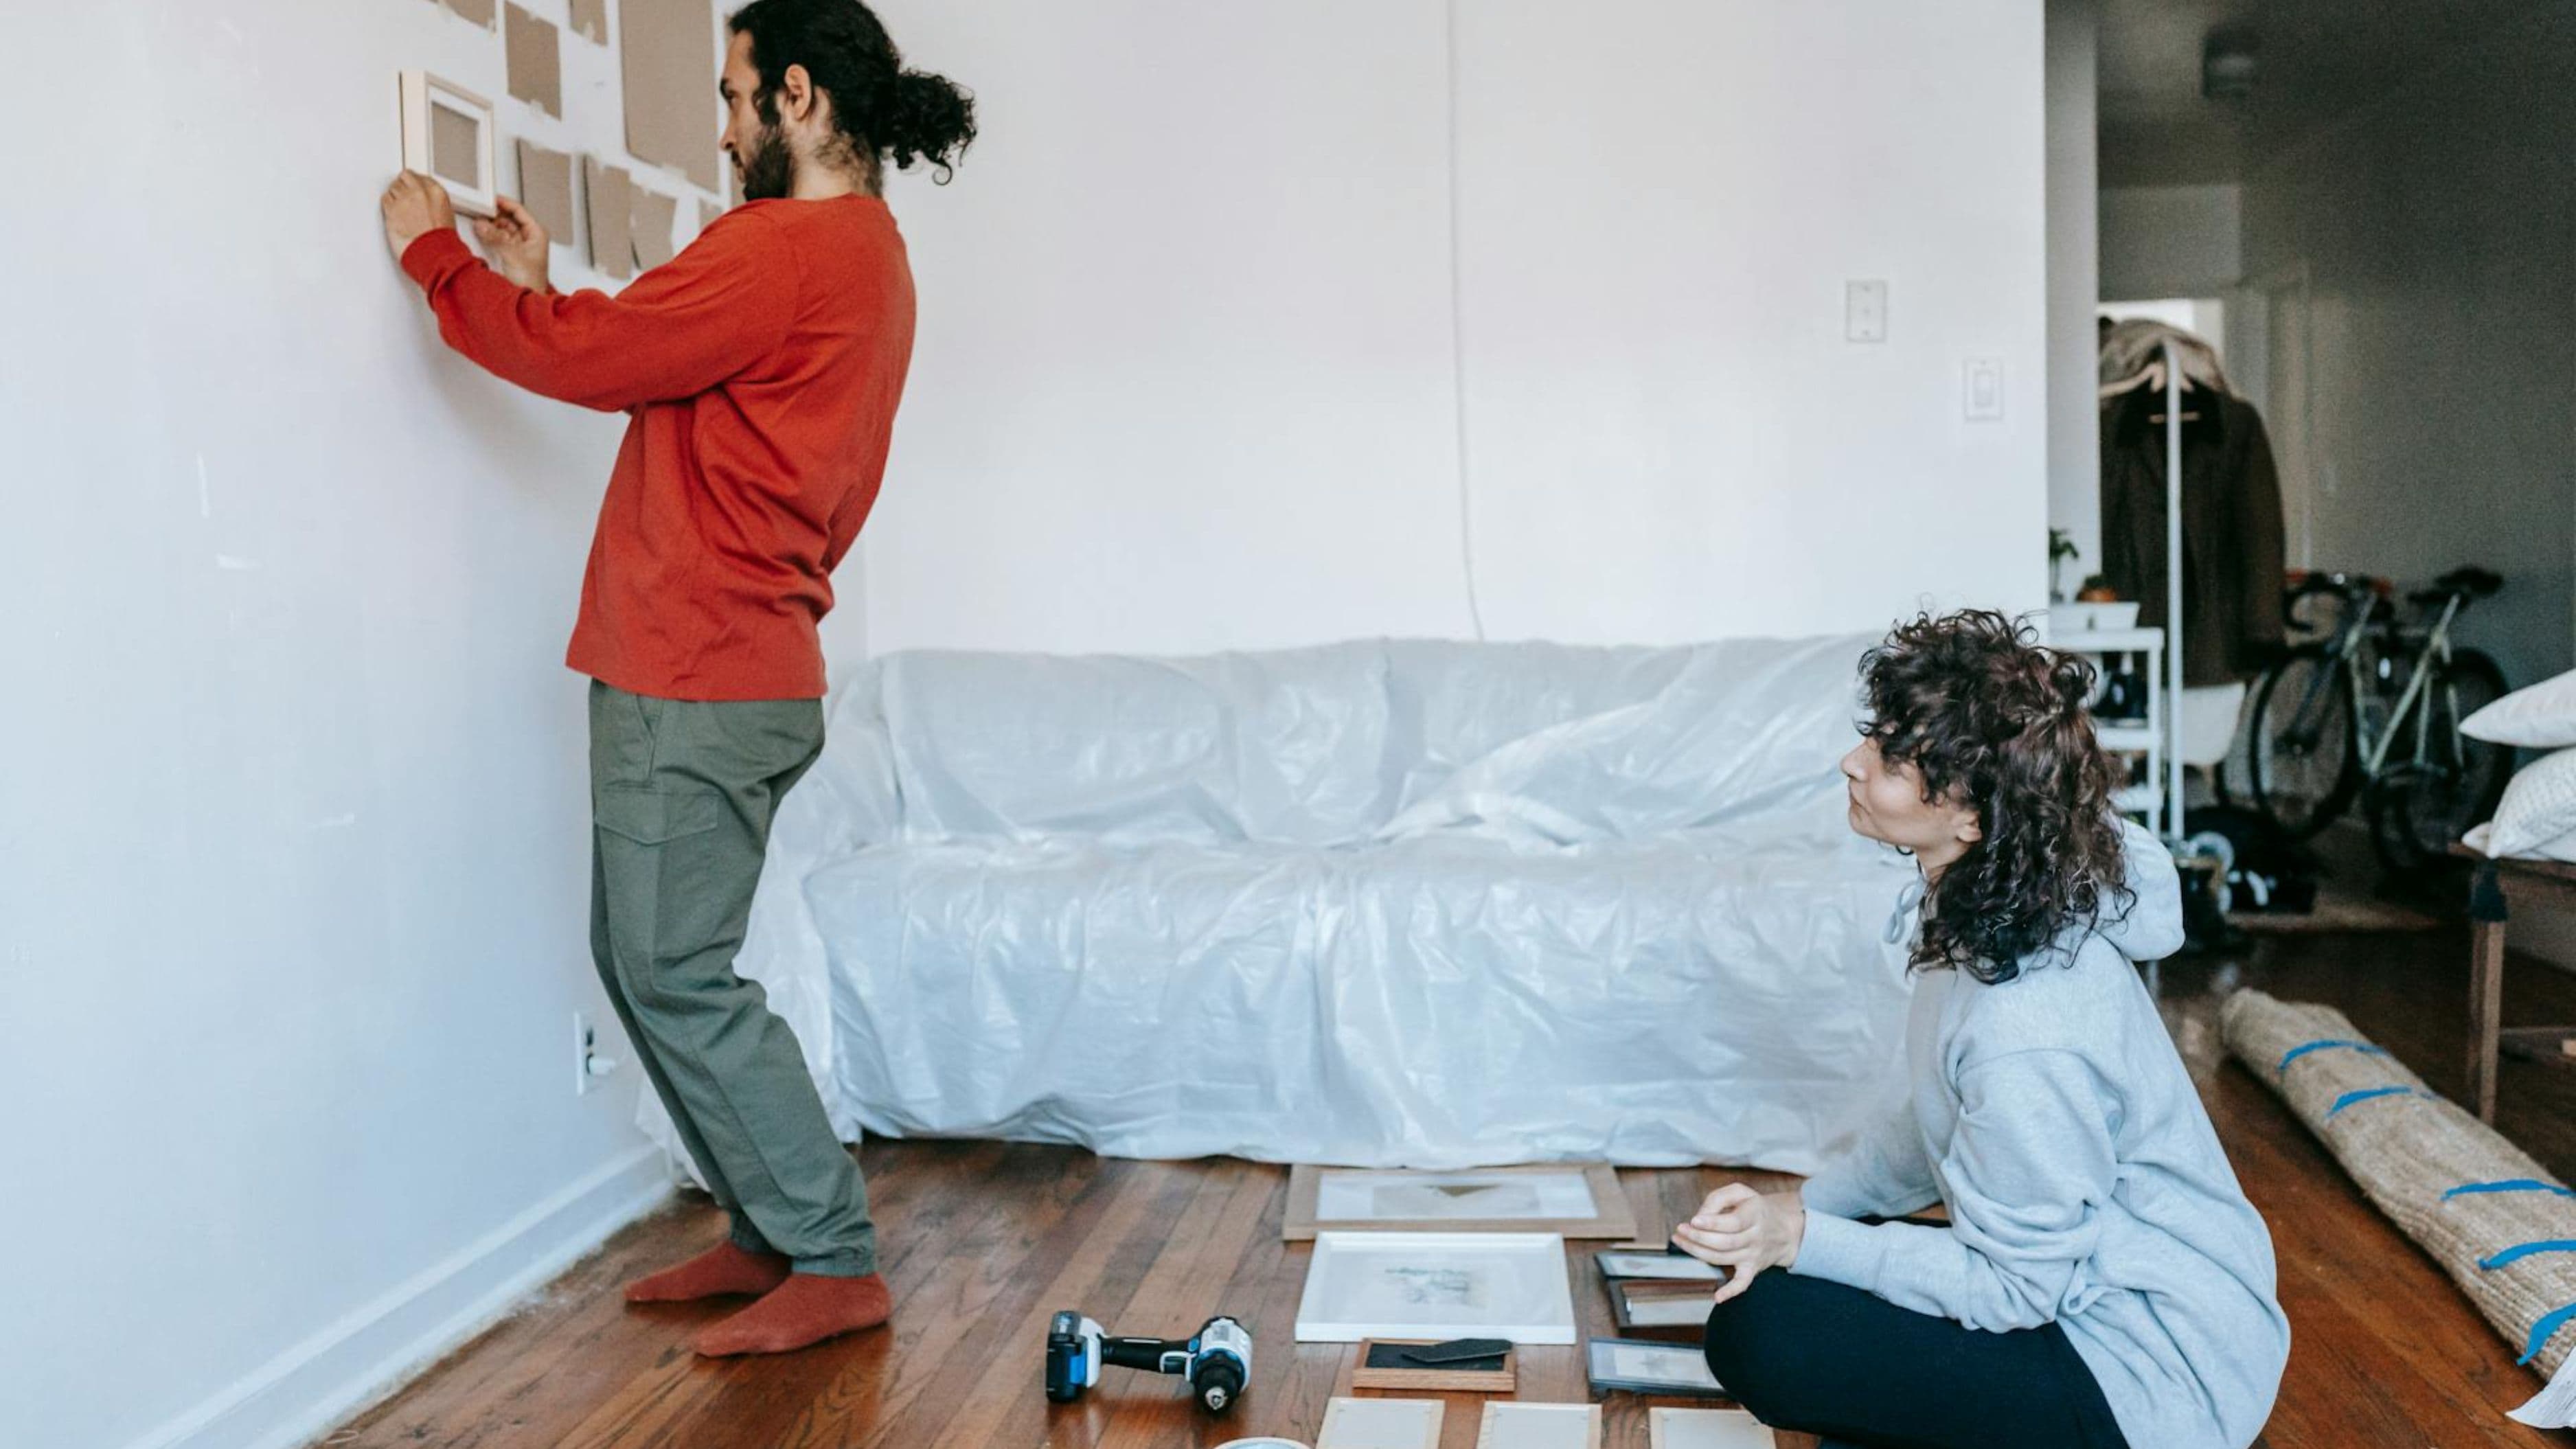
My first instinct was to rush to Home Depot and start grabbing paint colors and new bedding. Big mistake—almost made it, too. Instead, I forced myself to spend the first weekend just measuring, photographing, and understanding what I was working with. I measured every wall, noted every electrical outlet, and took photos from every angle with different lighting throughout the day.
This foundation work revealed problems I never would have caught otherwise. One wall had a slight bow that would have made any large furniture placement look off. The electrical outlet behind where I wanted to put my dresser was loose and needed fixing. Most importantly, I discovered that the room's natural light patterns completely changed my original color scheme plans.
The lesson here cuts deeper than just renovation—rushing into any project without understanding your constraints is a recipe for expensive do-overs. Spending that first weekend on measurements and assessment saved me hundreds in materials I would have bought wrong and countless hours of rework.
2. Master One Skill Completely Before Moving On
YouTube University became my best friend, but I made one crucial decision early on: I wouldn't touch a paintbrush until I could patch and sand like a pro. This meant spending an entire weekend just learning drywall repair, watching probably twenty different tutorials, and practicing on a piece of scrap drywall in my garage until my technique was flawless.
This approach felt painfully slow at first. My buddy Jake was texting me photos of his weekend paint job while I was still filling nail holes and sanding down imperfections. But when I finally started painting, the difference was night and day. My walls looked professionally smooth, and the paint went on evenly without any of the streaking or texture issues that plague most DIY jobs.
The compound effect of mastering each skill individually meant that by week four, I was working with the confidence and precision of someone who'd been doing this for years. Each new skill built on the previous one, and I never felt overwhelmed or in over my head.
3. Strategic Sourcing Beats Brand Loyalty Every Time
Here's where I saved the most money without sacrificing quality: I stopped being loyal to specific stores or brands and started being loyal to getting the best value for each specific item. My paint came from three different sources—primer from Costco (their Kirkland brand is made by the same company that makes Behr), specialty wall paint from a local paint shop having a clearance sale, and accent paint from Home Depot's mistint section.
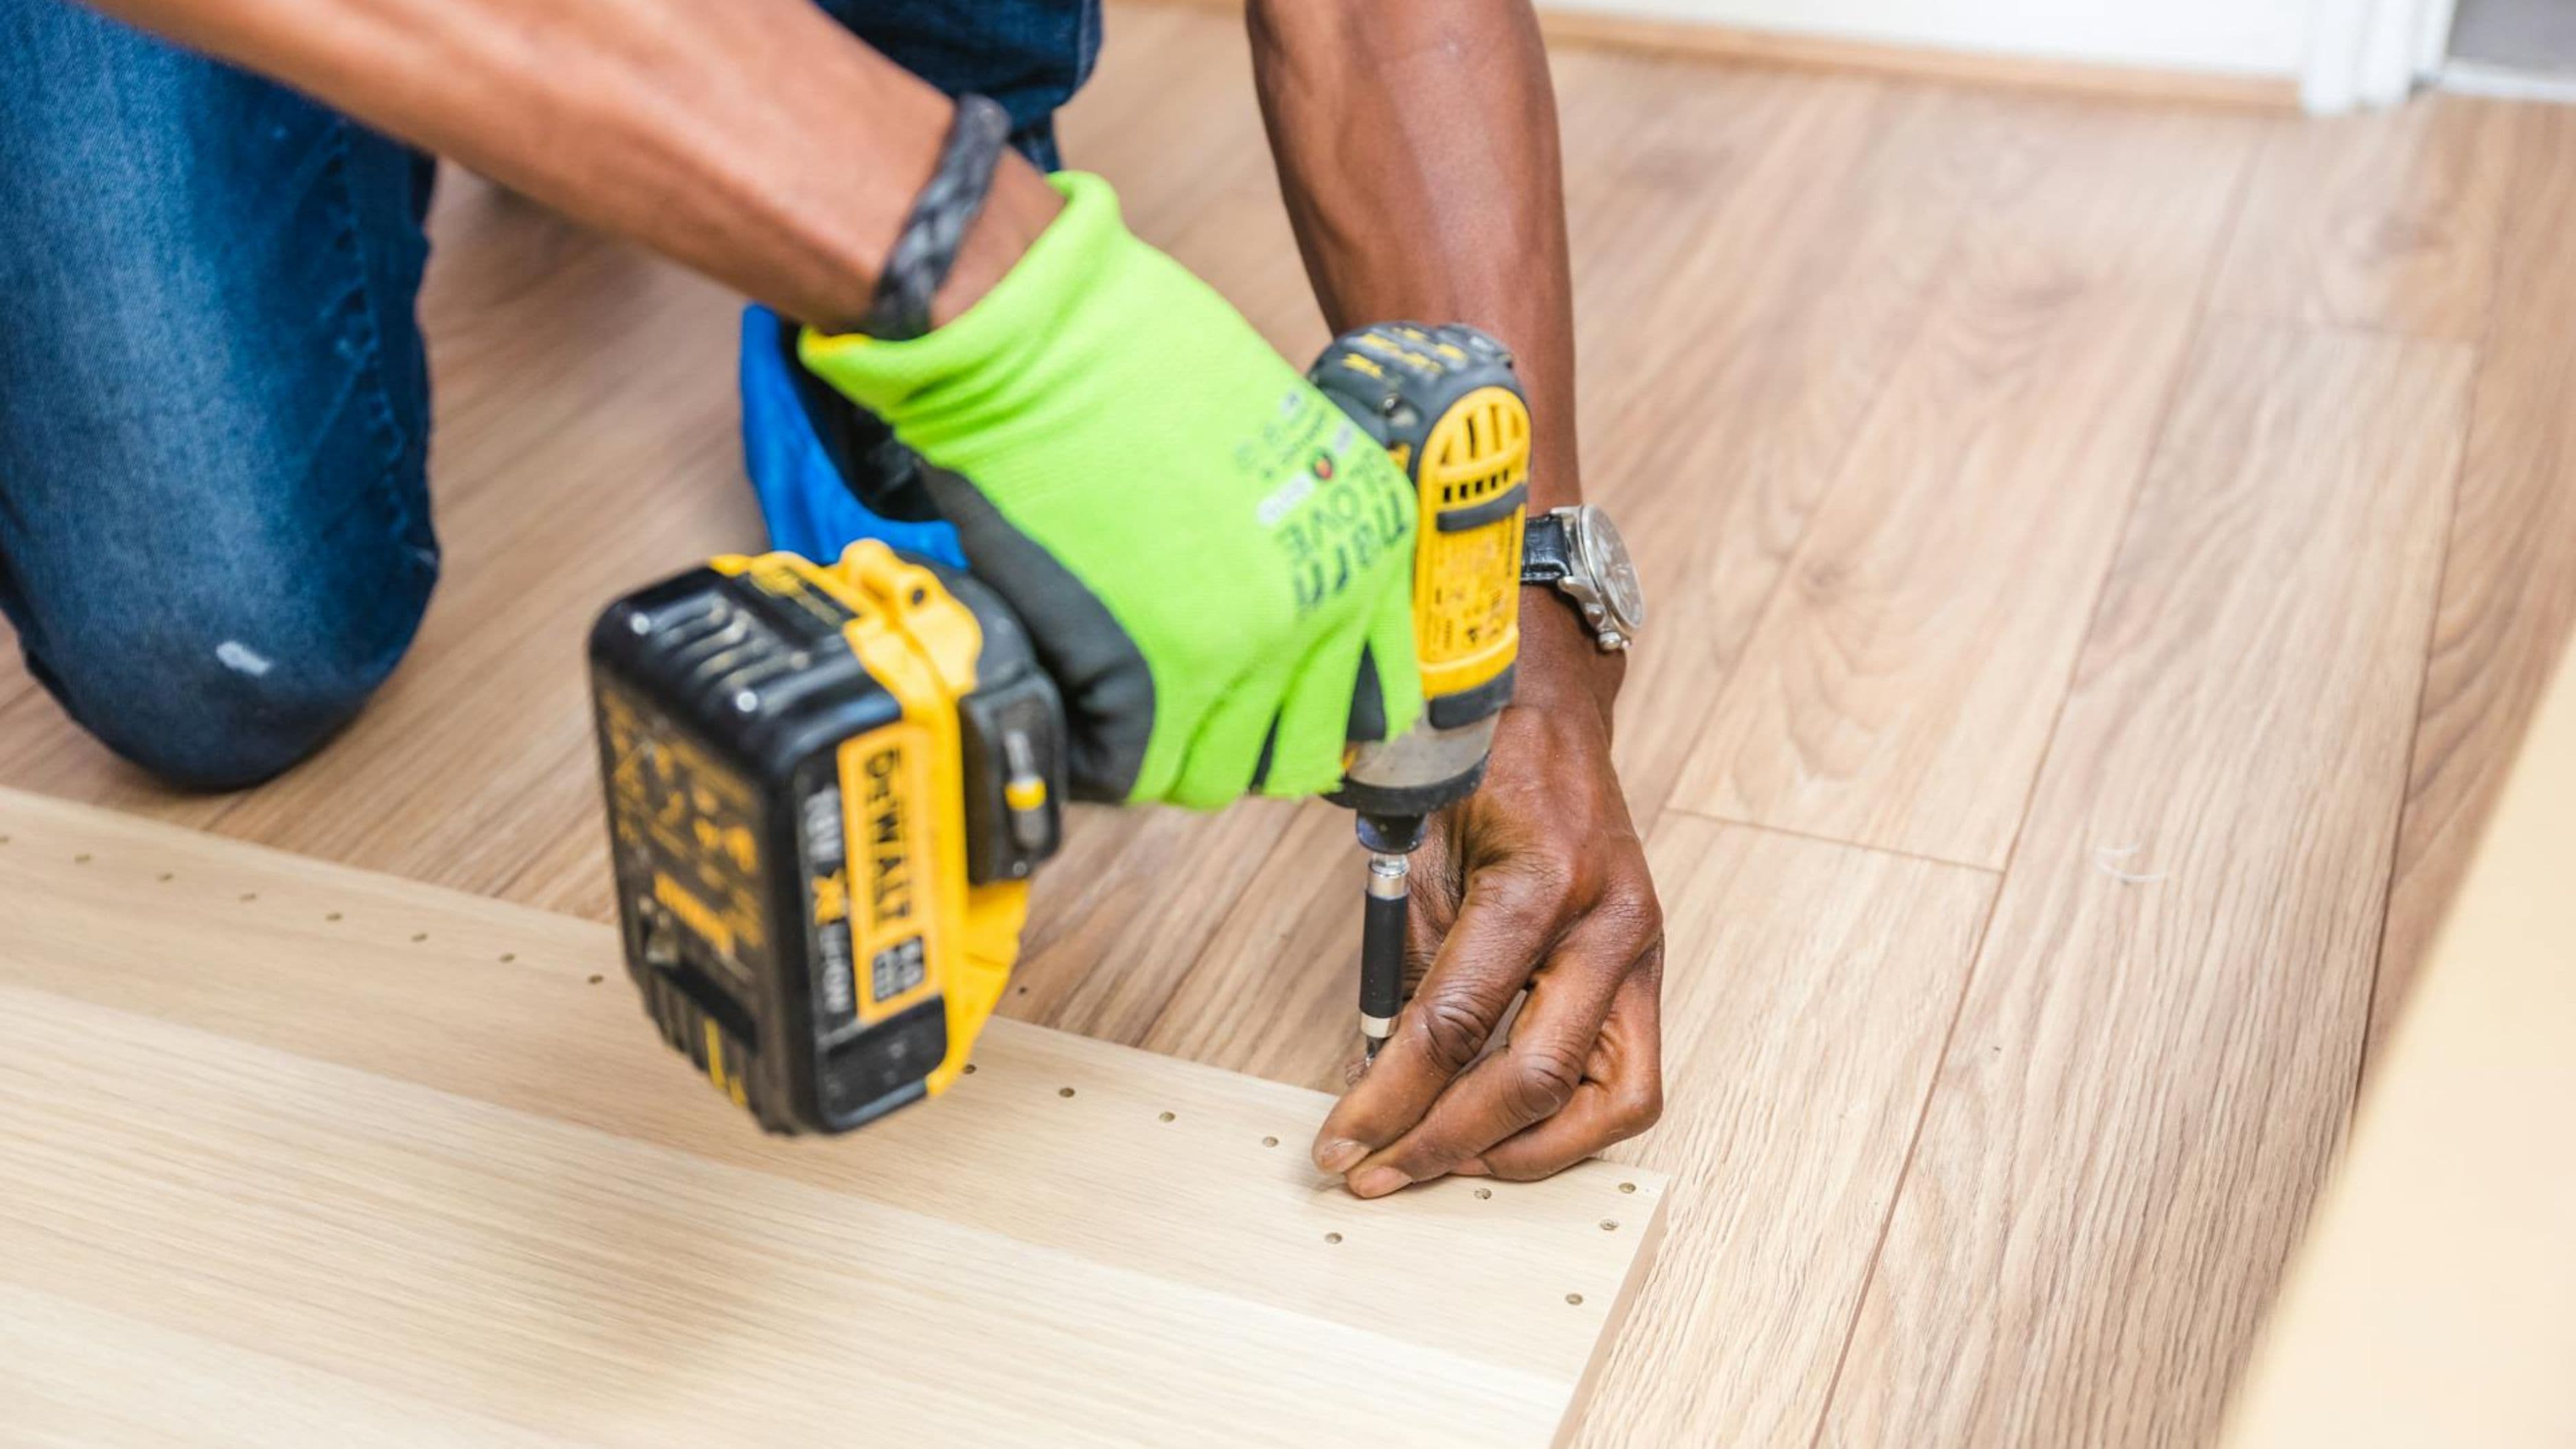
For tools, I borrowed what I could from friends, bought basics from Harbor Freight, and only invested in quality for items I'd use repeatedly. My paint roller setup cost $15 total, but I spent $80 on a really good cordless drill because I knew it would serve me for decades of future projects.
The furniture sourcing strategy was even more creative. I found my new dresser on Facebook Marketplace for $60—it just needed new hardware and a fresh coat of paint. The bedside tables came from an estate sale for $30 each. My headboard was a $40 piece of reclaimed wood from a local sawmill that I mounted and stained myself. Total furniture cost: under $200 for pieces that would have cost over $1,500 retail.
4. Create Systems for Everything
The difference between a successful DIY project and a disaster often comes down to organization and workflow. I spent one evening creating what I called my "renovation command center"—a dedicated space in my garage where I stored all materials, organized tools by project phase, and kept a detailed timeline posted on the wall.
My daily routine became sacred: every morning before work, I'd spend 15 minutes reviewing what needed to happen that evening and gathering the necessary materials. Every evening after dinner, I had a two-hour window for active work, followed by 30 minutes of cleanup and setup for the next day. This system meant I never lost momentum because I was hunting for tools or trying to remember where I left off.
The game-changer was my photo documentation system. I took before, during, and after shots of everything, but more importantly, I photographed things like wire configurations before disconnecting anything, or the exact placement of furniture before moving it. These photos saved me hours of trial and error and gave me confidence to tackle electrical work that might have otherwise intimidated me.
5. Budget for Mistakes (And Make Them Early)
I allocated 20% of my total budget specifically for mistakes, corrections, and upgrades I'd discover along the way. This wasn't pessimism—it was realism that ended up being my secret weapon. When I accidentally bought the wrong size trim pieces, I didn't stress about the wasted money because it was already accounted for. When I realized my original lighting plan wasn't going to work and needed to pivot to a completely different approach, the mistake budget covered it.
More importantly, this financial cushion allowed me to take calculated risks and experiment with techniques I might have avoided if I were operating on a razor-thin budget. I tried three different methods for achieving a specific texture effect on my accent wall because I could afford to buy extra materials and start over if needed.
The psychological impact was huge—knowing I had room for error made me more willing to push my skills and try techniques that ultimately elevated the entire project beyond what I thought was possible.
6. Document Everything for Your Future Self
Every decision, every product used, every technique learned went into a detailed project notebook. This wasn't just for nostalgia—it was strategic planning for future projects. I noted which YouTube channels had the best tutorials for specific techniques, which tools performed better than expected, and most importantly, what I would do differently next time.
The maintenance section of my notebook has already paid dividends. When a small nail pop appeared in the wall six months later, I had the exact paint color code, application technique, and step-by-step repair process documented. What could have been an annoying setback became a 20-minute fix.
This documentation approach has transformed how I think about home improvement. Instead of seeing each project as a one-time event, I now see them as building blocks in a larger skill set that appreciates in value over time. Every technique mastered, every supplier relationship built, and every lesson learned becomes an asset for future projects.
The transformation of my bedroom wasn't just about creating a better space—it was about proving to myself that with the right strategy, patience, and willingness to learn, I could tackle projects that previously felt impossible. The confidence I gained extends far beyond home improvement and has changed how I approach challenges in every area of my life.
Now when friends ask for contractor recommendations, I hand them a copy of my renovation notebook instead. Because the best contractor you can hire is often yourself—you just need the right strategy to unlock that potential.
📚 Sources
1. Home Improvement Research Institute. (2024). "DIY vs. Professional Home Improvement Trends." Annual Industry Report.
2. National Association of Realtors. (2023). "Homeowner Renovation Investment and Recovery Rates." Quarterly Market Analysis.
🔍 Explore Related Topics